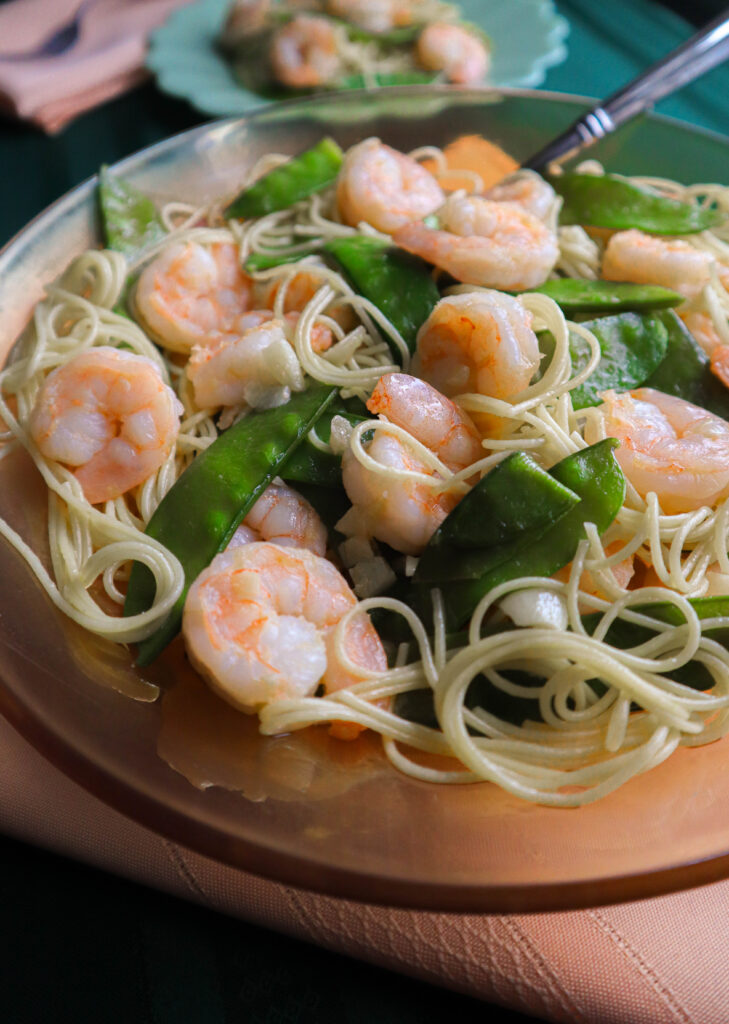
Shrimp with Pea Pods
Shrimp with pea pods is a must try for shrimp lovers. Pea pods with their mild flavor and a bit of crunch leave shrimp the star of the show in this quick and easy sauté with an olive oil and garlic sauce. Served with pasta or rice the flavors of the main ingredients are simple, distinct and delicious. And it’s ready in about 20 minutes.
Bright and beautiful
Not only is this a delicious meal, but the coral pink shrimp and bright green pea pods make a beautiful presentation when served, making shrimp with pea pods a great “go to” meal when you want to prepare a special dinner. You have less than a half hour in the kitchen leaving you plenty of time to enjoy the company of your friends and family. And as soon as your serving dish is on the table everyone knows this is not your average quick cook meal.
But this recipe isn’t only for special meals. It makes a fantastic weeknight dinner too.
Restaurant worthy at a fraction of the price
Most all restaurants will have one or more pasta dishes with an olive oil and garlic sauce on their menu. It’s a classic Italian pairing. It’s even better when made with a splash of white wine, but more on that later.
Our shrimp with pea pods recipe is an example of the countless dishes that can be made using a basic sauce of garlic and olive oil. We have a similar recipe for CLAM SAUCE WITH LINGUINI, which is a classic Italian dish using the same sauce.
Pasta dishes with an olive oil and garlic sauce are delicious options when dining out, but they can be pretty pricey. Making the same dish at home is incredibly easy and will save you a LOT of money. You can feed four people these meals at home for the price of one serving at a restaurant, without losing any flavor or quality.
Here’s what YOU WILL NEED:
So much flavor, so few ingredients
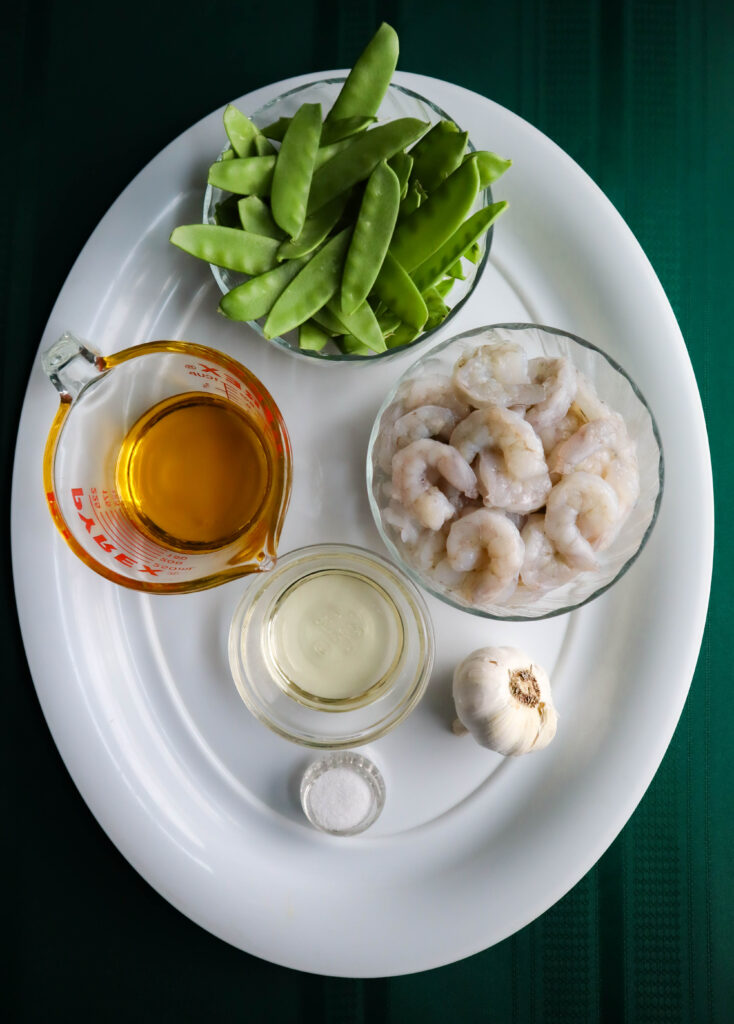
| 1/2 cup olive oil |
| 3 cloves of garlic or the equivalent of jarred chopped garlic |
| ½ pound fresh snow pea pods or snap pea pods |
| 1 teaspoon salt |
| 1 pound uncooked shrimp, peeled and deveined |
| 1/4 cup dry white wine or dry vermouth optional but recommended |
| Pasta (Angel hair is perfect for this dish) or rice |
About the ingredients
Shrimp
Always use raw shrimp. Some of the flavor in your sauce is going to come from the shrimp as it cooks.
Whether you are using fresh or frozen (and thawed) uncooked shrimp, the more peeled and cleaned they are when you buy them, the less time it will take to bring this meal to the table. Preparing the shrimp is, by far, the most time consuming part of making this meal. So, if you have the money to splurge on pre-cleaned shrimp, go for it.
Cleaning the shrimp yourself
Taking the shell and tail off a shrimp is pretty easy, but it is time consuming. You may not want to take the tail off if you are serving shrimp as an appetizer. When cooked the tail turns a bright coral color which can really fancy up a platter. And shrimp is easier to pick up with the tail on. If you are planning on presenting your shrimp with tails on and you are buying them frozen, make sure the label on the bag indicates the tails are still on.
Deveining a shrimp is more time consuming than shelling them. There is a black vein running from one end of the shrimp to the other. It is the digestive tract. It’s not going to make you sick if you have a normal sized serving, but do you really want to eat it? It’s quite prominent in appearance so when you serve it there is no denying the vein hasn’t been removed. To remove the vein you cut into the shrimp along the edge of the vein with a knife. Then put the point of the knife under the vein and pull it out. It often comes out in one piece if you remove it gently. Then quickly rinse them under very cold water to get any of the “black stuff” off.
As a general rule the more cleaning already done for you when you buy shrimp, the more you will pay. Look to see though! I have been able to get fully cleaned shrimp while it was on sale for the same price as shrimp that are not peeled or deveined, right in the same freezer case. Always look before you buy. You might as well get the best bargain you can.
Defrosting frozen shrimp
I am only going to use one pound of shrimp for this recipe so the remaining one pound, still in the bag, is going back in the freezer as soon as I remove the shrimp I need.
Defrost frozen shrimp in the refrigerator in the bag it came in, a plastic storage bag or a plastic container. Letting the shrimp defrost in the refrigerator is much better than the alternative, which is defrosting it in water just before you use it. If you have not left time to defrost in the refrigerator, which will take overnight at least, then defrost with cold water only. Running frozen shrimp under warm or hot water will negatively effect the taste and texture. Leaving it out to defrost slowly will have the same unsatisfactory result.
Information found on the label
The label on my bag of frozen shrimp indicates that the tails and shells have already been removed. The shrimp have also been deveined. This basically means I don’t need to do any cleaning. They are recipe ready.
How many shrimp are in the bag
Notice that the label is letting me know how many shrimp I can expect in a pound. That’s a universal way to “size” shrimp. I bought a 2 pound bag, but the number per pound is still the same. Yes, I will get twice that many shrimp in my 2 pound bag, but I have to figure out how many I will get by myself 🤔.
The number of shrimp in the bag becomes important when you are figuring out how many shrimp you want to serve per person. If I am having 4 people for dinner, by buying these 31-40 size shrimp and only using one pound, each portion will have 8-10 shrimp. If I get smaller shrimp each person will get more and larger shrimp that have a count of 16-21 per pound will only give me 4 or 5 shrimp per person. The recipe you are using will usually determine what size is best. If you are serving stuffed shrimp you will want them to be large. If you are using shrimp in a dip, you will want them to be small. The size I am using in this recipe is great for a dish like this or a casserole.
Here’s our label
When buying frozen shrimp there is quiet a bit of information on the label.
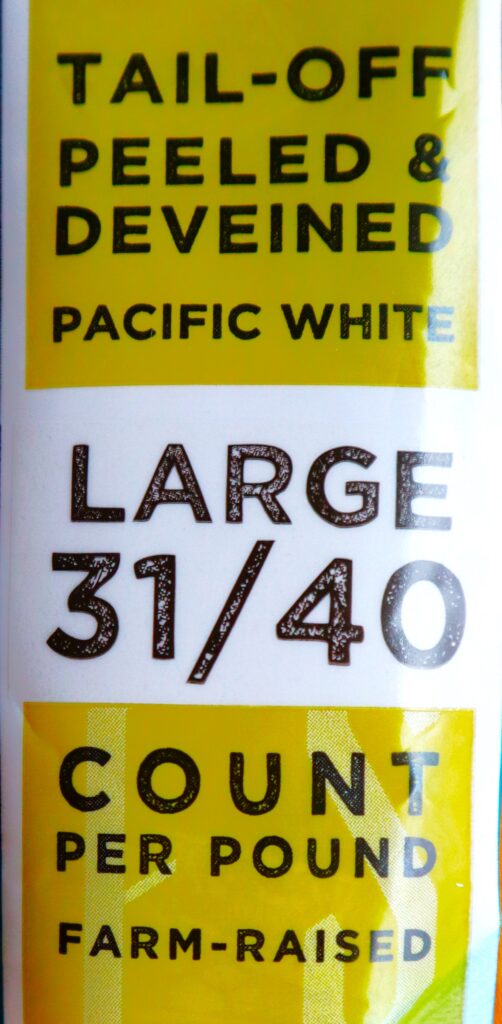
I bought this bag of frozen shrimp on sale. The top section of the label let me know how much of the cleaning had already been done for me. The shrimp was peeled and the tails and veins were removed. At the sale price it cost less than others which were not recipe ready. Watch for sale items!
The information in the middle of the label lets me know how many shrimp I can expect in one pound. It is a universal way to “size” shrimp so you are not guessing what is meant by large, jumbo, small etc.
The label also let me know the shrimp were farm raised not caught at sea.
Pea pods
Pea pods are mild in flavor. They don’t taste like a fully matured pea. They retain a bit of a crunch even when they are cooked, so they are great in a sauté or stir-fry.
We use snow pea pods in this recipe if they are available. The other type of pea pod found in a pretty well stocked produce section is snap pea pods. You can use either one. We have more information about the difference in them in our cooking tidbit: Snap Pea Pods vs Snow Pea Pods. Snow pea pods are the flatter of the two types. Snap pea pods take longer to cook because they are larger in size. The peas in snap pea pods are more mature.
Frozen pea pods don’t work well in this recipe. With the importance of pea pods in this dish, you really need fresh. We used to be able to buy pea pods out of a bin in the produce department so we could measure them ourselves. Recently I have found that I have to buy them pre-packaged. The stores I have shopped at sell them in a 6 ounce sealed plastic bag, in the section where I get pre-packaged salad greens. If you can’t find them one place, check the other.
Pasta
Cook only as much pasta as you need. The less pasta you are adding to the sauce, the more sauce each strand will get. I am using just over 1/2 pound of angel hair pasta. You can see in the picture below it is a very thin string pasta. Because this is a thin olive oil sauce, a sting pasta is a good choice. It has a lot of surface to soak up the sauce.
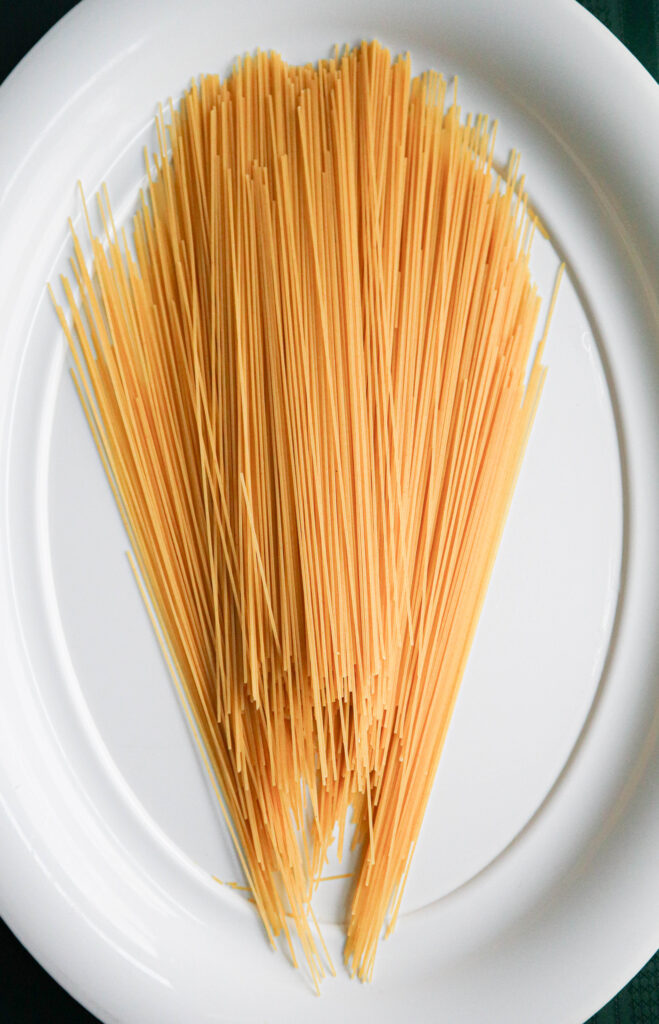
This is just more than 1/2 pound of angel hair pasta. As you can see, there is plenty. Don’t cook more pasta than you need. The less excess pasta you add the more sauce it will soak in.
Cooking with wine
Wine is used in cooking as a flavoring agent. Believe me when I say, if I use wine in my cooking you can too. I am not very adventurous in veering off my beaten path when it comes to everyday cooking. I use wine in some dishes because they taste better with it. It’s just another ingredient used to add a certain flavor. I always evaporate the alcohol out of the wine when the skillet is hot and let the wine cook with the other ingredients in the sauce. When the dish is done, there is no taste of wine, only the flavor it left behind. Adding white wine to an olive oil and garlic sauce like this one is a cooking classic because it is so good.
This is WHAT TO DO:
Be prepared
Have your shrimp “recipe ready” with the shell and tails peeled off and the veins removed. (See more information about cleaning shrimp in the ingredient section above.)
This dish cooks up very quickly. Once you start cooking you are not going to have time to gather and measure the ingredients. Be prepared. Have everything ready before you start cooking.
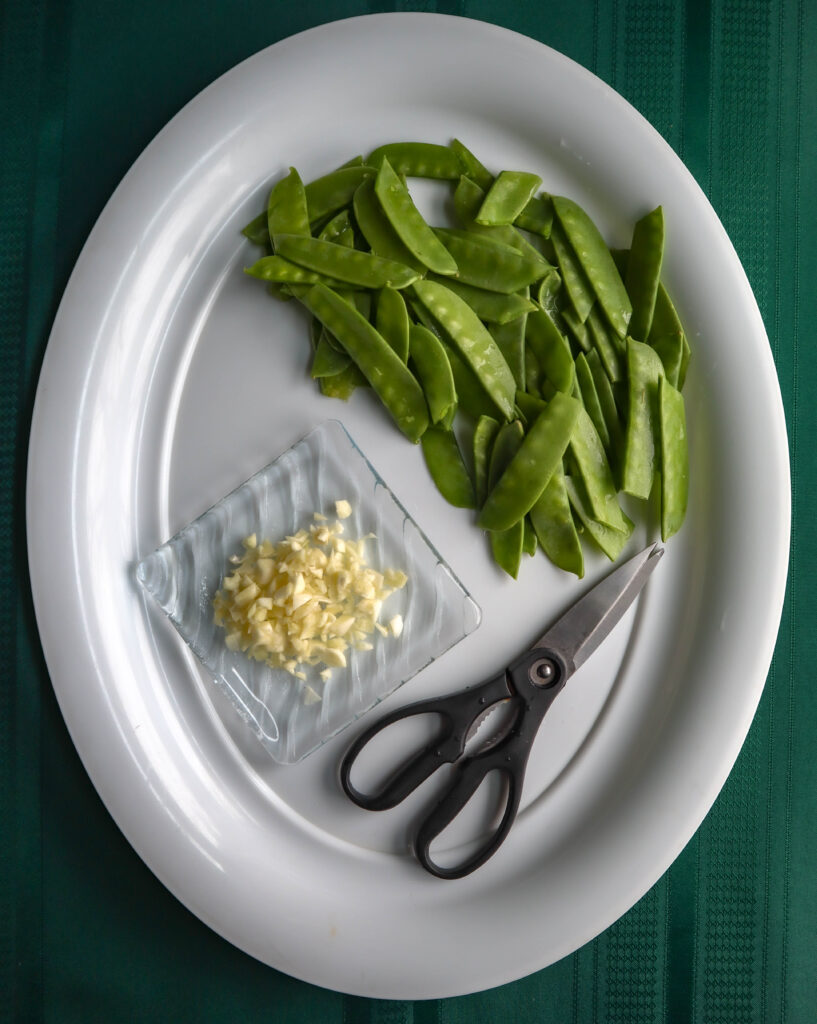
Mince (finely chop) the garlic cloves. For more on mincing vs chopping see Slice Dice Mince and Chop.
With kitchen shears, snip the ends off the pea pods and if they are 3 or 4 inches long cut them in half.
Measure out the other ingredients and have them within easy reach.
Get water on to boil
Put a large pot of salted water on the stove to boil. We use angel hair pasta for this dish. Angel hair cooks in 3-5 minutes, so if your water is already boiling you will add the pasta to the water when you add the shrimp to the skillet. The cooking time for pasta starts when the water resumes boiling after you have added it. You don’t need to drain the pasta when it is done. When your shrimp are cooked grab the pasta from the pasta water with tongs or a spaghetti fork and put it right into the skillet so it can soak up the sauce as you stir it in. It’s fine if you get some pasta water in the sauce. It will thicken it a bit.
Now we are ready.
Let’s get cooking!
Warm the garlic in olive oil
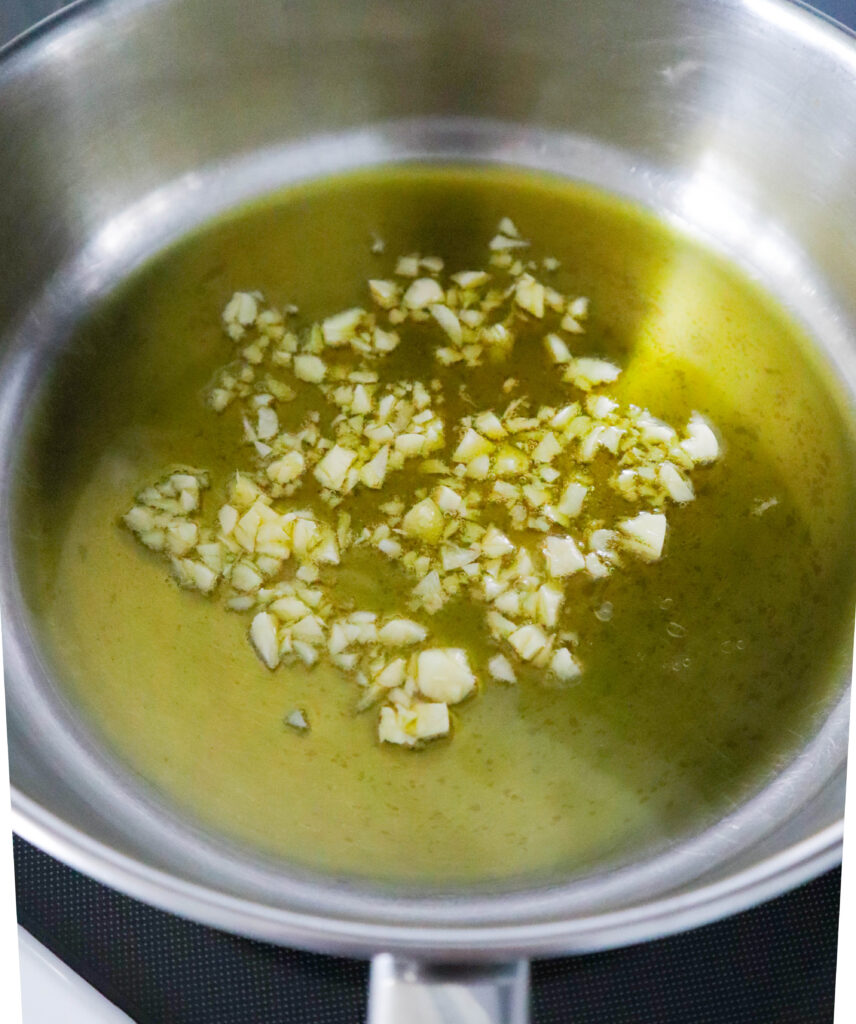
Pour the olive oil into a 10-12 inch or larger skillet. Add the minced garlic. Warm the garlic up in the oil for about a minute on medium high heat. Move it around as the skillet warms up. Don’t brown the garlic. We are using it to flavor the oil.
Add the pea pods
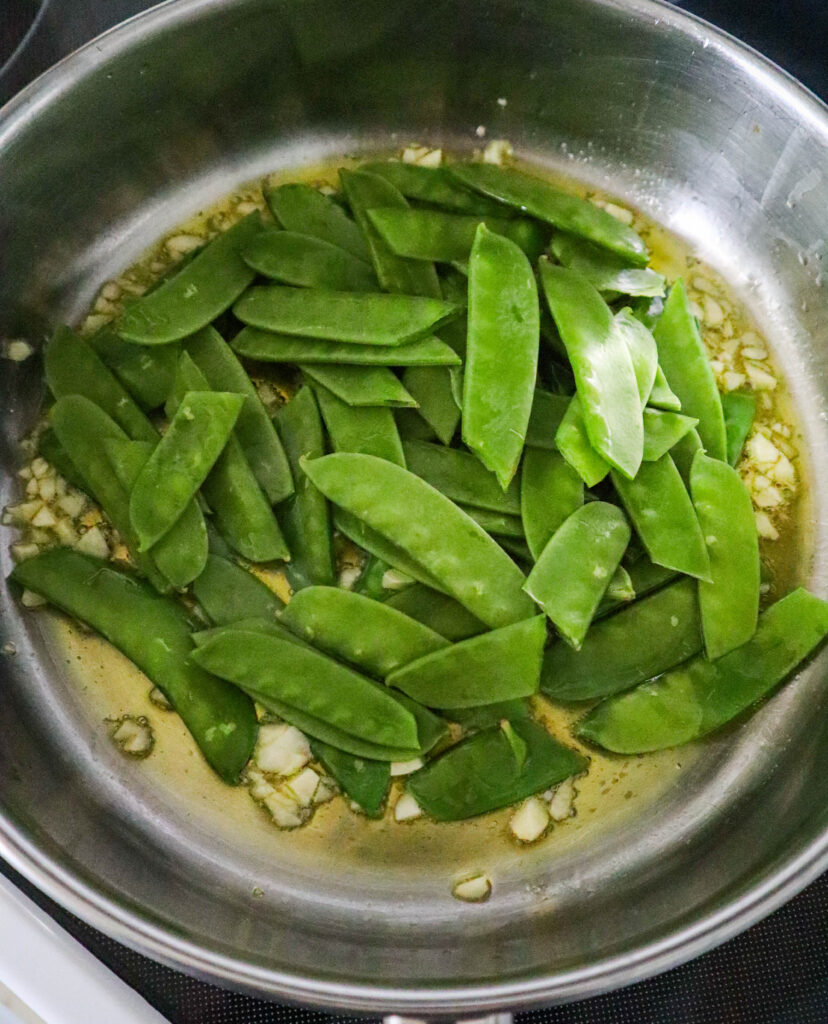
Add the pea pods and salt to the oil and sauté for 2-3 minutes until they start getting tender. If you want the pea pods to have a more raw texture with some crunch when you serve the dish, just cook for a minute or two until the pods have turned bright green. Keep in mind that the pods will continue to cook as you sauté your shrimp.
Stir the pea pods in the skillet as they are cooking.
Add the wine (if you are using it)
Once the pea pods are cooked, it’s time to add the wine. The skillet is hot and the alcohol will start evaporating as soon as you add it. When at least half of the wine has reduced you can add the shrimp. This process will take less than 1 minute.
This is a great dish to try out cooking with wine. If you have used wine in an olive oil and garlic sauce before, you know how much a little white wine is going to add to this sauce. All the bite of the wine and the alcohol dissipates after you add it. It doesn’t taste like wine out of the bottle when it is cooked.
Dry vermouth is a great substitute for dry white wine. It’s easier to have on hand if you don’t always have white wine around.
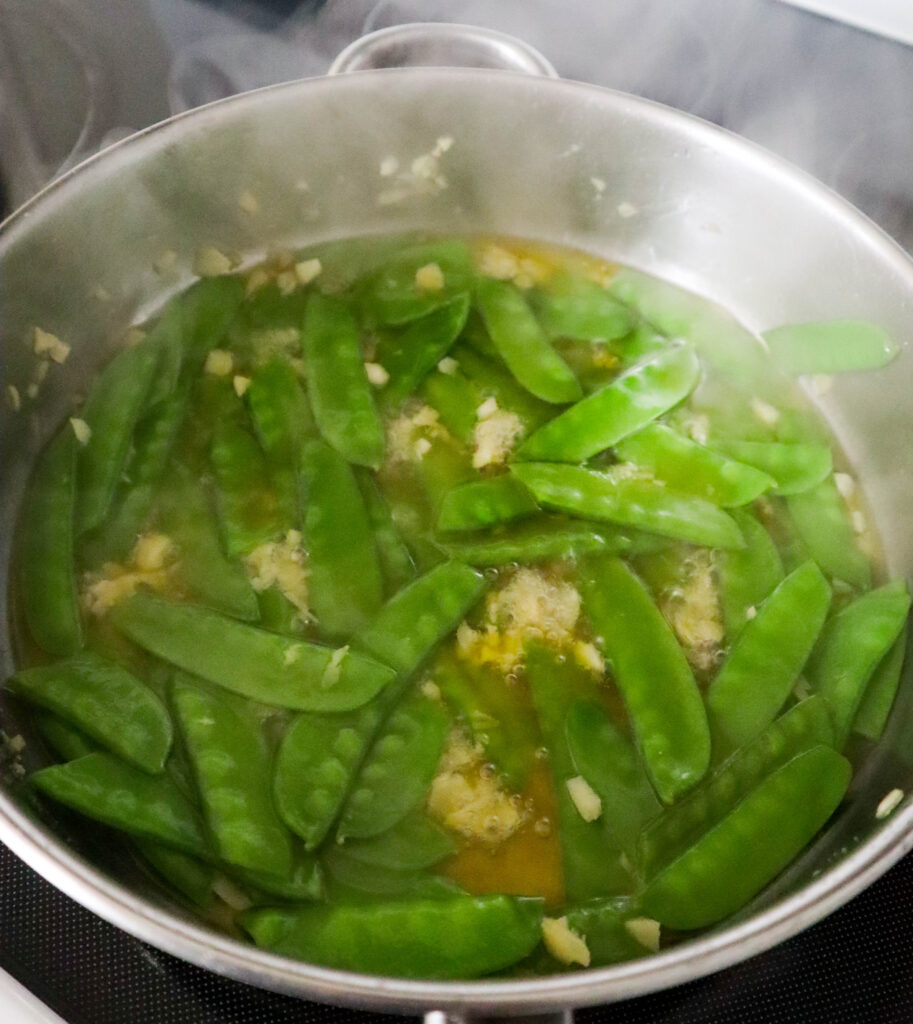
Add the white wine or dry vermouth to the hot skillet and let the alcohol evaporate. Reduce the wine by at least half before you add the shrimp. It will reduce quickly. You only need to boil it down for 30 seconds or so.
At this point you have been cooking for about 3 minutes.
Time to add the raw shrimp
Pat the shrimp dry with a paper towel before adding them to the skillet.
Turn up the heat
Turn your burner to high.
We are turning the burner to high because we want to sauté the shrimp quickly. When we add the shrimp the temperature of the pan is going to drop. High heat will get the shrimp up to temperature quickly. If left at a lower temperature, the shrimp might steam instead of sauté. Shrimp isn’t good steamed. It loses flavor the gets rubbery. You should hear a sizzle as you start sautéing the shrimp.
You need to move the shrimp around constantly in the skillet to get them evenly cooked.
Your goal is to keep the skillet hot enough so your skillet is sizzling, but not hot enough to burn the shrimp. Humm … sizzle but don’t burn. That’s not a bad metaphor for life 🙄. For your shrimp to stay in the “sizzle zone” all you have to do is turn the heat down using the knob on the stove. In life, it’s a lot harder to sizzle and keep from getting burned.
KEEP STIRRING.
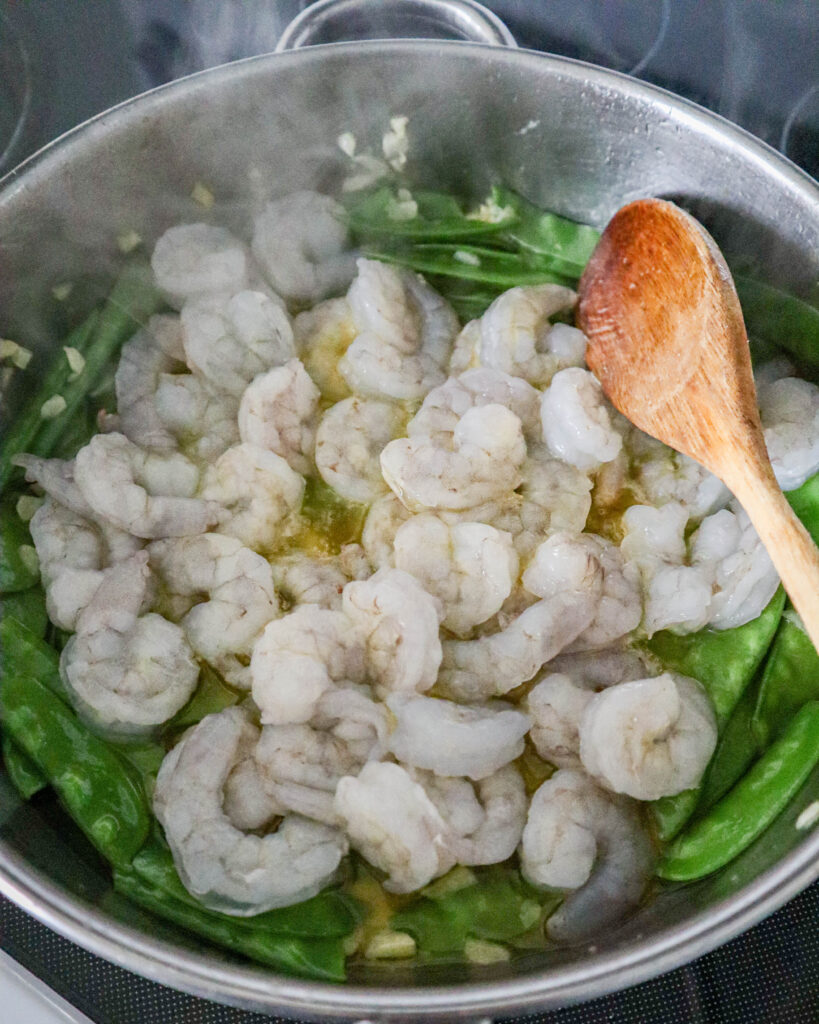
The shrimp have been added to the skillet. They are translucent when they are raw. The meat of the shrimp will curl up and be a whitish-coral-orange when they are done.
The middle of the skillet is always where it is hottest, so I moved the pea pods aside and cooked the shrimp in the middle.
When to get your pasta in the boiling water
If you are serving this dish with angel hair pasta (our favorite way to serve it) the pasta is only going to take 3-5 minutes to cook after the water has returned to a boil. The shrimp will take 8 to 10 minutes. If your pasta is done about the same time as the shrimp you can add the pasta directly to the skillet from the pasta water. Some of the water will come with it and that is fine. Pasta water is good in any pasta sauce. It is salty and starchy, both enhance flavor.
You cannot leave angel hair pasta sitting too long in the water before it gets mushy. A more sturdy pasta can sit longer. If you drain the pasta before adding it to the skillet, return it to the warm pot and add some olive oil so it does not form a clump. If angel hair is allowed to stick together, you cannot get it unstuck. The starch in the pasta is stronger than the thin strands. You can’t go wrong adding fresh olive oil. This dish has an olive oil sauce and a splash of fresh olive oil is good for any dish.
If you are using a different pasta or using rice, the timing of starting the pasta or rice will change according to it’s package directions.
When is the shrimp done?
When the shrimp is done it will look like those in the picture below. They will no longer look opaque but will be a pinkish orange and white and curled up into a circle. The shrimp will be firm, almost crisp when you bite into them. If they are mushy they are not cooked enough. When overcooked shrimp gets rubbery.
Overcooking your shrimp can happen very quickly, so if you are going to have any time lapse between the shrimp being done and being served, make sure to remove the skillet from the hot burner.
Tasting one of the shrimp is a fool proof way to determine if the shrimp is done. It is my personal opinion and practice, that the cook should get the first bite anyway. After all, you have to make sure it is perfect right? That is my story and I am sticking to it.
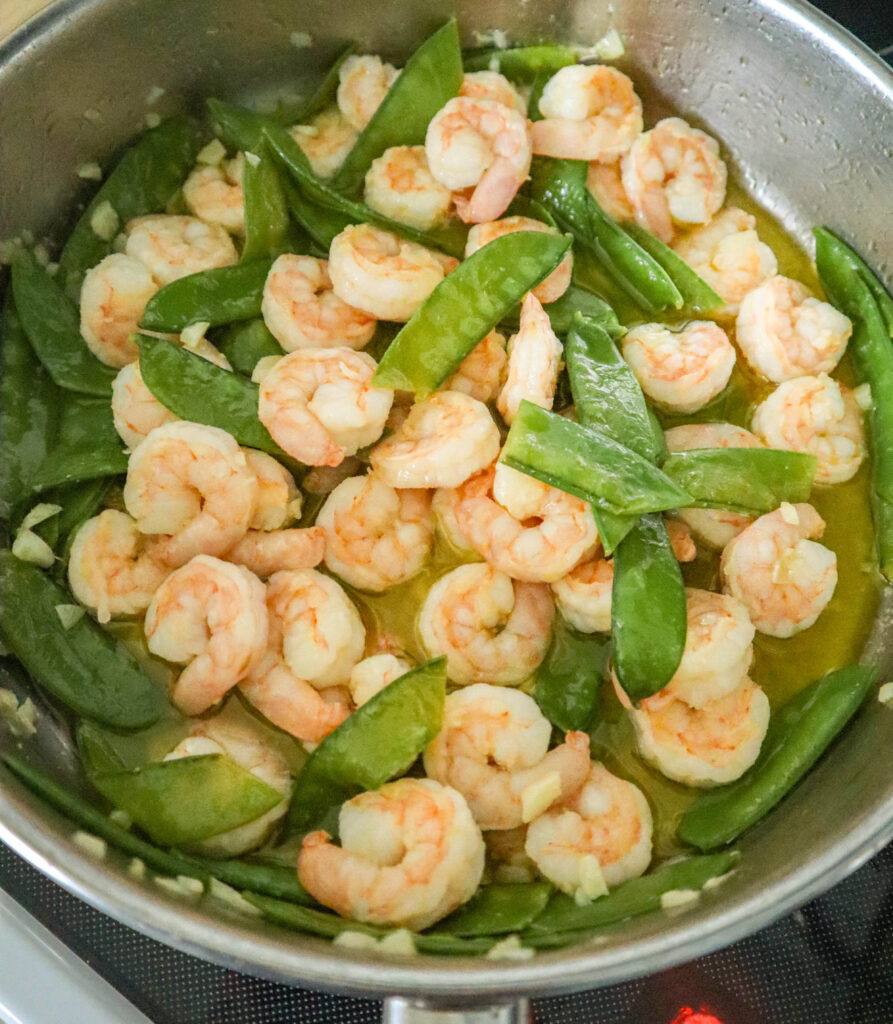
The shrimp are done. They are white and pinkish orange in color and they have curled up. The color and shape of the shrimp are keys to knowing when they are done. Another tried and true method is to pop one in your mouth! They should be firm when you bite into them.
Add the pasta or rice to the skill
When you add the pasta or rice to the skillet you are letting them soak up all the flavors in the sauce. You will notice as you add the pasta that the other ingredients will naturally slip off to the sides. That is okay. Stir it all together to incorporate those flavors as best you can.
After your rice or pasta has soaked in some of the sauce, you can remove some of the shrimp and pea pods to put over the top of a serving. Or you can serve family style and put any extra shrimp and pea pods along the sides of the serving dish and let everyone take as much as they want of each.
Serve
This dish is great served with garlic bread made with a homemade spread. We have a recipe for making garlic bread at home Make your own Garlic Bread.
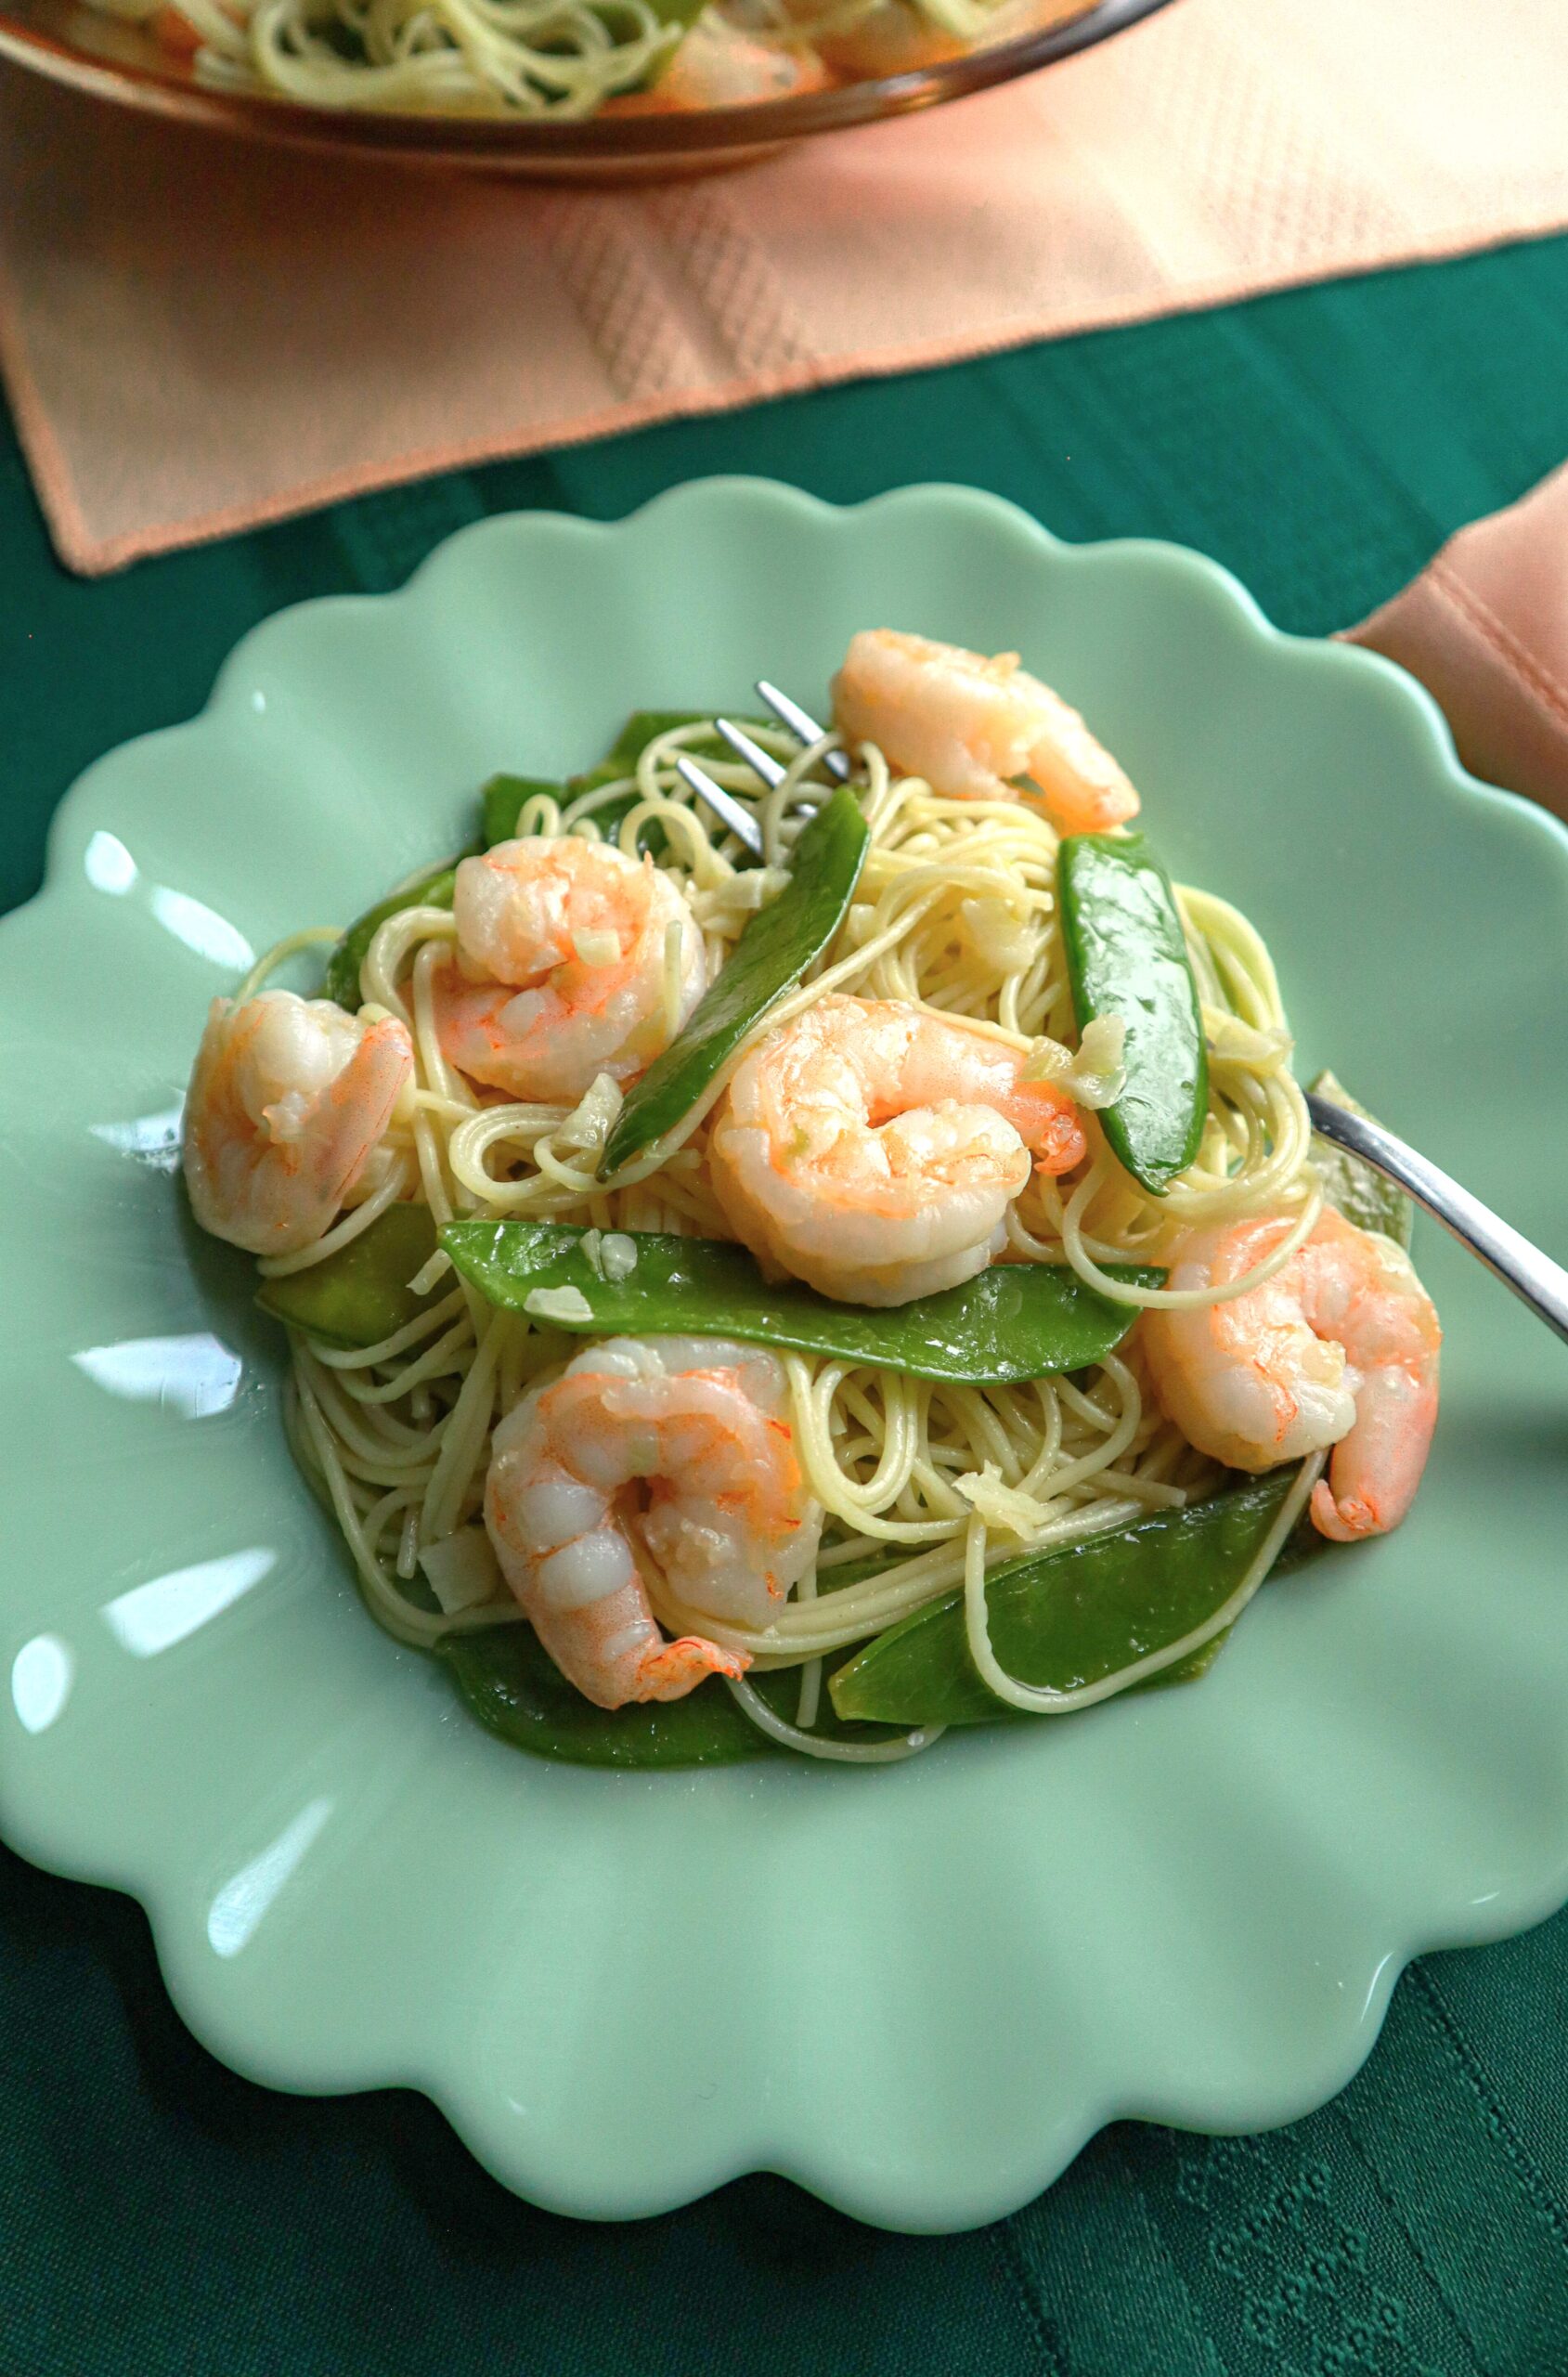
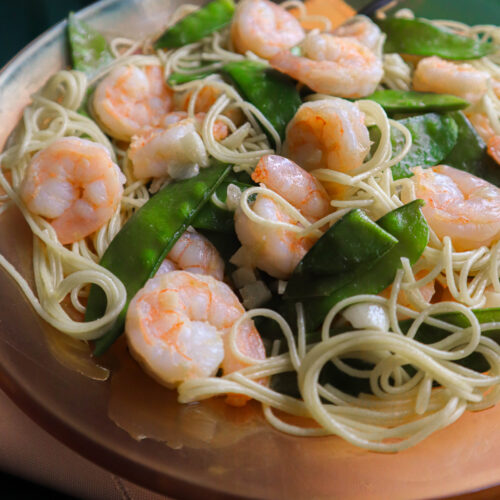
Shrimp with Pea Pods
Ingredients
- ½ cup olive oil
- 3 cloves fresh garlic
- ½ pound pea pods snow pea pods (6-8 ounces)
- 1 teaspoon salt
- ¼ cup white wine or dry vermouth / optional
- 1 pound raw shrimp
- pasta or rice angel hair pasta recommended
Instructions
Prepare Ingredients
- Peel, remove the tail and devein the shrimp. (see more on cleaning shrimp in text)
- Trim ends from the pea pods and cut in half if they are large. Kitchen shears are the perfect tool for this.
- Mince (chop small) the fresh garlic cloves.
- Put water on the stove to boil for pasta.
Cooking Instructions
- Add the olive oil and garlic to a heavy skillet on medium high heat and stir for 1 minute to flavor the oil.
- Add the pea pods and cook for 1 or 2 minutes. Cook for one minute if you want to keep them fairly crisp for the finished dish or 2 minutes if you want them more tender. They are going to continue to cook as you cook the shrimp.
- Stir continuously
- Turn the heat to high and add the shrimp to the skillet. Keep the heat on high long enough to get the shrimp to a sizzle, then turn down to medium high again once the shrimp start to cook. You want the shrimp to stay at a sizzle without burning. Stir constantly to make sure everything is moving around enough to evenly cook.
- It is very important to stir constantly. It's the only way to get the shrimp all cooked at the same time. It only takes minutes to cook.
- If you are using angle hair pasta, add the pasta to the boiling water after you have added the shrimp to the skillet. The pasta and shrimp will be done about the same time.
- If you are using another pasta or rice for this dish. Time accordingly.
- The shrimp will start to go from translucent to whitish orange. They will also start curling into a circular shape. These are indications that the shrimp are done. The only sure way to check for doneness is try one. When done, the shrimp will be firm when you bite into them. They can overcook easily and become rubbery. When the shrimp are done, take the skillet off the heat.
- You don't need to drain the pasta. Add it right to the skillet when the shrimp is cooked. It's okay to get some pasta water in the skillet. Stir it all together to get all the pasta covered in the sauce.
- Serve immediately

