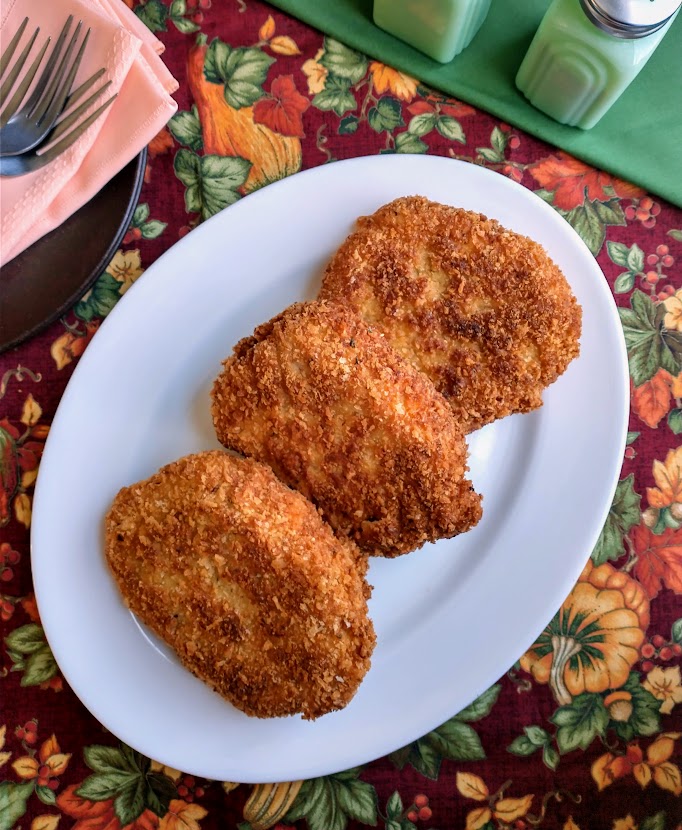
Pork Loin Chops with a Crispy Panko Crust
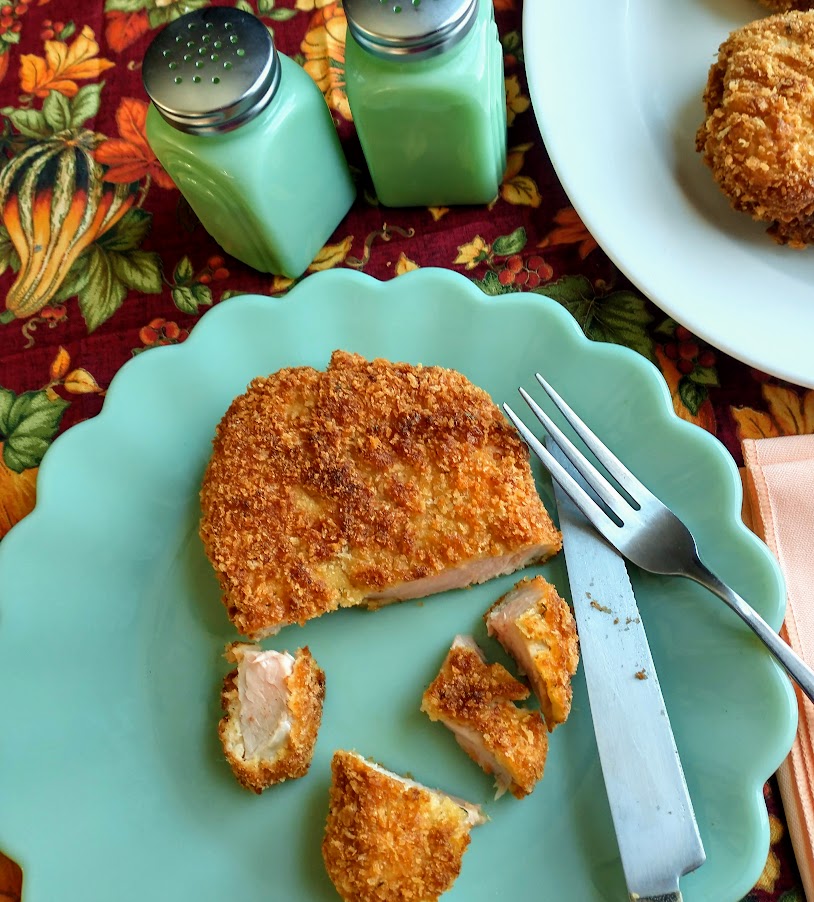
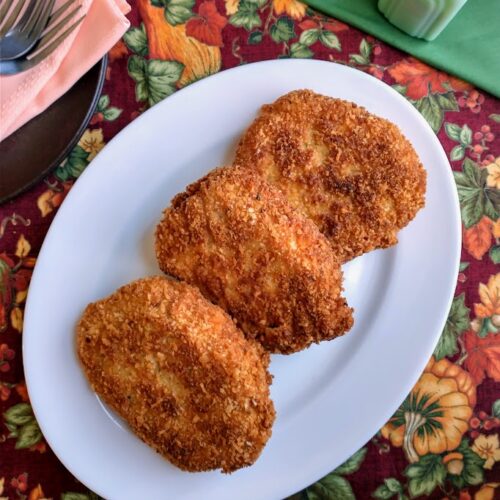
Panko pork is a fabulous recipe for boneless pork loin chops or center cut loin with bone in . They come out of the skillet moist inside, and crispy crunchy on the outside. And you don’t need any fancy equipment, just use a skillet on your stove top.
It’s all about the crust
If you have been envious of the thick delicious crust you get from restaurants and wondered why your attempts are never as good? You know, the kind of crust that doesn’t fall off when you cut into the food? Well you can have the same crispy, crunchy results by implementing the same technique of breading that the restaurant uses. You need a little bit of patience. You can’t skip a step and get the same results, but if you love a crispy crust, it is worth the effort. This breading technique can be used on any meat, or even vegetables.
In this recipe, we will give you brief run down on the 5 step dipping process, which creates this incredible crust. In our “Back to Basics” section, we have posted a closer look at the process, demonstrated in pictures. Check it out in Crispy Crunchy Coating.
Here’s what YOU WILL NEED:
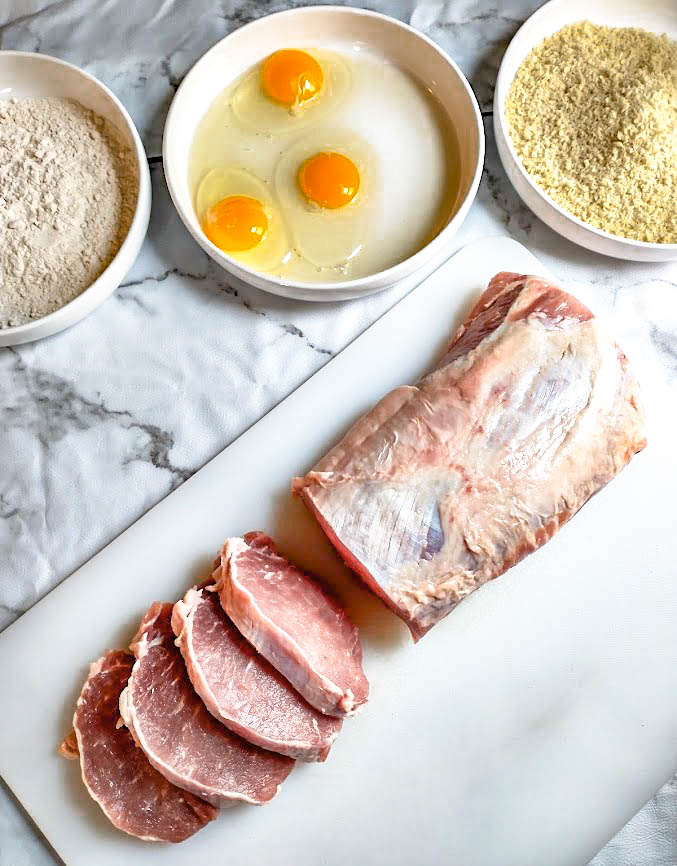
4 one inch boneless pork loin chops |
| 3/4 cup flour |
| 3 eggs |
| 2 cups seasoned panko crumbs |
| vegetable oil for frying |
About the ingredients
Buy more
As you can see, we cut the pork loin chops from a whole loin that we bought on sale. The other half is going to be used to make Ricky’s STUFFED PORK ROAST.
Because we will not be making the stuffed roast in the next day or two, we are going to freeze the half we haven’t used. Buying the whole loin, and freezing some for other meals, especially when we can get a good deal on one, is customary for both of us. It is economical, and having the makings of a good meal in the freezer can come in handy.
Freeze some
When you freeze, always use a wrap or bag that is made specifically for freezing. It is a lot thicker than it’s less expensive counterpart. If wrapped and frozen in regular plastic storage bags, waxed paper or store packaging, in a very short time the meat will get “freezer burn”.
Have you ever taken something out of the freezer and seen ice crystals sticking to the frozen meat or vegetables? Why do those crystals form? Since the meat (in this case) is moist, any air around it is going to get moist when closed up. That moisture in the air freezes, forming ice crystals. The ice crystals burn the meat, just as human flesh on ice for any length of time will get frost bite. Therefore, getting rid of as much air around the meat as possible, before it is put in the freezer, is just as important as using freezer specific packaging.
The perfect situation is vacuum packing with heavy plastic sheets. That is pretty pricey, and frankly, unless I were packing up lots of things for the freezer at once, dragging the equipment out wouldn’t be worth it for me. It’s just as easy for me to use plastic freezer bags. To get the air out of the bag, I put the food in and close the bag, leaving a small opening for air to escape. I smooth the bag over the meat and push pockets of air out. I put a straw into the small opening in the back and suck out any air remaining until the plastic bag is snug against the meat.
While freezer burn isn’t a health hazard, it sacrifices texture and taste. The extra effort helps keep the meat as good coming out of the freezer, as it was going in.
This is WHAT TO DO:
Prepare the ingredients
Bring your pork chops to room temperature and then pat them dry. Making sure the chops are dry before breading and having the chops at room temperature when they are added to the hot oil are important to the process of making the crust crispy.
Prepare three shallow plates/bowls for the breading process. In one plate put flour, in the second plate break and gently beat the eggs and in the third plate put the Italian flavored panko crumbs.
Create the crust
Bread each chop one at a time.
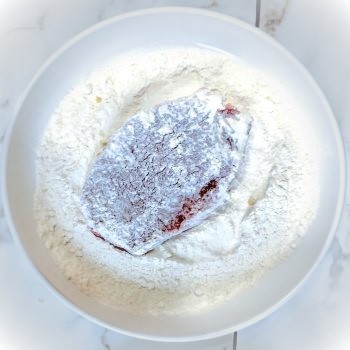
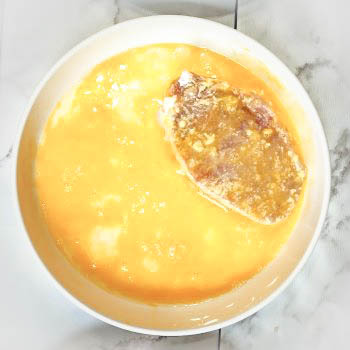
Start by rolling the chop in flour until it is fully covered (gently shake off any excess flour). Dip the floured cutlet in the beaten eggs until it is wet on all sides. Hold cutlet over plate until the excess egg has dripped off, then roll in third dish with the panko crumbs (shake of excess panko). Then, dip the chop in the beaten egg a second time ( and let the excess drip off) and for the final step, roll the cutlet in the panko crumbs again. This 5 dip process is what builds the thick, crispy, crunchy crust. Once the chop is breaded, place it on a baking rack until you are ready to fry. Don’t let the breaded chop sit on a plate. We use the rack so the breading will stick to your chop, not your plate.
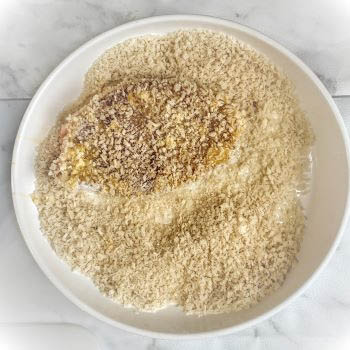
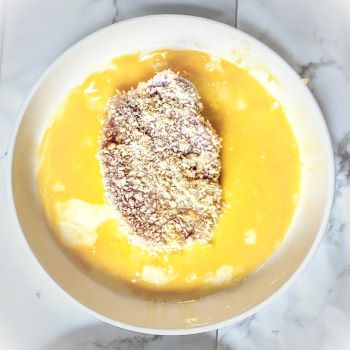
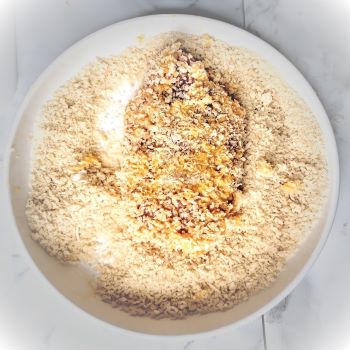
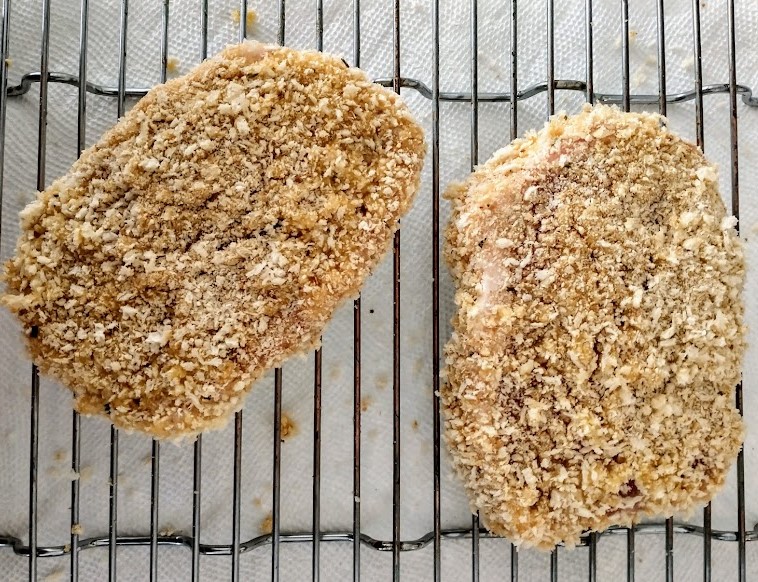
Now it is time to fry
Like in the breading process, each step in the deep frying process is necessary to getting the crunchy crust and getting the coating to stick to your chops.
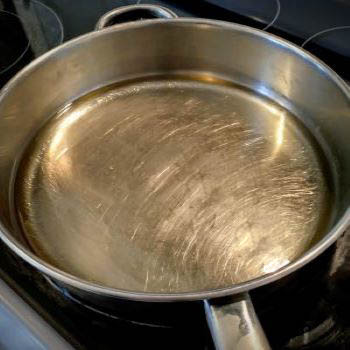
Using a 12 inch skillet (or larger), with straight deep sides, add enough vegetable oil to the skillet, to equal 1/2 the thickness of the pork. If you have 1 inch thick boneless chops, add 1/2 inch of oil.
Heat the oil on high heat for about 3 minutes before adding the chops. The oil is going to be very hot so be careful when you add them. Frying in really hot oil is as important as getting the breading process right when you want a crunchy crust.
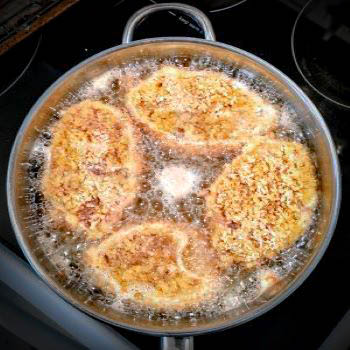
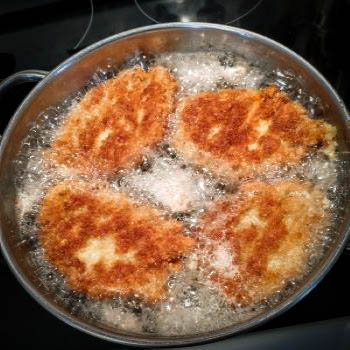
See the big bubbles surrounding each of the chops? This is how you know your oil is hot enough. Not only does it look extreme, it sounds it too, so don’t be surprised. The bubbles are like rolling thunder. Oddly enough as long as your chops were at room temperature before going in, and your oil was preheated, the oil does not spatter.
Fry the chops on one side for 4 minutes, carefully turn them over and cook for 4 minutes on the other side.
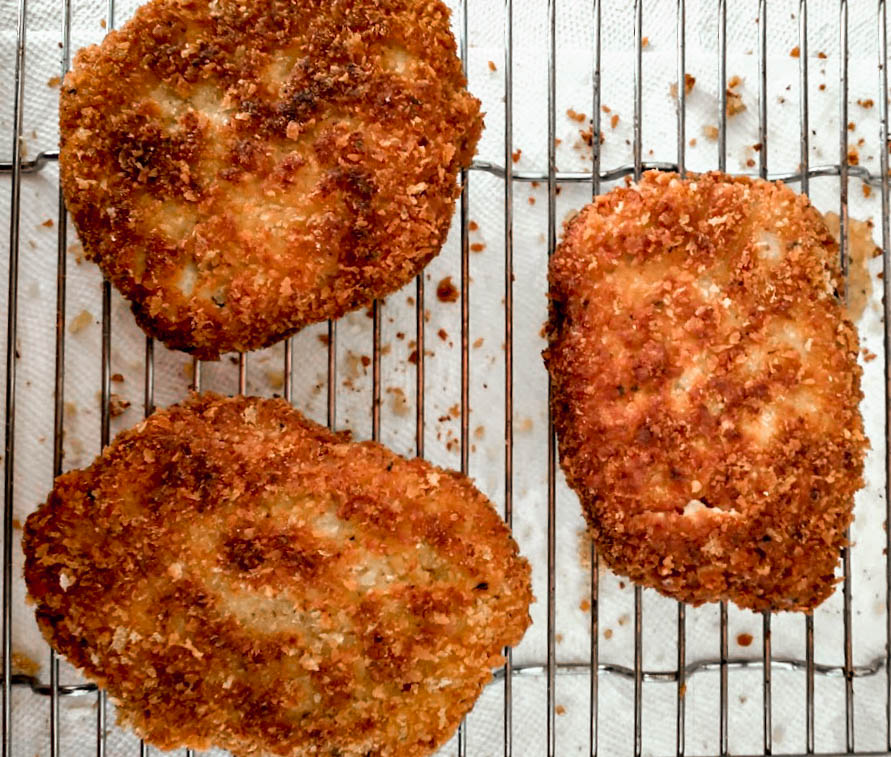
When done, put them back on the rack.
Panko crusted boneless pork chops
Serve
Panko Pork Chops
Ingredients
- 4 pork chops boneless 1 inch thick
- 3/4 cup flour
- 3 eggs
- 2 cups panko bread crumbs Italian seasoned
- vegetable oil for frying
Instructions
Prepare Ingredients
- Put out three shallow plates or bowls. In one put flour, in another put 3 eggs and beat them lightly and in the 3rd bowl put the panko bread crumbs.
- One at a time, dredge each chop in each of the bowls making sure it is covered on all sides on each dip. Dip in this order: 1. flour 2. egg 3. panko crumbs, 4. back in egg, 5. back in panko crumbs. Shake or let drip excess flour, egg or panko crumbs before going to the next bowl. When each chop is coated, place on a baking rack.
Cooking Instructions
- Put ½ inch oil in a deep, straight sided 12 inch skillet. Let oil heat on high for 3 minutes before adding the chops.
- Add all four coated pork chops to the hot oil. Fry for 4 minutes on each side.
- When cooked, put the cooked chops back on the baking rack. Let sit for 5 minutes. They will continue to cook while resting.

