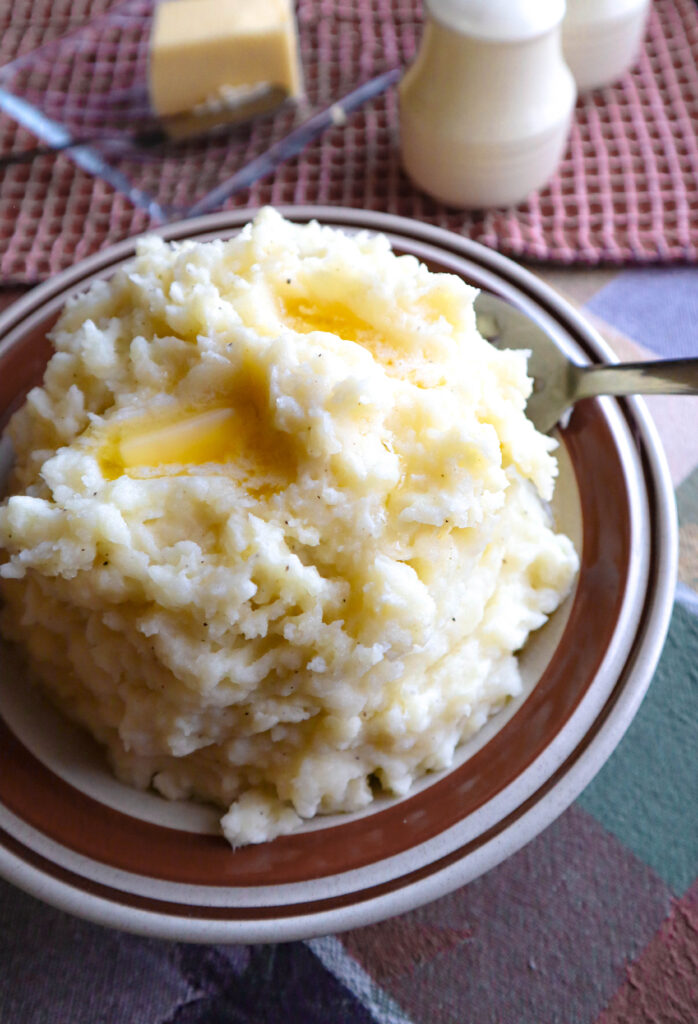
Making no frills Mashed Potatoes
If a group of people were asked to make a list of their favorite comfort foods, I think a good number of them would have mashed potatoes somewhere in the top five. I know when I cook for my family it’s not the meat or vegetables that I have to make sure I have enough of, it’s mashed potatoes. I can have a spread of delicious foods put out and the one dish that I hear them get excited about is the bowl of mashed potatoes. It’s always something like “Oh great, mashed potatoes, yum!”. There is one exception. For Christmas we always have a beef rib roast. Then usually someone will say “Awesome, rib roast” followed by “and mashed potatoes.”. I have noticed that no matter how big a bowl of mashed potatoes I have made, there’s never any left after the meal.
Mashed potatoes get a bad rap
Despite the popularity of mashed potatoes, they are not found on as many dinner plates as one would think. I think the rise in popularity of healthy eating and carb conscious dieting has unjustly dubbed our beloved mashed potatoes as a food to stay away from. So let’s get to some damage control. Potatoes are a vegetable. They are loaded with vitamins and minerals, especially potassium not found in a lot of other foods. And while they are a carbohydrate, it’s a plant based unaltered carbohydrate. It’s not like white sugar and flour. Our bodies know just what to do with the goodness found in potatoes.
Even those who concede that the potato itself is not the culprit, will follow by telling us the problem lies with what we put in our mashed potatoes that put them on the no so healthy list.
Milk and butter
Milk and butter. That is what I add to my mashed potatoes. Come on! Milk and butter! They are pure dairy products. Assuming you are not dairy sensitive, they are not unhealthy. In any case, we are not adding a lot of either one.
It all starts with Potatoes
We use russet potatoes
Ricky and I cook with russet potatoes for the most part. In our area they are usually the best priced potato and they are always available. There may be potatoes that some would consider better for mashing, but this is an everyday meal recipe. Russets are what we have on hand and they are a great all purpose potato.
What to have ready
Before you start to peel your potatoes put a good amount of cold water in a large pan and add a tablespoon of salt to it. Potatoes brown quickly when they are peeled. The cold water will keep that from happening. You can leave them in the cold salted water for an hour or so as long as the water is kept cold.
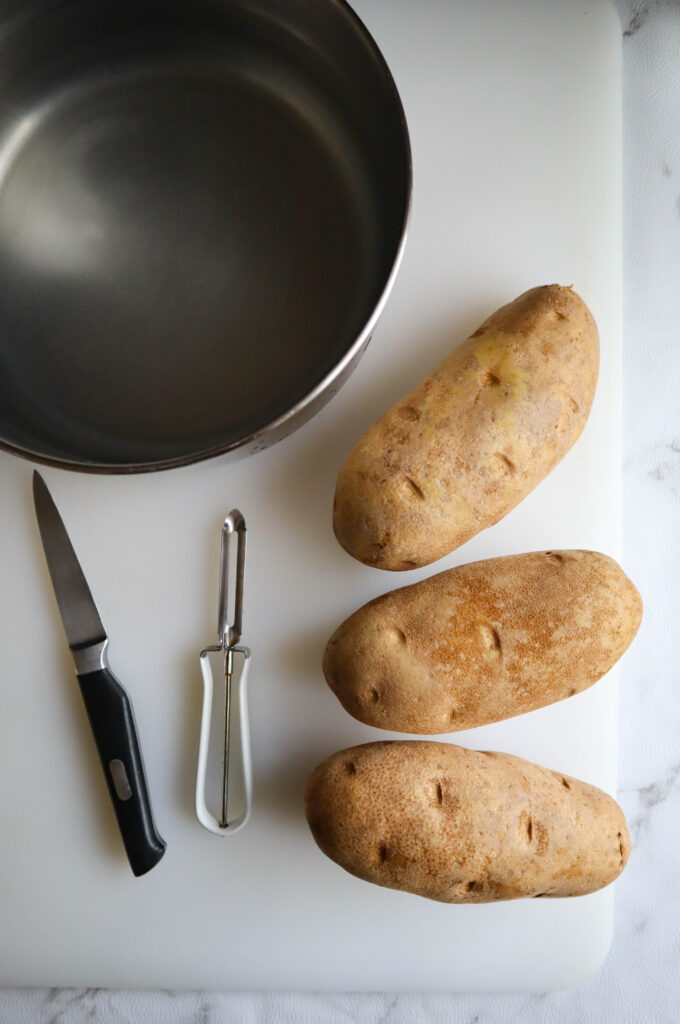
We are using 3 large russet potatoes.
I have my large 5 quart saucepan with cold salted water ready to put the potatoes in after I have peeled and cut them so they don’t brown.
At the bottom left side of the board there are two common tools used to peel a potato. The tool with the white handle is a vegetable peeler. Vegetable peelers come in all shapes and sizes. They all work basically the same. The knife is called a paring knife.
Using a paring knife
I use a paring knife to peel potatoes. Knives are not interchangeable for all purposes and using a paring knife for peeling potatoes is a really good example of that. It is the best knife for the job because it is small and you have better control of it when you are peeling.
Using a paring knife is a learned skill, but you can’t learn without trying. Always use a sharp knife. A sharp knife is a lot safer to use than a dull one. Why? As you peel a potato you have the knife very close to your hands and you are using it in a manner that you are drawing the blade toward you. You can’t be aggressively pushing and pulling a dull blade trying to get the job done. Even a dull blade is sharp enough to cut you. A sharp knife easily glides over the potato, you don’t need to push and pull.
If you are a newcomer to peeling your own potatoes with a paring knife, you will probably take quite a bit of potato off with the skin. With a sharp knife and practice you will be able to trim the skin off without taking a lot of potato with it. I would watch my grandmother peeling potatoes when I was young and be amazed at how she could peel the skin from the whole potato without ever lifting the knife. The skin would be in one curly piece on the counter. Even now that I am the grandmother, I am not that good. But I get the job done without a lot of wasted potato.
Using a vegetable peeler
A vegetable peeler is a good way to get the skin off with the least amount of potato lost. You use a peeler in a downward motion, away from you, so you are far less likely to get cut using a vegetable peeler. They are inexpensive and can be found most anywhere that carries cooking supplies, even the grocery store. They also need to be sharp. If you have had one for a while you may need to replace it if you are having trouble getting it to do the job.
Paring knife vs vegetable peeler
So why would anyone use a knife? It’s faster once you get comfortable using it. I grew up seeing a paring knife used for peeling.
The curves and crevices of a potato only allow you to make lot of short swipes with a peeler.
Vegetable peelers do excel in peeling some other vegetables. Shaving the skin from a carrot is a cinch with a peeler. Using long strokes from top to bottom you get a lot of skin off in one swipe.
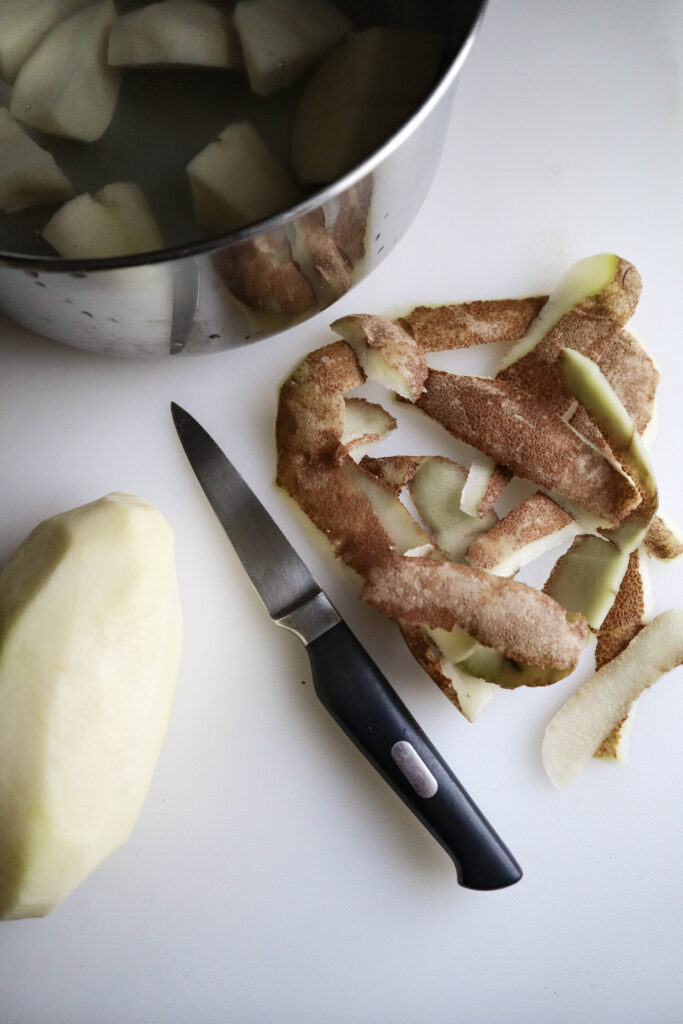
Using a paring knife you can decide how deep into the potato you are going to cut when you are taking the skin off. You can cut in a little deeper when you get to an eye or dark spot.
You can take the skin off faster when you get the feel of using your paring knife.
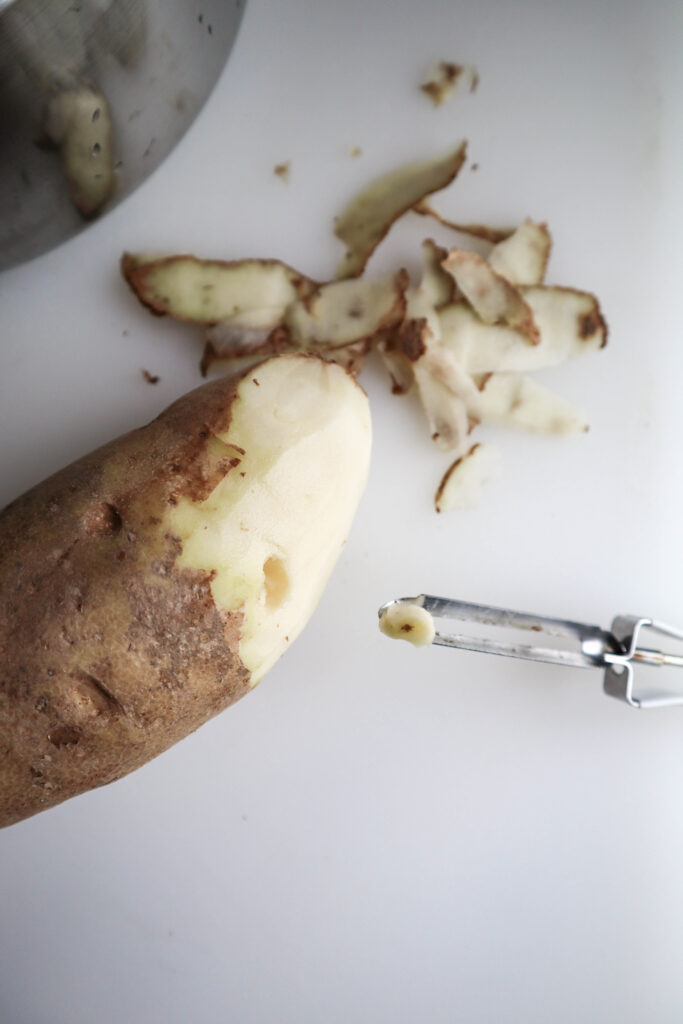
Using a vegetable peeler you shave off only a thin layer of skin. Because potatoes are round and sometimes bumpy on the outside, you usually can only take a few short swipes at a time.
The end of the peeler is pointed so you can easily cut out the eyes of a potato out as seen in the picture.
Do you know what those eyes on the potato are all about? The “eyes” of the potato are those spots that look indented and darker in color. If left to mature, those eyes become sprouts. You can actually cut the sprout off with a chunk of the potato, put it in a pot and grow your own potatoes. You won’t get all that many potatoes from a garden pot, but it’s a fun project. The potato is actually part of the root of the potato plant. Potatoes are referred to as a root vegetable for that reason.
Spuds with sprouts
You can still use potatoes after they have sprouted. Just brush the sprouts off with your thumb as you wash them. When these sprouts get longer the potato will start to shrivel up. Shriveling vegetables always means they are drying out. Potatoes are not worth using when they have long sprouts. The potato may not be rotten, but it’s not good for eating either.
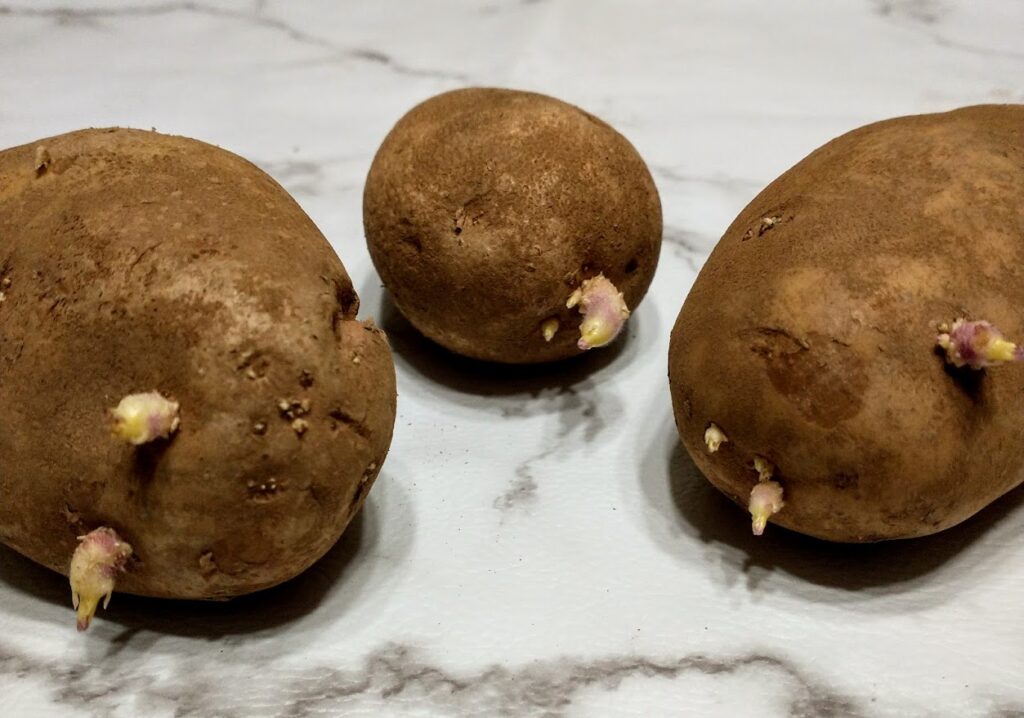
These are potatoes that have grown sprouts. Don’t they look like alien beings? A sprout is the beginning of a new potato plant. You can cut them and raise them in a pot or in your garden.
These sprouts are still small and are easy to rub off. Sprouts can get very long and even more weird in appearance.
Have you ever smelled a rotten potato?? If not, you can’t image the stink. Honestly, when you try to hunt down where the horrid smell is coming from you are not expecting to see a potato!
Cutting the potatoes
It’s important to have some cold salted water in a pan or bowl before you peel. The cold water and salt is good for the taste of the potato and it keeps the pieces from browning. Use at least a tablespoon of salt in the water. You can let your potatoes sit in the cold water for a while before cooking if you want to peel ahead of cooking time.
As with any ingredient you are preparing, the size of the pieces should be uniform in size. You don’t need to go overboard worrying about how close in size they are, just eyeball it. You want the pieces to be about the same size so they are all cooked evenly.
Cut the potatoes into big chunks. If boiled for too long, potatoes can turn into a starchy, good for nothing mush. By cutting your pieces into large chunks a minute or two of extra cooking time isn’t critical. Also, the potatoes are going to bump into each other while cooking, even at a gentle boil. You may lose some cooked potato on the outside in all that moving around.
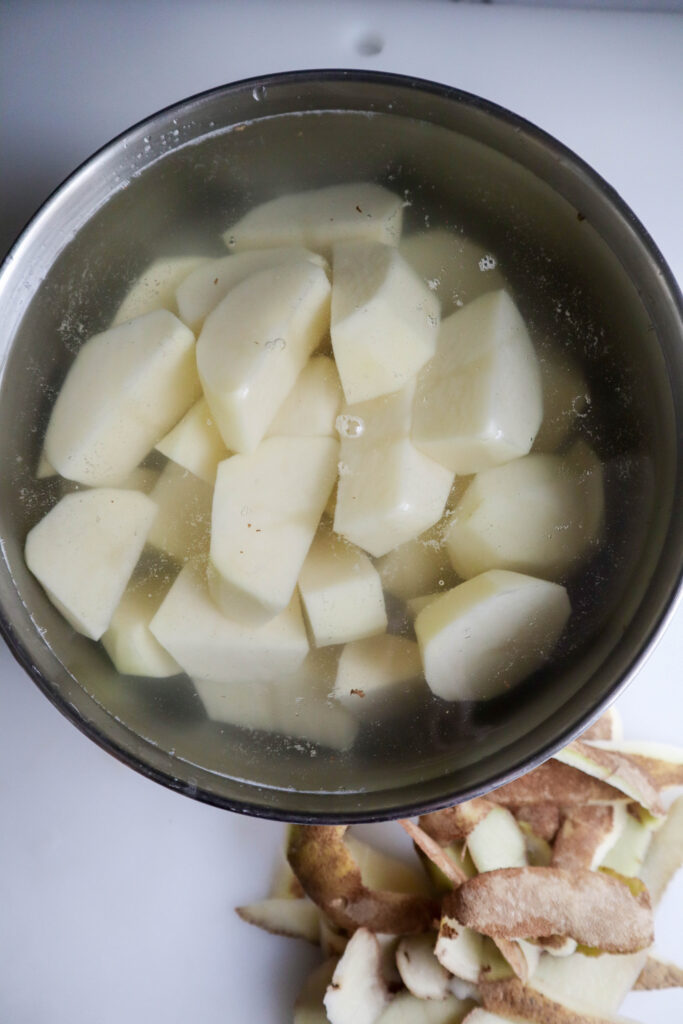
Here are my peeled potatoes cut up into large chunks and put in cold salted water. I can leave them in the cold water for an hour or so before cooking when I am preparing ahead.
Cooking the potatoes
Before you put the potatoes on the stove to cook, drain the potatoes and rinse them under cold water. Draining and rinsing will get rid of excess starch that has seeped into the water. It also rinses off any dirt that may have remained on the potato after peeling.
Put your rinsed potato chunks into a saucepan large enough so you can cover the pieces with a couple of inches of water and still have room at the top of the pan for the water to boil. Use cold water with at least 2 teaspoons of salt. Use more salt of you are boiling more than 3 large potatoes and less if you are using less than 3. Using salt in the water before and after rinsing is important to texture and taste.
On high or medium high setting bring the potatoes to a boil, then turn the burner down to medium to let them cook. Medium or medium low heat should get you to the boil you want. You don’t want a full rolling boil so the potato chunks are smashing against each other in the pan, but you don’t want them to slow cook as they would in a simmer either. You want large boiling bubbles to consistently rise and pop open.
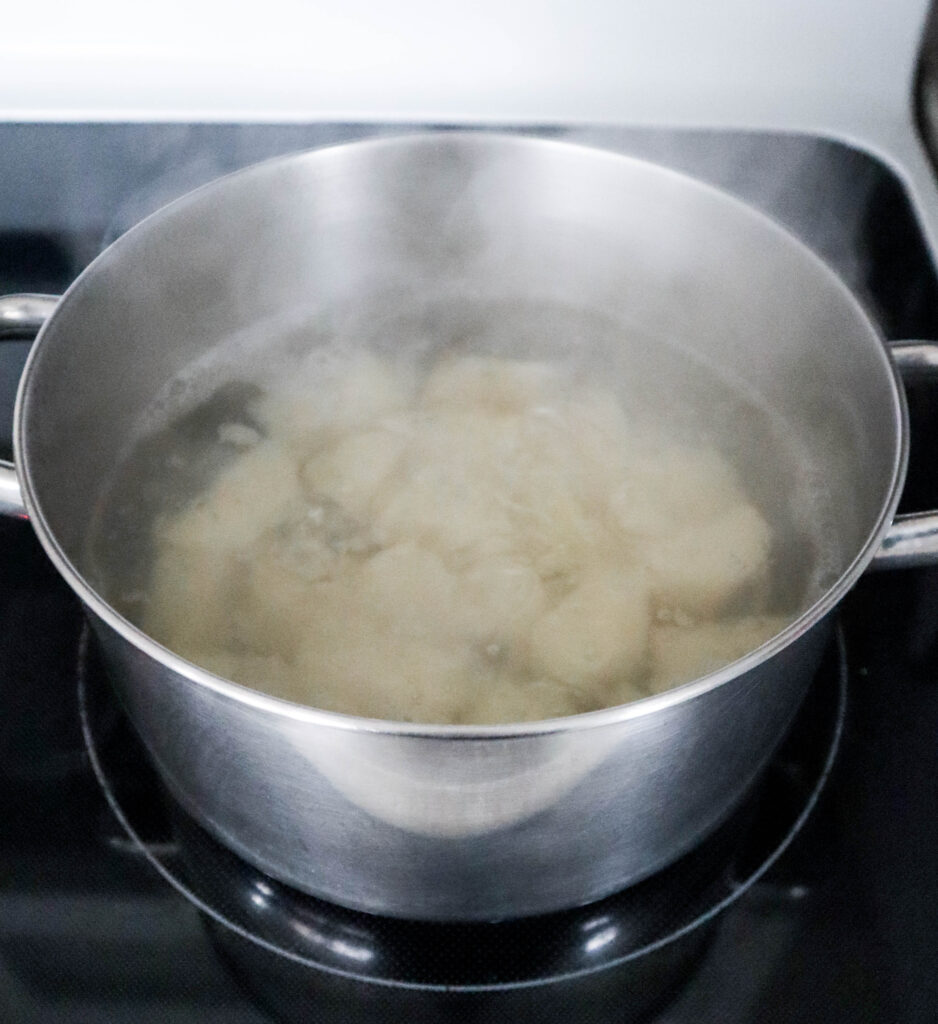
Here are my potatoes boiling. I have them on medium heat. This isn’t a full rolling boil because they will smash together and start falling apart. But your boil should be hotter than a simmer. A gentle boil should have large bubbles popping from the water consistently but not covering the water surface entirely with all popping quickly at the same time.
Now get your other ingredients ready
You can use any milk you like. I am using 1% milk. A lot of recipes call for cream. Personally I find I can control the consistency better using milk. Cream is pretty heavy and I like my mashed potatoes light and fluffy.
You don’t need to use a dairy product at all. I have used chicken stock to thin out my mashed potatoes and it works great.
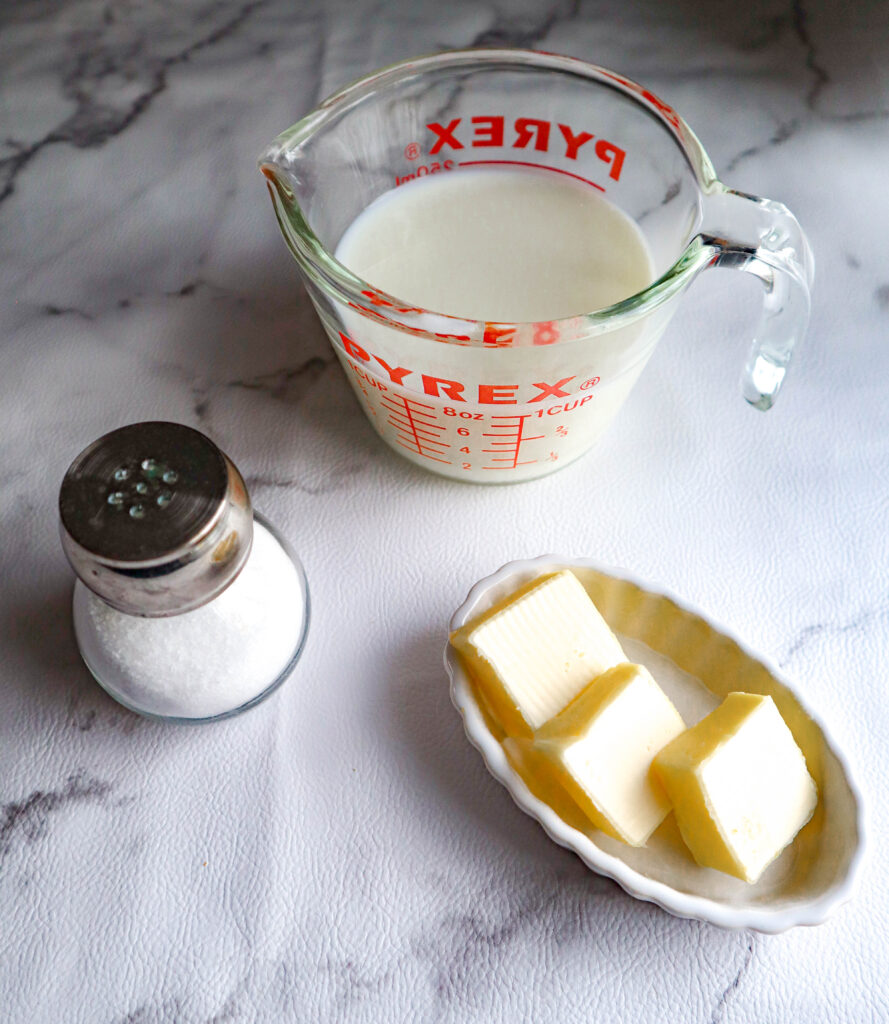
While the potatoes are boiling, get your other ingredients ready.
All you need is 1 cup of milk, 3 tablespoons of butter, salt and pepper.
Start with 1 cup of milk. you may not use it all, but you want to have enough by the stove to add as needed for the consistency you want.
When your potatoes are done
Start checking to see if your potatoes are done after 10 minutes of boiling. They need to be fully cooked before you take them from the heat. Undercooked potatoes are the reason many mashed potato attempts have failed. When undercooked you end up with hard lumps that taste like raw potato. Test to see if they are done by piercing with a fork. The potatoes should be just soft enough to fall apart when you pierce them.
Getting the potatoes ready to mash
A common mistake people make is mashing the potatoes before they are dried out. Yes, I said dried out. You will replace that moisture with the butter and milk you are adding. Your mashed potatoes will be pasty and heavy if they have not been dried out. I dry my potatoes in a two step process.
Drain
First I drain the potatoes in a colander.
Then with the pan off the heat, I rest the colander over the top of the pan to dry for 3 tor 5 minutes. As they dry in the colander you will see that the edges turn white and grainy.
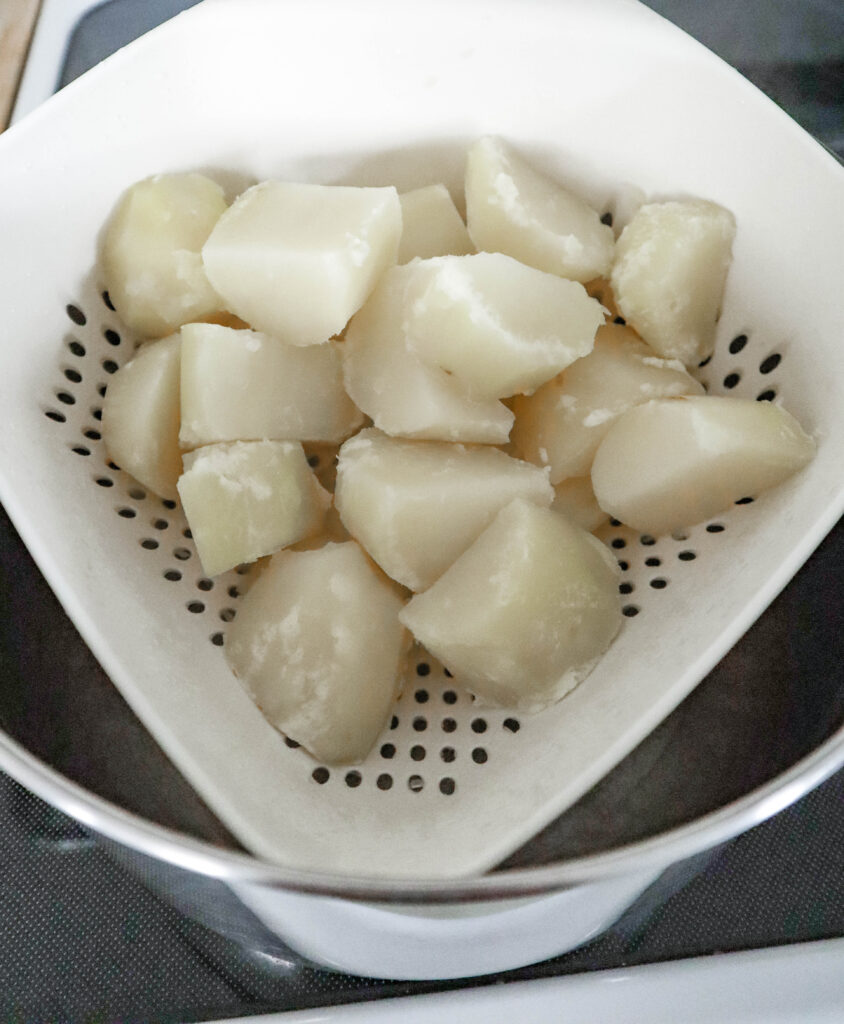
When the potatoes are fall apart tender, take the pan off the heat and drain the water using a colander. Then rest the colander back on top of your pan to dry out. The pan is still OFF the heat at this point.
You will leave them to dry in the colander for 3-5 minutes.
Can you see that the outside edges are turning white as the potatoes dry out?
Steam dry
Take the colander off the pan and put the empty pan back on the burner on medium heat. When the pan has warmed up, put the potatoes back into the dry pan. This step is only going to take a minute or two at the most. Don’t walk away from the stove. Move the potatoes around in the pan. You have to pay attention or your potatoes will quickly burn to the bottom. If you start to hear a slight sizzle when you put your potatoes in, that is any remaining moisture evaporating. Wait until the sizzling stops. If you don’t hear the sizzle they are already dried out. The sizzle is your way of knowing if all the moisture has evaporated from you cooked potatoes.
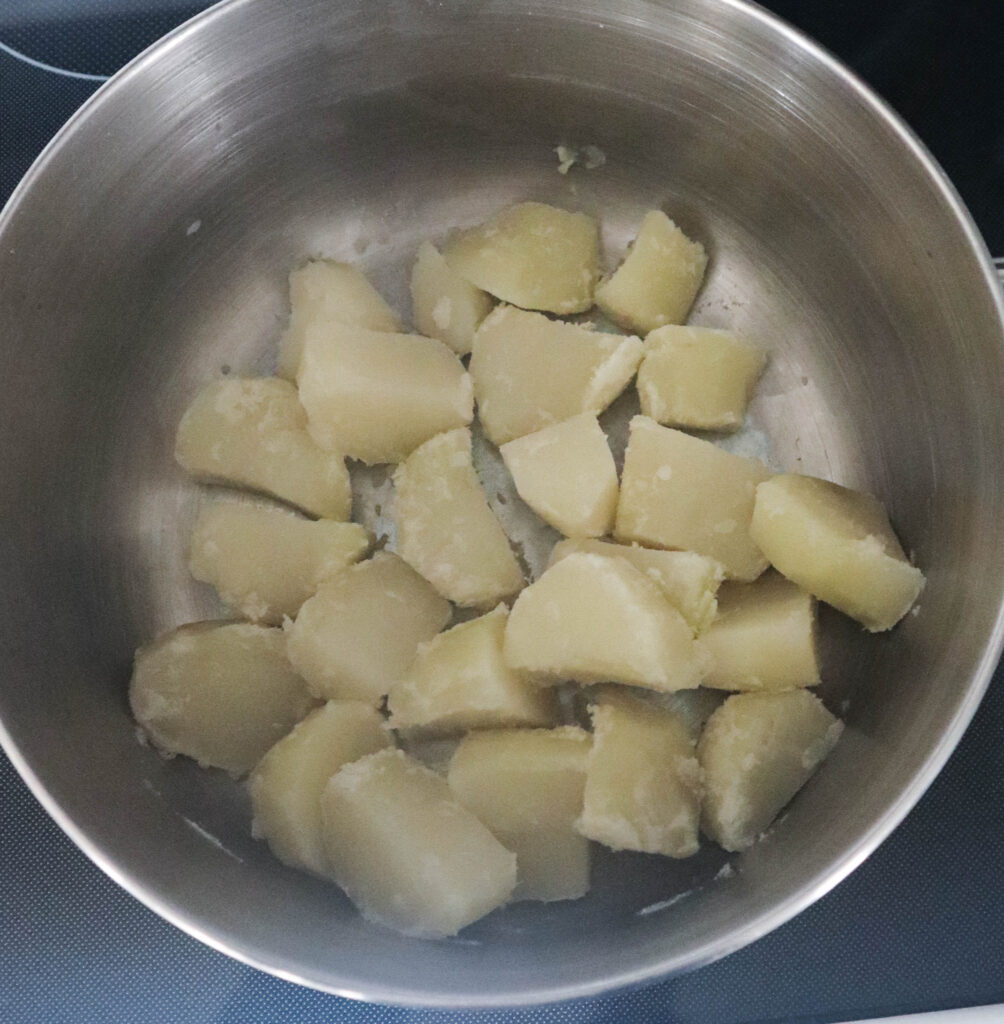
You might be able to see that there is some steam coming from the the pan. My potatoes were pretty dry going in already so I didn’t have much steam.
This is another look at what they look like when they are dried out. The white grainy edges are a good sign that they are dry.
Now your potatoes are dry and ready to mash! Have your milk, butter and salt nearby to add as you go.
Potato Mashers
If you have looked at some of our other posts, you may know that I use a lot of kitchen tools that once belonged to other members of my family. My potato mashers represent 3 generations of tools. I have never had to buy a masher. The “fancy” masher at the bottom of the three mashers is my sister’s. She and I are completely opposite when it comes to things like this. I love to use things that belonged to a loved one, she hates anything old or used. She’s always looking for something new fangled. She has moved on to other mashers so I have this cast away. I call it the million dollar masher. 😊 I know that’s an exaggeration, but I also know she paid a heck of a lot more money for it than I would!
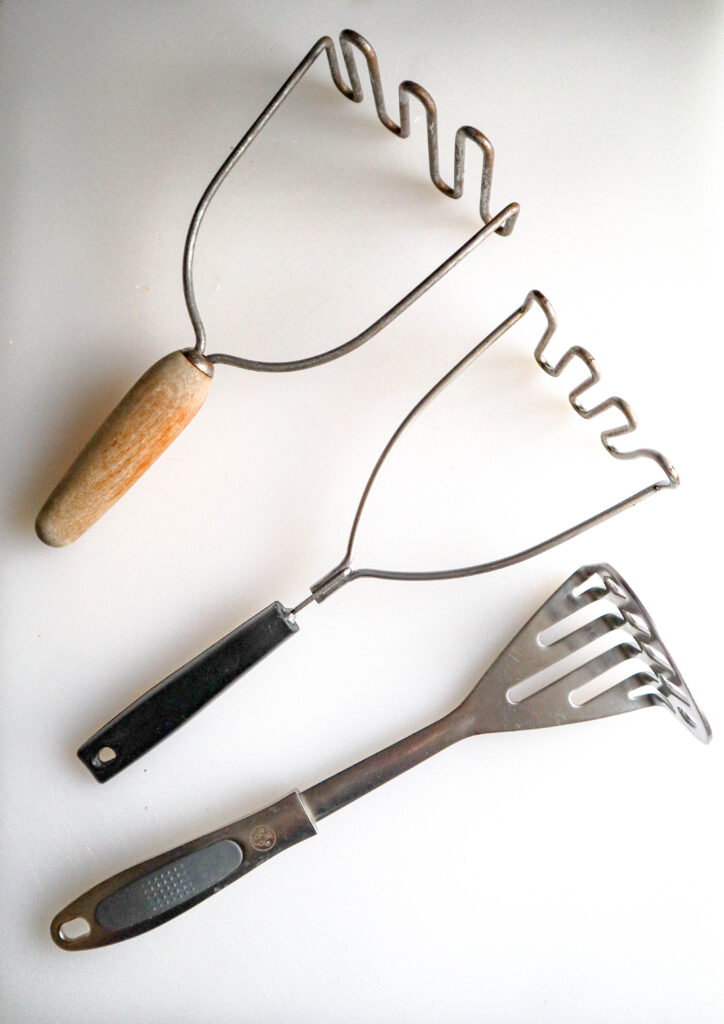
So here are my 3 generations of mashers. The one at the top was my grandmother’s. In the middle is my mother’s masher. And the fancy one at the bottom is my sister’s hand me down, dubbed the million dollar masher.
Having made fun of it, I have to add that I do use my sister’s hand me down masher most often. Because the slats are closer together, it mashes quicker. I can feel her gloating about that now.
There are many different shaped mashers and they can be found just about anywhere that has kitchen supplies. You can easily find one that is inexpensive.
Using a ricer
Sometimes a recipe will suggest using a “ricer” for mashed potatoes. It is probably the best way to make sure you don’t have any lumps, which are nothing more than little pieces of potatoes that didn’t fully mash.
I don’t use one. I never have any large or hard pieces of potato and if I have a small lump or two it doesn’t make any difference in taste and I like the more rustic texture. Using the ricer just isn’t worth the extra step to me. But I have my grandmother’s ricer so I will show you what they look like.
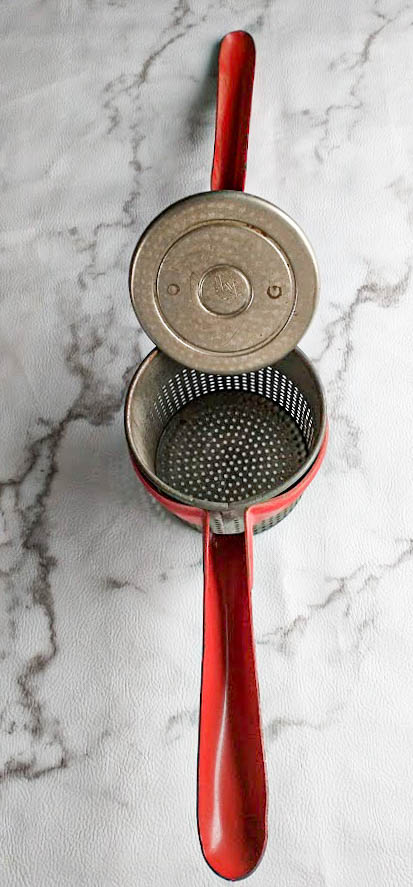
This is my grandmother’s ricer. This one’s old but the basic operation is exactly the same today. It’s a great example of a tool that will hold up for generations and still do the job. Good kitchen tools are a great investment.
It’s pretty easy to see how this works. You put the cooked potato in the basket, pull the handle with the “foot” down and as you press down, the potato gets pushed out of those little holes in thin strands. Hence the name, ricer.
Let’s Mash
Your potatoes have been boiled, drained and steam dried, so you are ready to start mashing. Keep the saucepan with the cooked potatoes on medium heat as you mash and add the butter, milk, salt and pepper. They will continue to stay warm and the heat will help the milk to be absorbed into the potatoes.
This isn’t going to take long, so plan on being at the stove until your mashed potatoes are done.
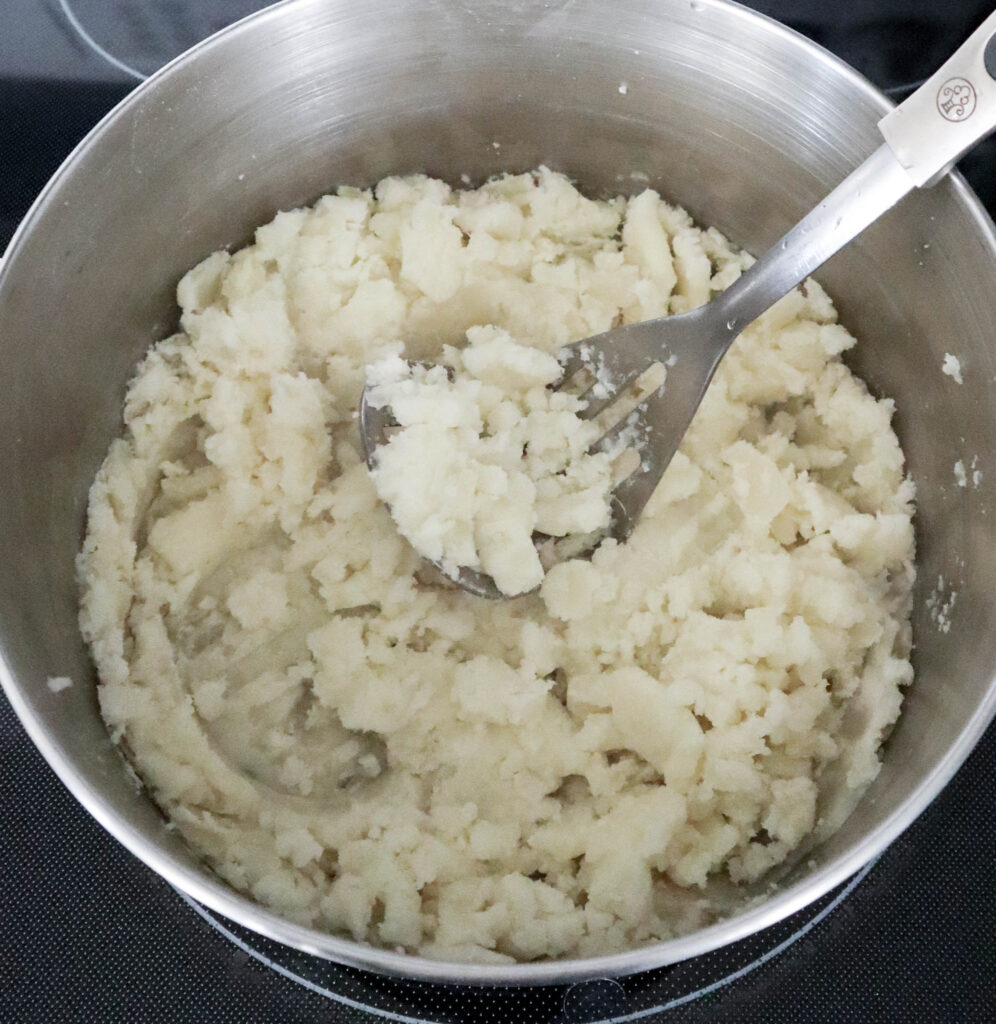
Start mashing with your masher
During the first mash you are going to have plenty of lumps when you are done. As you start adding the butter and milk the mashing is going to get easier and more effective in removing lumps.
Adding the ingredients
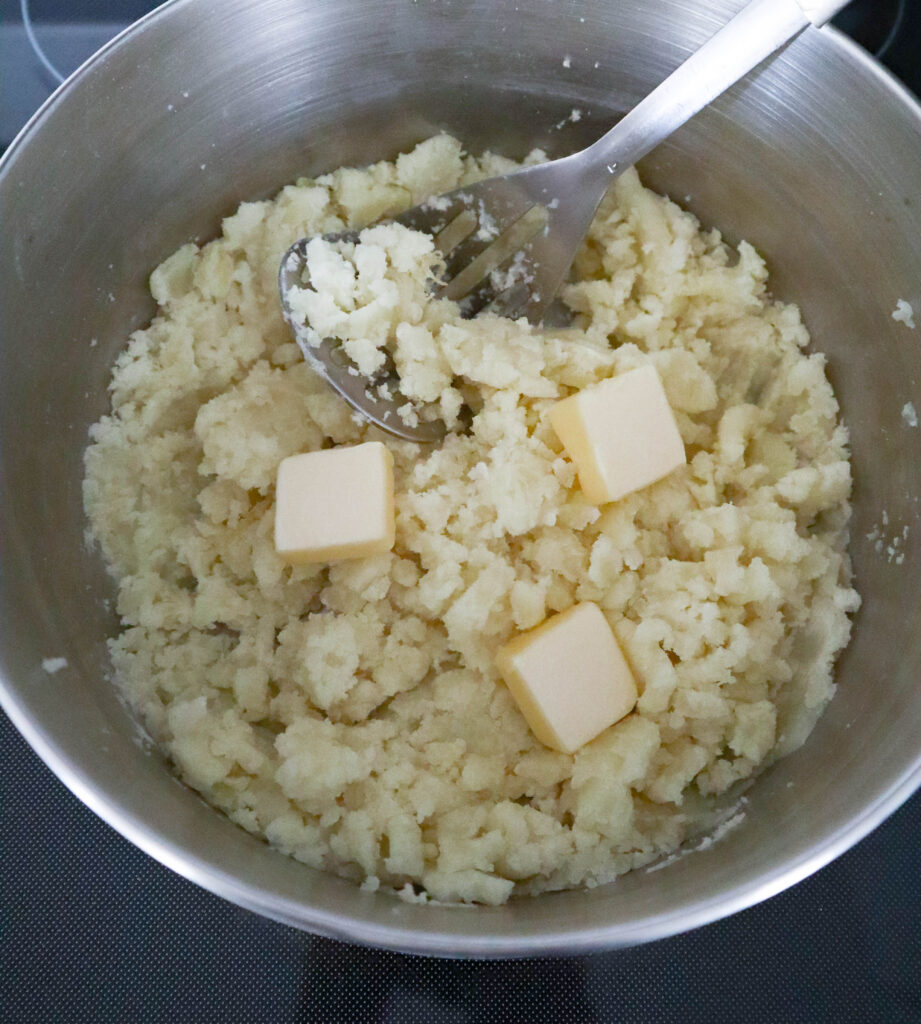
Add butter first. Your potatoes are still warm from steaming them dry and mashing them over medium heat, so the butter is going to melt quickly. Mash the butter in until it is fully melted and incorporated with the potato.
A note about adding milk
How much milk you are going to use is determined by so many factors that it is impossible to say exactly how much you will be using. The one cup of milk I measured out was enough for the batch of mashed potatoes shown in this post.
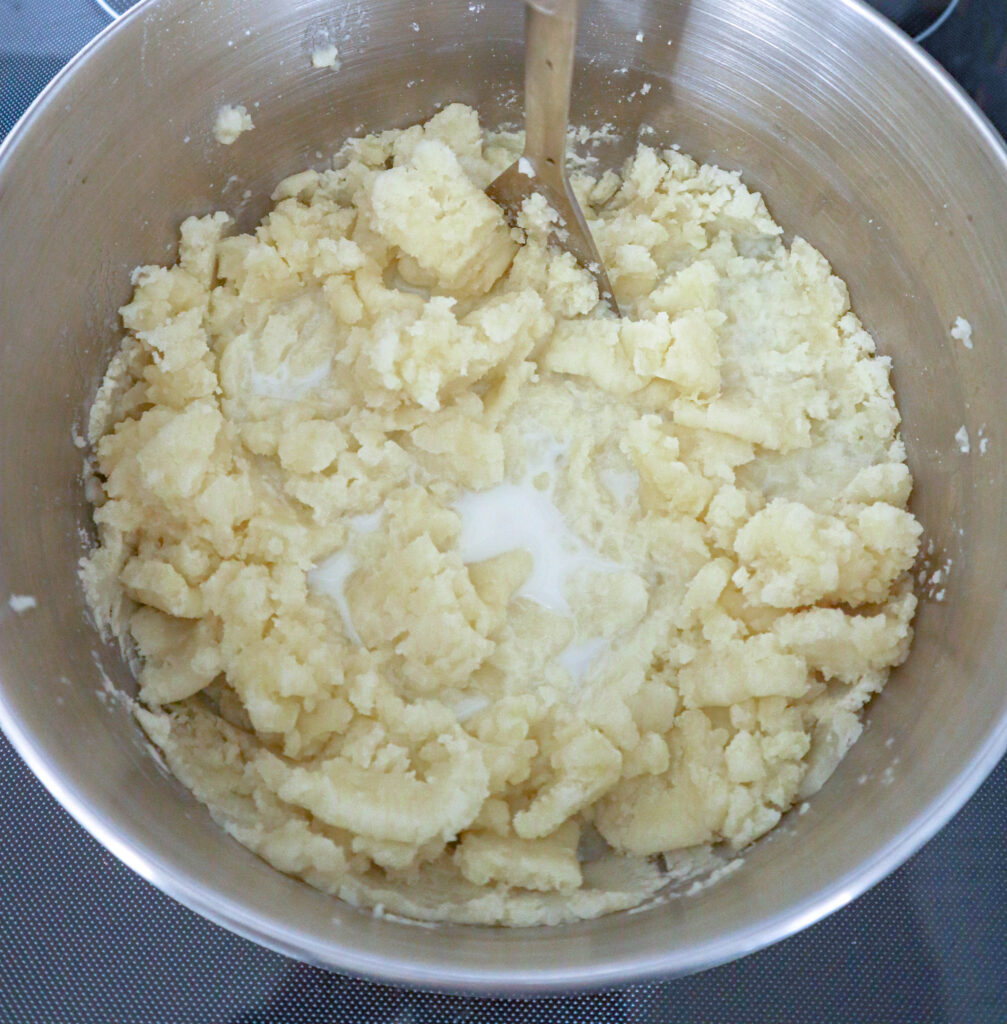
Add the milk at intervals. Don’t just dump it in. The potato is going to absorb the milk as you incorporate it, so it is best to add and mix, then add more and mix. This is one of the keys to a fluffy texture. Let the milk soak into the potatoes as you mash before adding more. The milk won’t be fully absorbed right away. If your mixture looks “loose” don’t fret, it will be soaked up in no time.
Once the milk starts thinning out the mixture I switch from using the masher and start using a dinner fork to whip the potatoes in the saucepan. It works for me. I think the fork breaks up the smaller lumps and it works as a whip to make my mashed potatoes light and fluffy.
Keep whipping (with a fork or masher) and adding milk a little at a time until you have the texture a little thinner than you want it. It will thicken up as you continue to warm it.
Add salt and pepper and mix.
If you don’t mind taking the extra step and you want to make your mashed potatoes smooth with no texture, you can use a food processor or a hand mixer to finish it off. I don’t. The texture is just right for me using my trusty masher and dinner fork.
Here’s what it looks like
All of these steps will take 10 minutes or less.
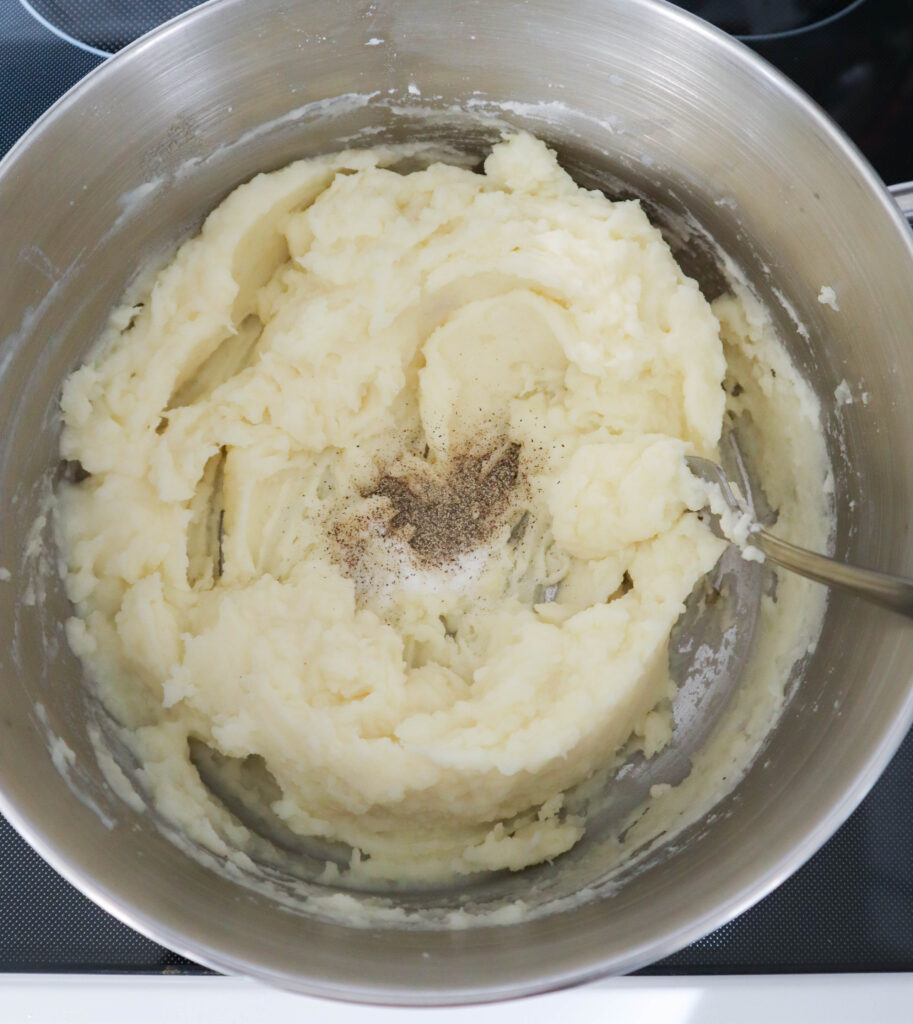
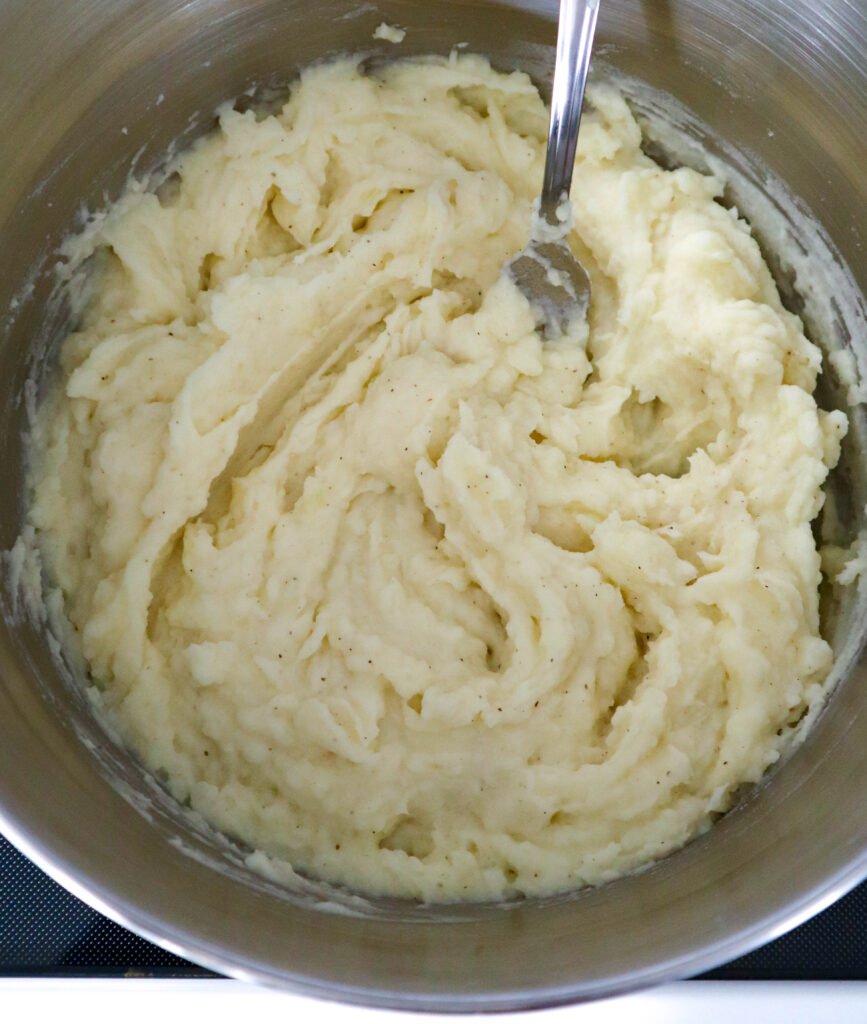
Not completely smooth like a sauce, but they are perfect for me.
Keeping them warm
You can keep mashed potatoes warm with the burner set to low and the pan covered for 10 or 15 minutes. But you can’t just leave them alone. If they are left to sit for any length of time, they start firming up as the potatoes will continue to soak up the moisture. At that point you should add a little more milk and mix it in. Set your burner to low as you add the milk and mix it in well until you have it the consistency you want again. It’s easy for the mashed potatoes to burn on the bottom of the pan at this point if you don’t keep mixing.
Serve
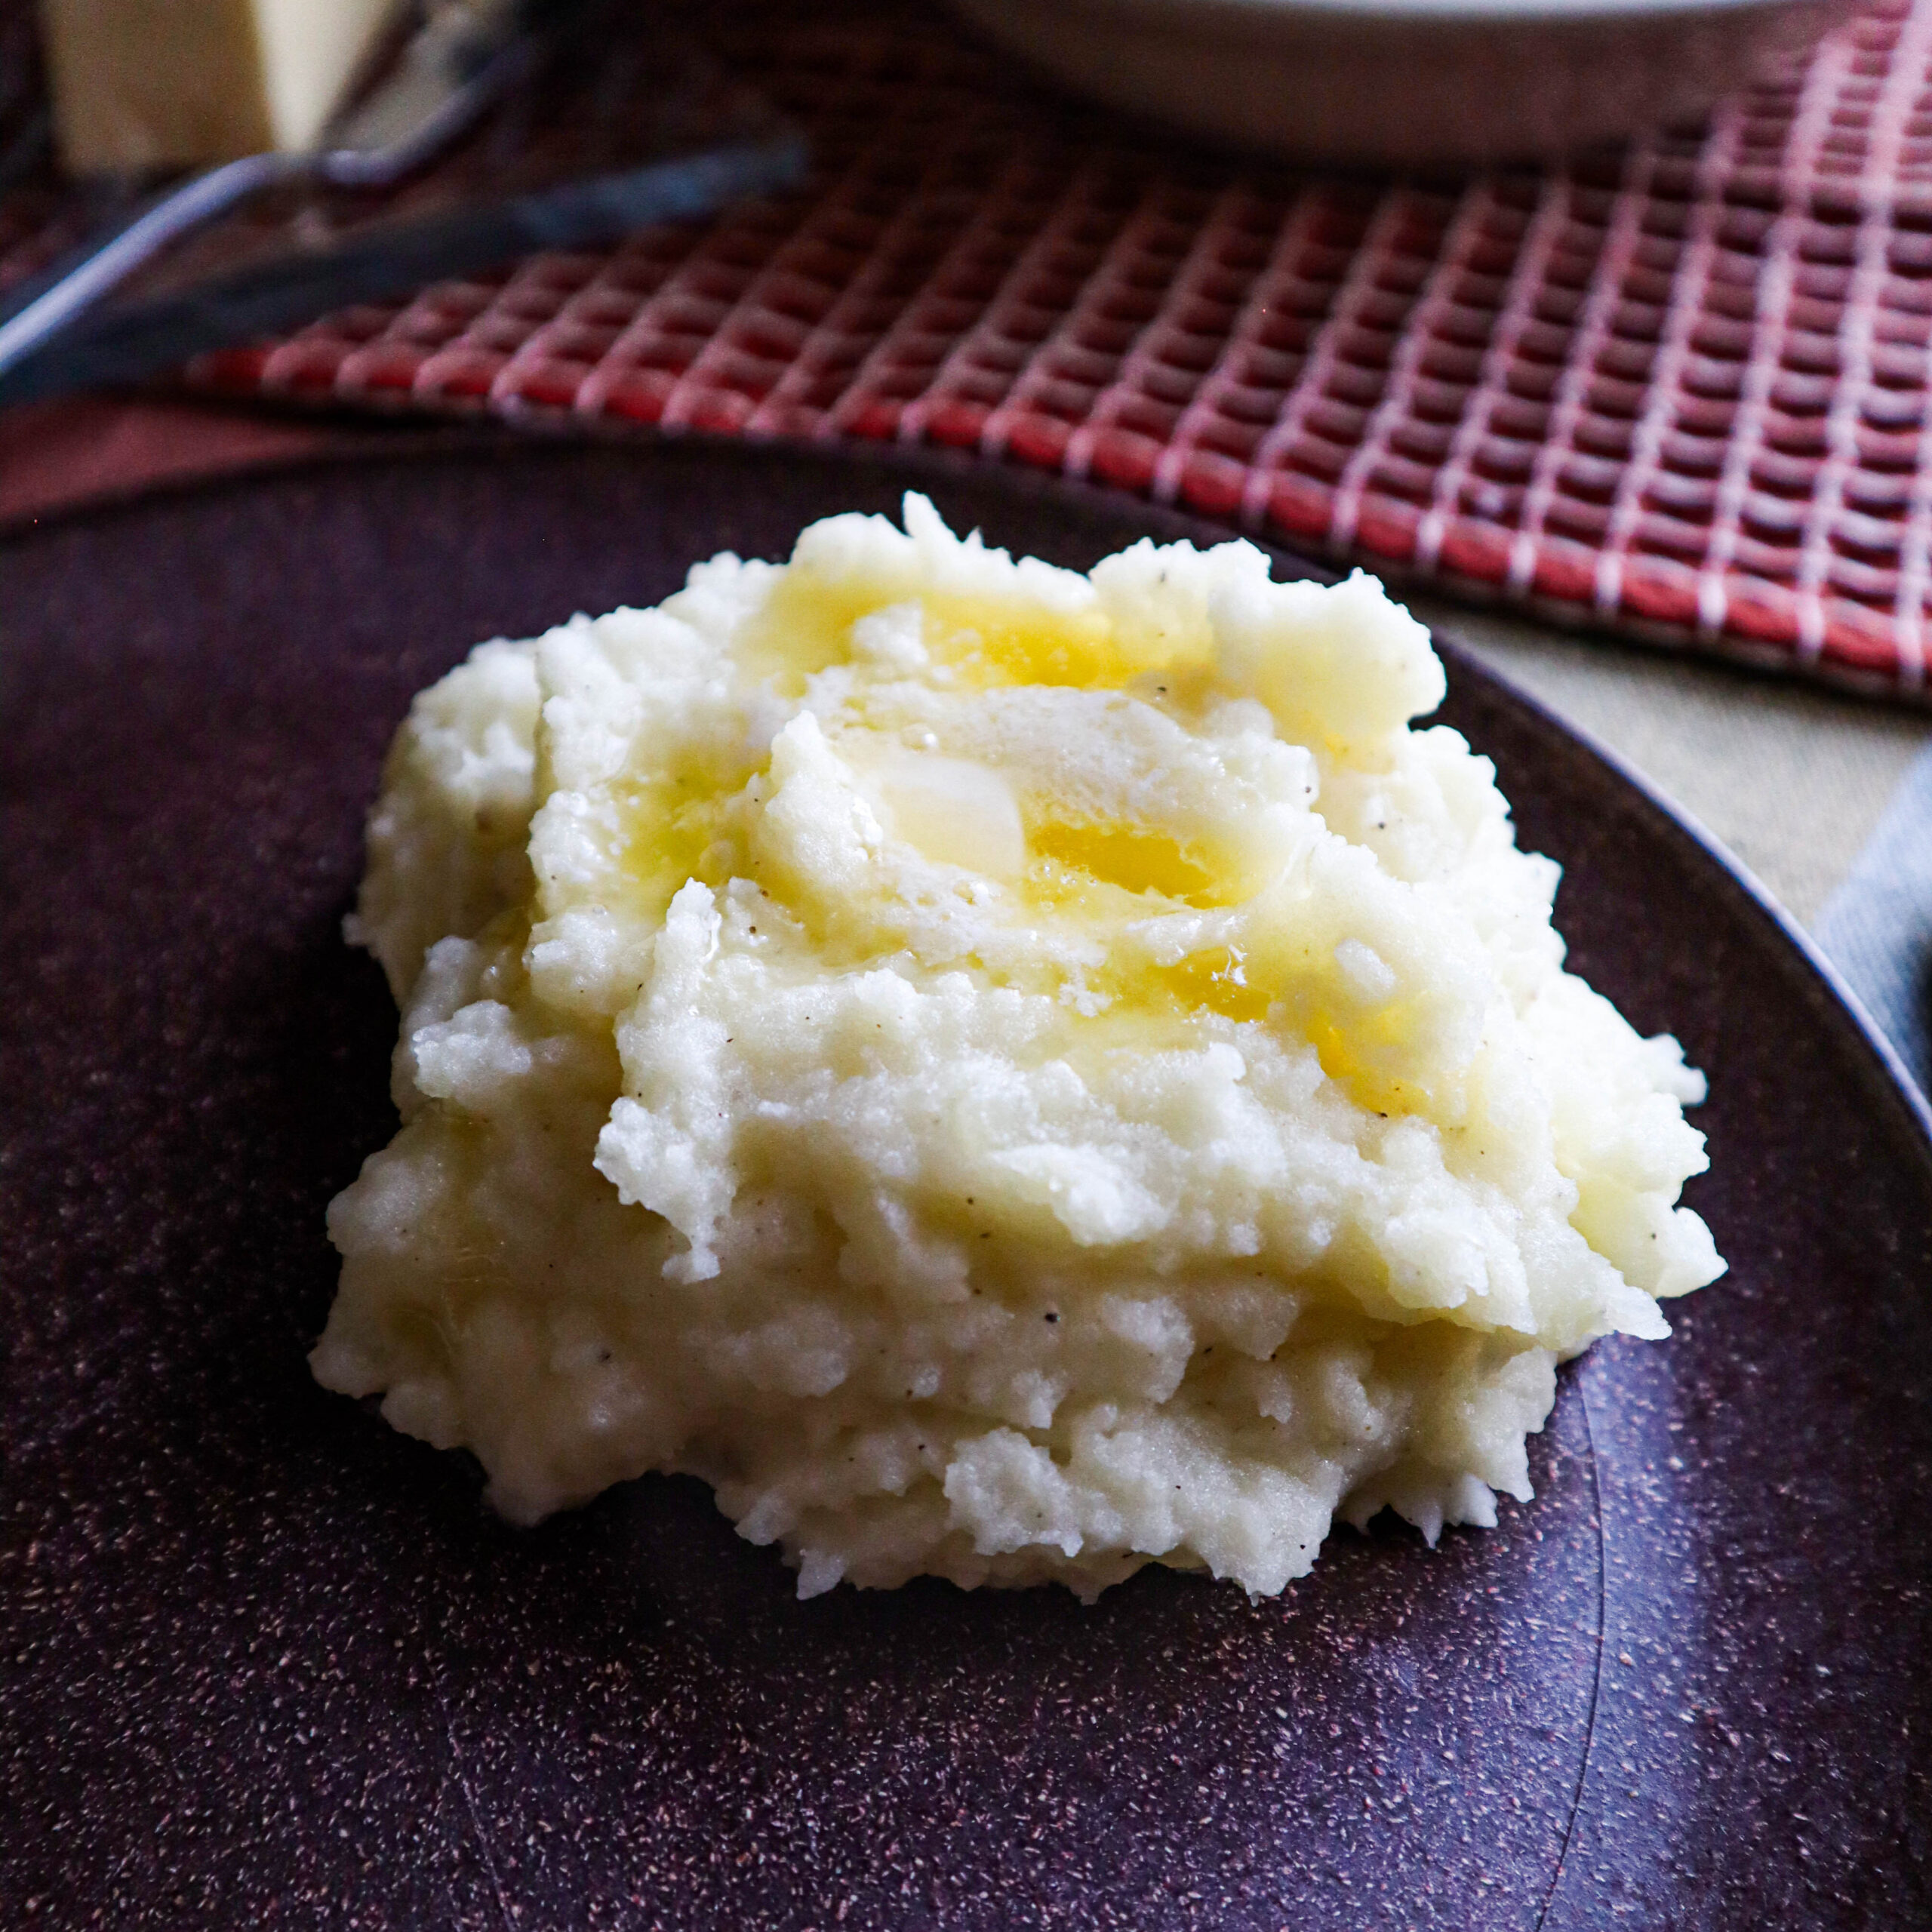
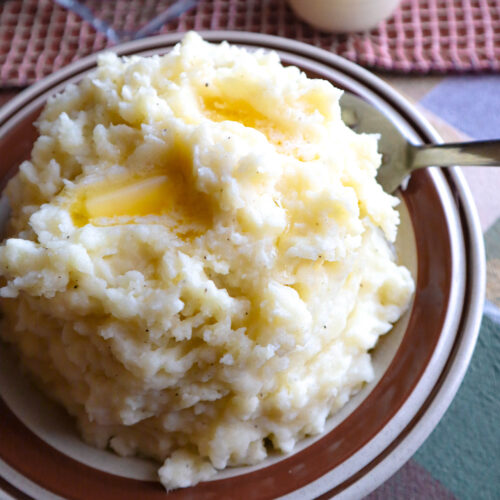
Mashed Potatoes
Ingredients
- 3 russet potatoes large
- 1 cup milk
- 3 tablespoons butter
- 1 teaspoon salt
- ½ teaspoon pepper optional
Instructions
Prepare Ingredients
- Peel 3 large russet potatoes and cut them into large chunks. As you are cutting them put the chunks of potato in a large pan of cold salted water so they don't brown.
- When the potatoes are all cut, drain and rinse the potatoes and add more cold water with a couple of teaspoons of salt.
Cooking Instructions
- Bring the cold water with potatoes to a boil on medium high heat. Turn the heat down and bring the water to a gentle boil. You should have large bubbles popping open slowly, not rapidly. You don't want the potatoes tossing around the pan vigorously. They will fall apart.
- When the potato chunks are tender enough to split with a fork, drain them in a colander and leave them in the colander to dry out for 3-5 minutes. The edges will start looking white and powdery. Drying the potatoes is what helps make fluffy and light mashed potatoes. Potatoes still full of water will get a gluey and pasty consistency when you mash them.
- To evaporate any remaining moisture in the potatoes, put the empty pot back on a burner with the temperature at medium. When the pot is warm, add back the drained and dried potatoes. If you hear sizzling it will be the remaining water evaporating from the potatoes. Keep moving the potatoes around in the pan. When the sizzle stops, you are ready to start mashing.
- Keep the heat on medium as you mash. Once you have gotten all the potatoes mashed up, start mashing the butter in. When the butter has melted start adding milk, a little at a time. Each time you add a little milk, let it absorb as you continue to mash. Continue to mash and add milk until you have your potatoes at a consistency a bit thinner than you want to end up with. Then let let them sit on the heat for a couple of minutes to make sure they are warm enough to serve. The potatoes will continue to drink up the milk even after it has been mashed in and your mashed potatoes are going to thicken as they continue to warm.
- Add the salt and pepper and whip the potatoes to the desired consistency. I use a fork to whip them up. You can use a food processor or hand mixer if you want them really smooth. I like a more rustic texture. The fork works great for me (and it's easier).
- Now your mashed potatoes are ready to serve.
- Serve immediately or leave pan covered on warm for a short time. Add more milk and whip it in if your mashed potatoes have stiffened up. Mix consistently to prevent the mashed potatoes from burning on the bottom.

