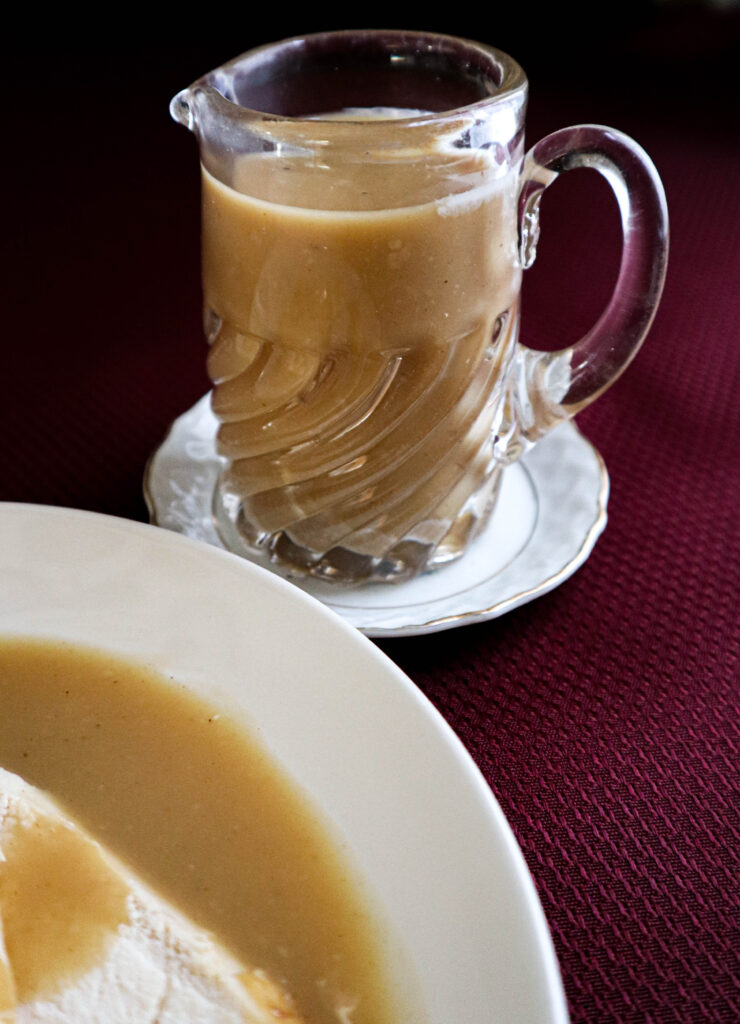
Making your own gravy is getting Back to Basics
Making gravy is more a technique than a recipe. There are some variables involved in thickening a flavorful gravy. But the good news is, the art of making your own gravy is like riding a bike, once you got it .. you got it. And like everything else you try, it gets easier with practice.
One of the best things about being able to make your own gravy is not needing to plan in advance to make it. Meat fat, a thickener (flour or corn starch), salt, pepper and water. That’s it! If you have some meat drippings, you can make a gravy out of it.
Why not just buy gravy?
Oh, you probably know what my answer to that is. Money, preservatives, real ingredients and flavor.
I used to buy bottled gravy too. I like plenty of gravy on my plate, so one bottle was never enough for my family. There were times, like Thanksgiving dinners, I paid more for the bottled gravy than I did the meat! And what did I get for my big bucks? The ingredients usually start with water and end with a list of chemical preservatives, and the ingredients in between are nothing found in a family kitchen. Taste a spoonful of the stuff out of the bottle. It’s not all that tasty. It’s the salt that makes it taste like food.
Then there are the foil packages you can buy to make gravy. They are not all that expensive, but those packages help you MAKE GRAVY! If you are making the gravy, you don’t need the package. The packages may be cheap, but not cheaper than your free drippings, a couple of tablespoons of flour and some salt and pepper.
Learning to thicken isn’t just for gravy
Thickening meat drippings to make gravy is just the beginning of what you can do when you master the skill of thickening. And flour is not the only ingredient that thickens. Using corn starch to thicken is just like using flour, except you usually will use less and it has a little difference in texture. We have used cornstarch for thickening in our recipes PINEAPPLE CHICKEN and PORK CHOPS APPLES AND ONIONS. (Both yummy!)
There are other ways to thicken sauces, stews and gravies, but let’s save that for another time.
No lumps
Lumps. They are the nemesis that keep cooks from making their own gravy. It is absolutely true that once you get lumps, you can’t get rid of them. You can smash them up, try to spoon them out, and if you are determined enough you may even try to put the gravy through a strainer, but none of these attempts make for a good gravy.
And lumps can be avoided by what??? COLD WATER!
Tale of 2 gravies
This post is going to walk you through making chicken gravy from the drippings rendered while a chicken is being oven roasted. In this case it’s the drippings from a couple of medium sized (5-7 pound) chickens. You can see and read about how our chickens were roasted in our post ROASTING A WHOLE CHICKEN.
We will show you 2 gravies being made. One will be light in color because the chicken was roasted on a bed of vegetables and a bit of liquid. The other will be brown. That chicken was stuffed and dry roasted.
Easier done than said
The process of making your own gravy is a lot easier to show you, than it is to explain. So let’s get to it.
It all starts with pan drippings
Pan drippings provide the texture, taste and color of your gravy. So what are drippings anyway?
While our chicken roasted it “rendered” drippings into our baking dish/pan. Render is the term used for liquids extracted in one way or another from an ingredient.
Drippings are not just fat that has melted from the meat during cooking as you may expect. Meat and poultry bones have proteins and collagen in them. Did you know gelatin is made from collagen rendered by bones? So you could think of it as the drippings adding gelatin to the gravy to help it thicken. The collagen works it’s magic in a subtle way until your gravy cools, and then the consistency of your gravy will actually look like it has gelatin in it, especially after being refrigerated.
The drippings also bring flavor to the gravy from the spices or herbs you added to the outside or inside of the chicken/meat.
Mix or deglaze your drippings
You ALWAYS want to get up any burnt on drippings from the bottom of the roasting dish/pan.
If you have plenty of liquid in your drippings, just scrape up the browned drippings, mix them up really good with the liquid drippings and strain them into a clear bowl or measuring cup.
If you haven’t got a lot of liquid in your drippings, or if you have no liquid in your drippings you should deglaze. Are you familiar with the word deglaze? To deglaze you add some liquid to a pan that has “burned on” drippings. Those drippings burned on to the bottom of the pan are a powerhouse of flavor!
While the pan is still warm, add some warm or room temperature water or broth and dissolve that browned residue into the liquid by stirring and scraping the bottom of the pan. A good tool to get up your baked on drippings is a wooden spoon or a whisk. It is especially important that you use warm or room temperature liquid when deglazing if you used a baking dish made of glass/corning/pottery. If you add cold water to the hot baking dish it will instantly shatter. I am speaking from experience! Warm liquid makes deglazing all the easier anyway.
When you are done deglazing, pour your drippings through a fine strainer to catch the solid stuff that hasn’t dissolved.
Pour the strained liquid/fat drippings into a clear measuring cup or bowl so you can see what you have. Any fat in your drippings will always rise to the top.
My gravy drippings
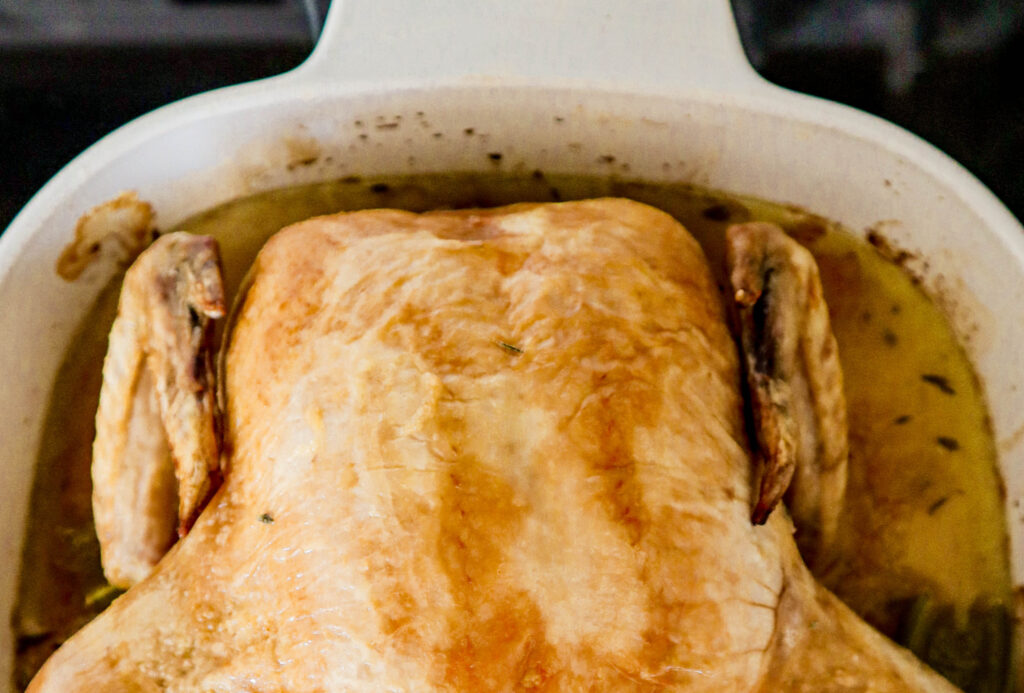
On the left is a chicken that has been roasted on a bed of celery, onions, dried thyme and about 1/4 cup liquid. Not only has the chicken rendered drippings, but the celery and onion have rendered juices also. This will make a delicious gravy. There aren’t any drippings that have baked on to the bottom of the dish and because of that the gravy is going to be very light in color.
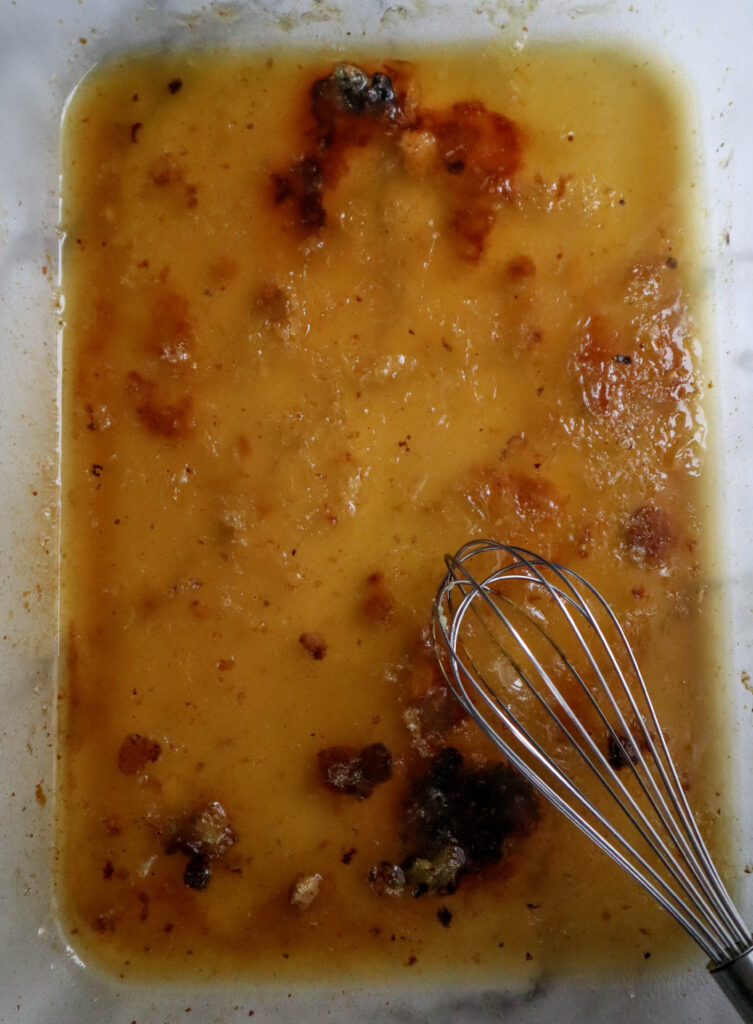
On the right are the drippings of a dry roasted stuffed chicken. See the brown/black drippings? With my whisk I am going to scrape all those baked on drippings into the liquid drippings and then I will strain out what is left in solid form. Most of the baked on drippings will dissolve into the liquid drippings as I stir. The baked on drippings really pack a punch of rich flavor and make a darker colored gravy.
About the fat
Too much fat makes gravy greasy. It’s a good idea to pour your drippings into a clear bowl or measuring cup and let it settle so you can see how much fat you have. It always floats to the top. You can spoon out some or all of the fat. Using a minimum amount fat is fine, you just don’t want to be adding a lot of fat to your gravy.
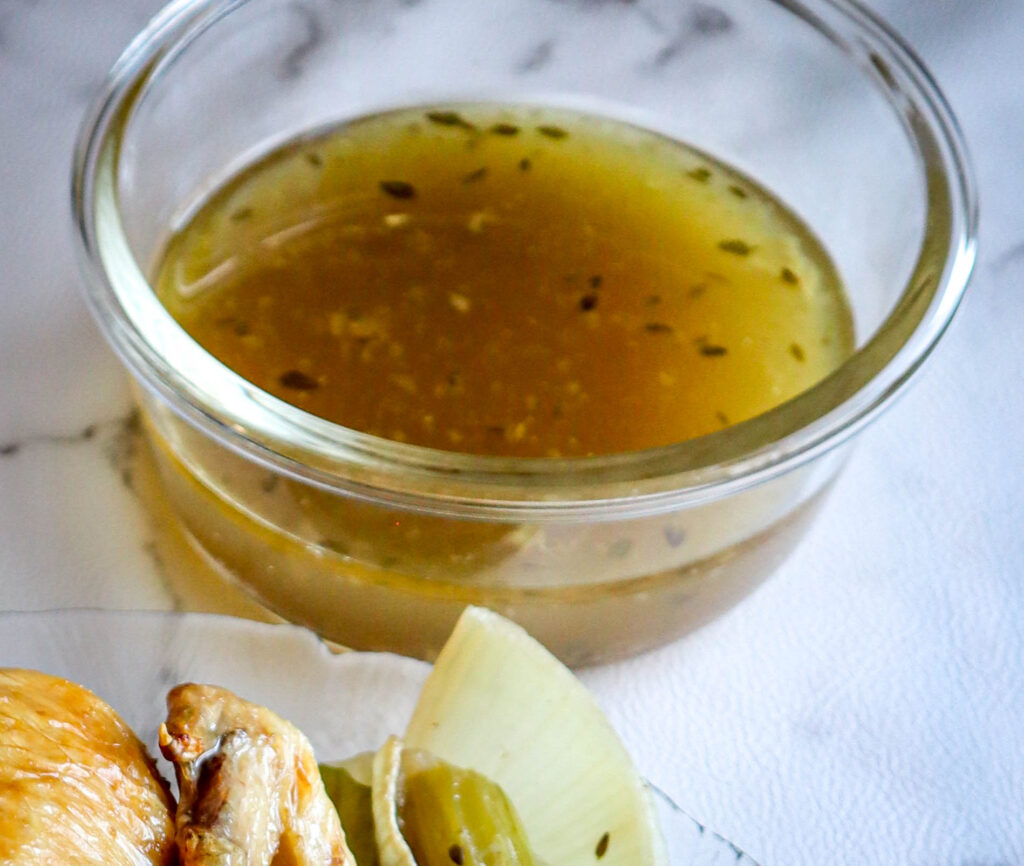
These are the drippings from our chicken that was roasted on a bed of vegetables and dried thyme. It is the thyme leaves that are floating on the top.
If you look at the side of the bowl, you can see there are layers. The bottom layer is the heavier drippings. The layer floating on the top is the fat from the chicken. It is the lightest and brightest color.
In proportion to the other drippings, we don’t really have a lot of fat and I am going to use this little bit of fat in my gravy.
Other ingredients
You need to use a liquid of your choice to make your gravy. I am using homemade stock that I had in my freezer. You can use canned broth if you have it. Using stock or broth, gives the gravy a richer taste, but water is perfectly fine. Later, you can add some additional spices or herbs if you need to ramp up the flavor.
Want to know how to make your own stock? It’s easy to freeze and thaw out when you need it. It’s really handy to have around. Not just for gravy, but for soups and stews too. We have a post in Back to Basics showing you how easy it is. You just boil meat bones with a couple of ingredients and let the stove do the work. Check it out in our post MAKING STOCK. If you use store bought broth or stock from time to time, you can save a fortune by making your own!
The only other ingredient you need is all purpose flour. Your gravy will also need salt and you may want to add other seasonings such as pepper, garlic powder or onion powder later.
Let’s look at our ingredients
For our lighter chicken gravy
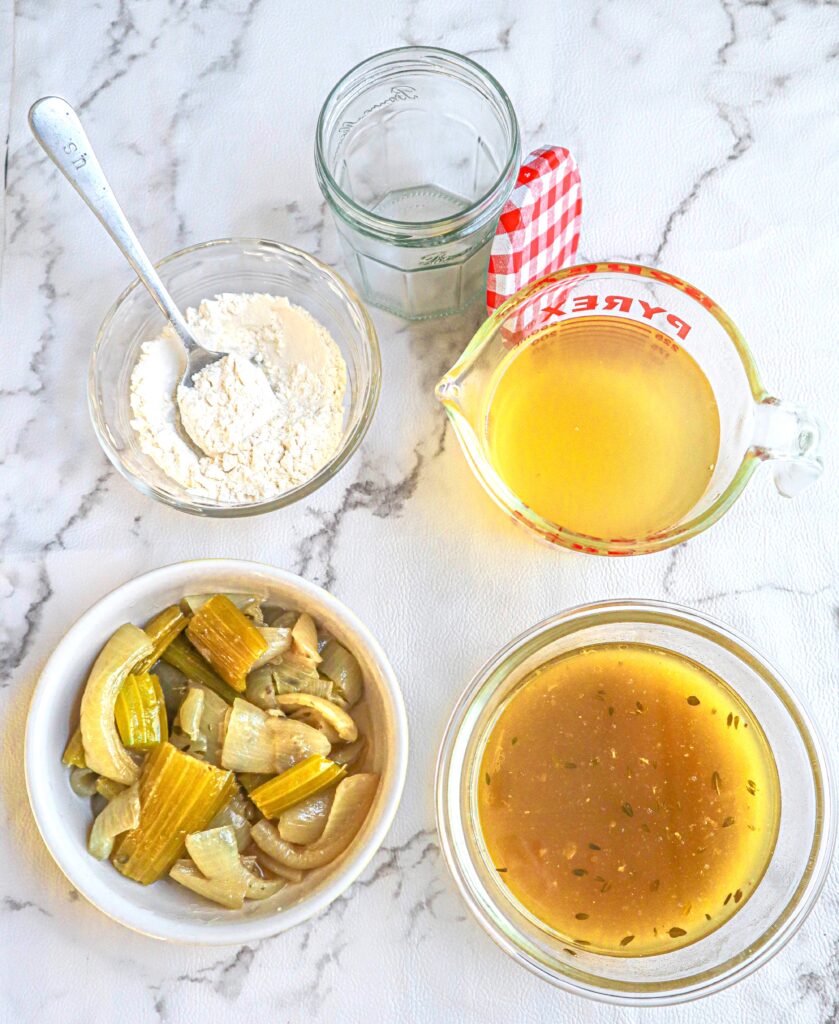
The celery and onion that were roasted with the chicken are in the small dish. Sometimes I rub them through a strainer and add it to the gravy. This time I am just going to add them to my plate as a side dish. One reason I like to roast chicken this way is the flavors I get in the gravy. Not only is the gravy going to be lighter in color but it is also lighter and fresher in taste.
Also we have flour, my stock (which I am using as my liquid) and the drippings from the baking dish. The little leaves in the drippings are thyme which I added to the chicken and vegetables before I roasted.
I have 3/4 of a cup of drippings and I will be using 3/4 of a cup of liquid for the slurry (flour and cold liquid), but you want to have more liquid sitting close to the stove while you are making the gravy to thin it out if needed.
For our darker chicken gravy
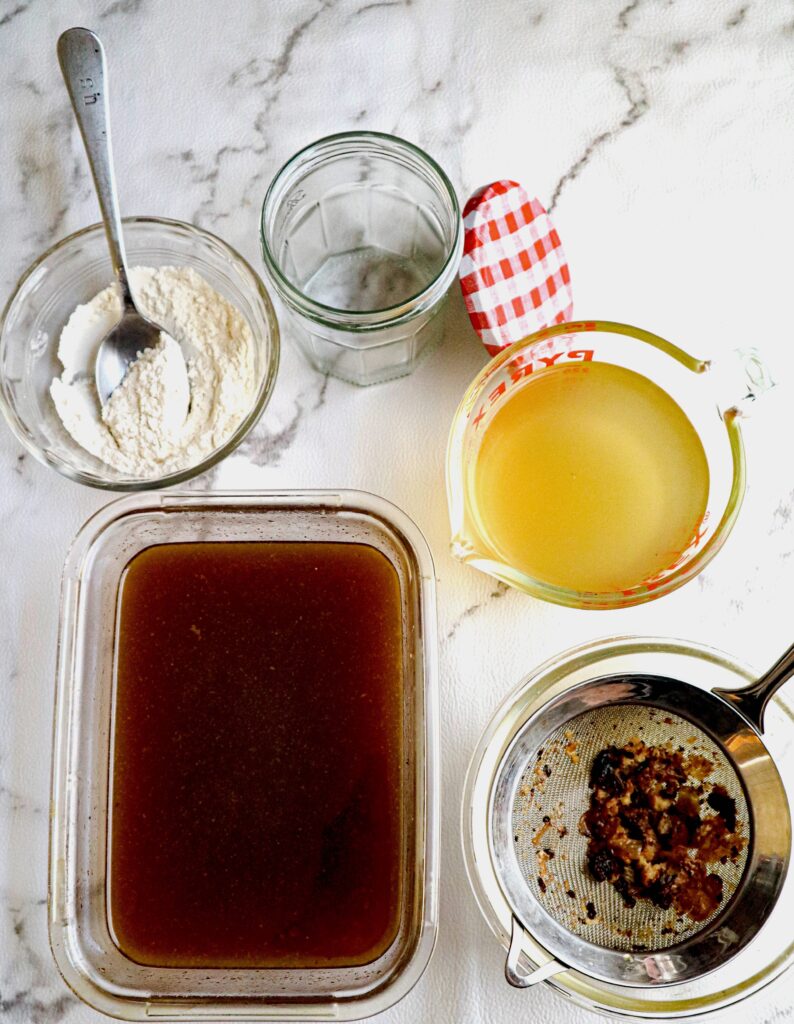
Not only is the gravy darker from the drippings of the dry roasted chicken, the flavor is deeper also. Before straining the drippings from the baking dish I used a wooden spoon to loosen the solid drippings. The goal is to mix in all the browned drippings from the bottom of the baking dish. That is what is giving us the darker color and deeper flavor.
I poured the drippings through a strainer to get the solid drippings out. They are great for flavor, but you don’t want them floating around in your gravy. The rectangular dish has the strained drippings. The other ingredients are the same used in the lighter gravy, flour and stock.
Make a slurry
In cooking, a slurry is made when you combine a liquid with a thickening agent, such as flour or cornstarch and use it to thicken something like a gravy, sauce or stew. We are using flour for our slurry.
The slurry we we are making will be enough to thicken the drippings of a medium sized (5-7 pounds) chicken.
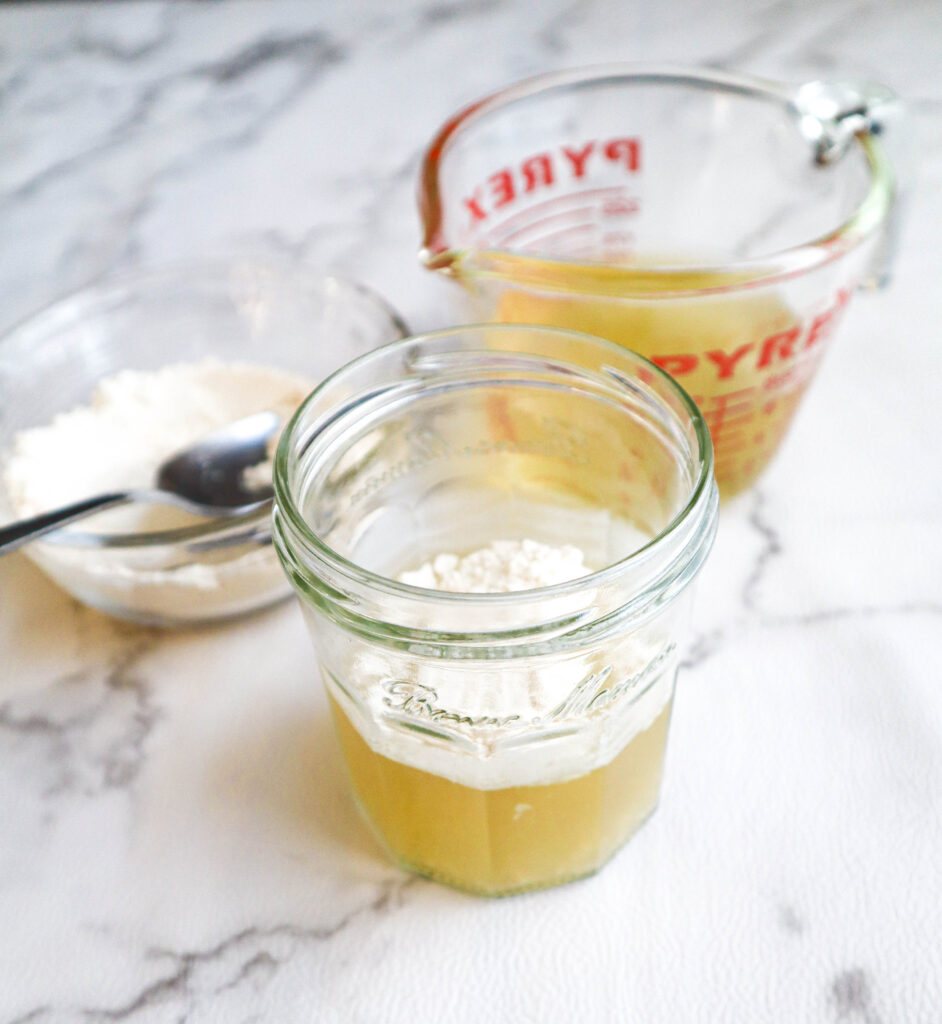
Add 3/4 of a cup (6 ounces) of cold or room temperature stock, broth or water to a jar that has a tight fitting lid. I am using a jelly jar. Temperature counts when you are making a slurry. The flour will clump rather than emulsify if you use a warm liquid. The colder the liquid, the better.
Add 1 tablespoon of flour to the liquid in the jar.
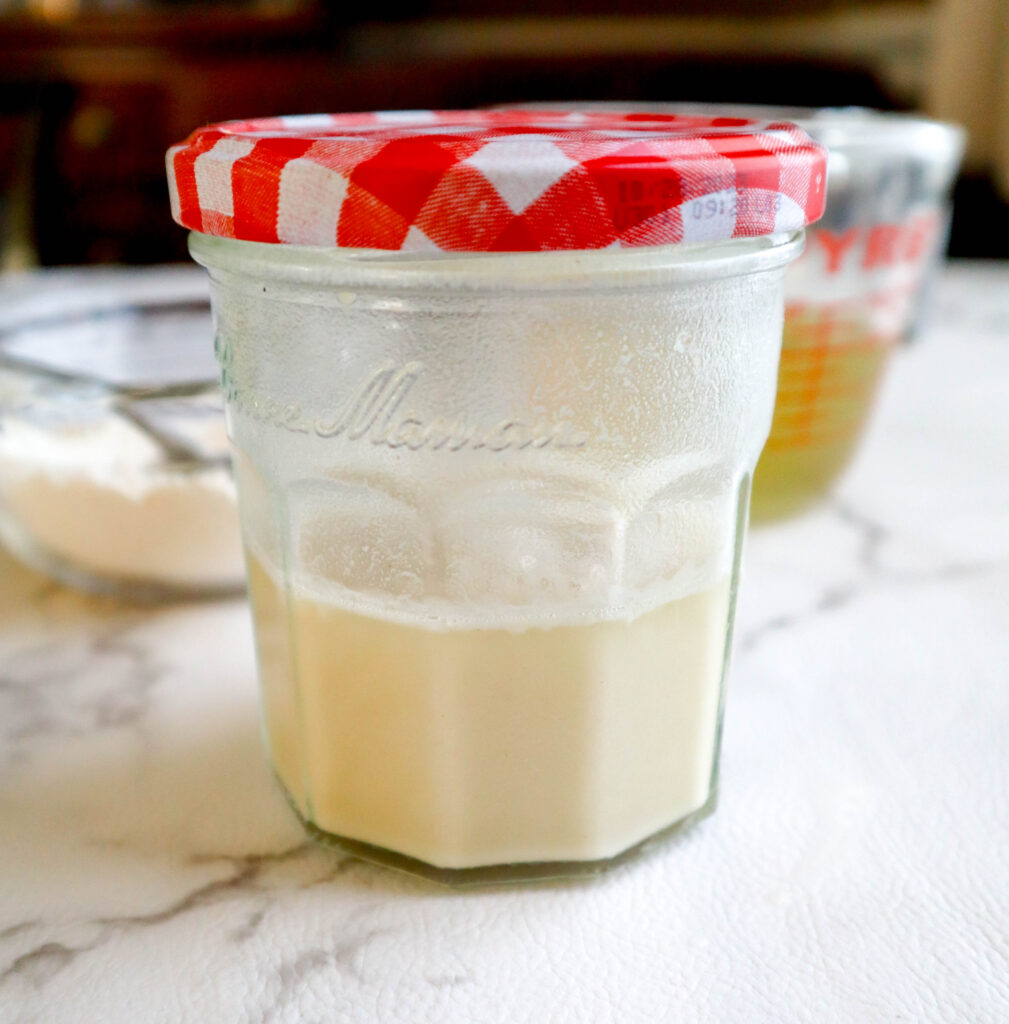
Put the cover on the jar and shake it until the flour is completely emulsified. This is your slurry.
NOTE:
If you have had to deglaze your pan with some added liquid, you need to factor that in when deciding how much flour to add to the slurry. Add another tablespoon of flour for every cup of liquid you have added in deglazing plus the liquid you have used the slurry. So if you needed to use an additional cup of water/broth to deglaze add 2 tablespoons of flour to your slurry instead of 1.
You can use your liquid to increase the amount of gravy despite the amount of drippings you have. If you are increasing the volume of liquid quite a bit more than the amount of drippings, it is better to use a broth or stock for thinning so you are adding flavor as you increase the volume. But you can use water.
Helpful Hint:
Just like we are using cold water to make our slurry so it emulsifies when shaken, the same principal works backwards when you want to wash a dish or pan with a coating of flour/cornstarch on it. If you use hot water trying to get the coating of flour or cornstarch off, you are going to do some scrubbing. But using the magic in reverse, all you have to do is rinse it with some cold water and it will come right off. Really .. Try it 🙂 .
Now we are ready to make gravy
I am going to show you both the dark and light gravy being made. There is no difference in technique only the drippings we are using.
This is going to be simple, easy and fairly quick, but each step is very important.
First step
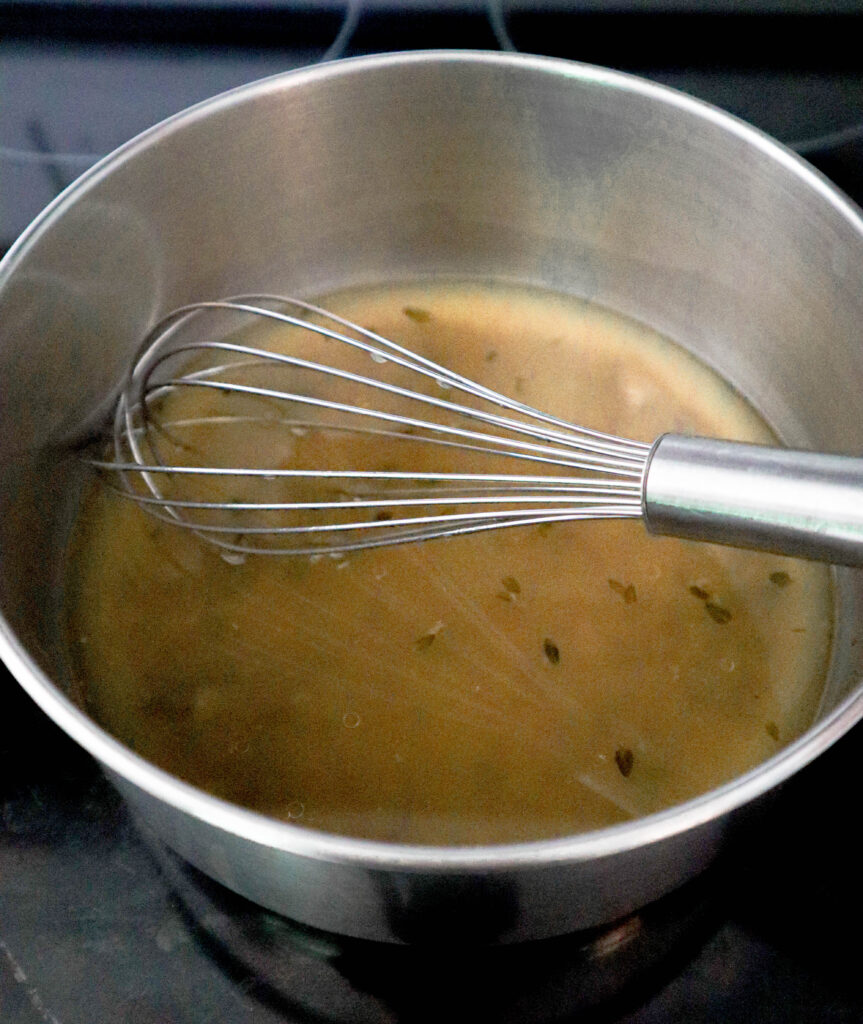
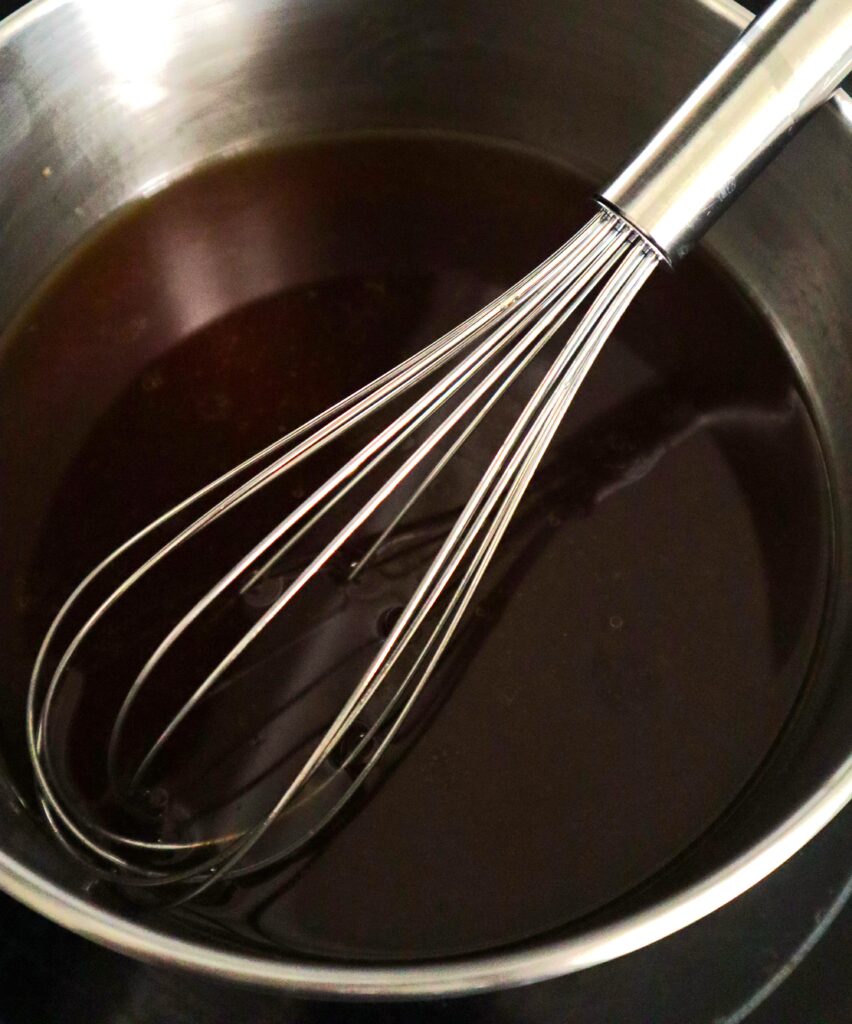
First we are going to put the drippings in a saucepan.
Boil and Mix
Next, we are going to bring the drippings to a rolling boil on medium high heat. It won’t take long.
We are bringing the drippings to a boil so when we start adding the slurry, the flour will start cooking. Cooking the flour will thicken our gravy. Flour in it’s “raw” state doesn‘t taste good. 😣
Once you have the drippings boiling, slowly add the slurry a little at a time. You must stir continuously while you are pouring it in. Keep the gravy boiling. As the flour is cooking in the saucepan, it is going to settle to the bottom if you are not stirring. If left to sit there, it is going to burn. KEEP STIRRING as you boil.
A wire whisk like the one in the pictures below is the perfect tool for this. They are very inexpensive.
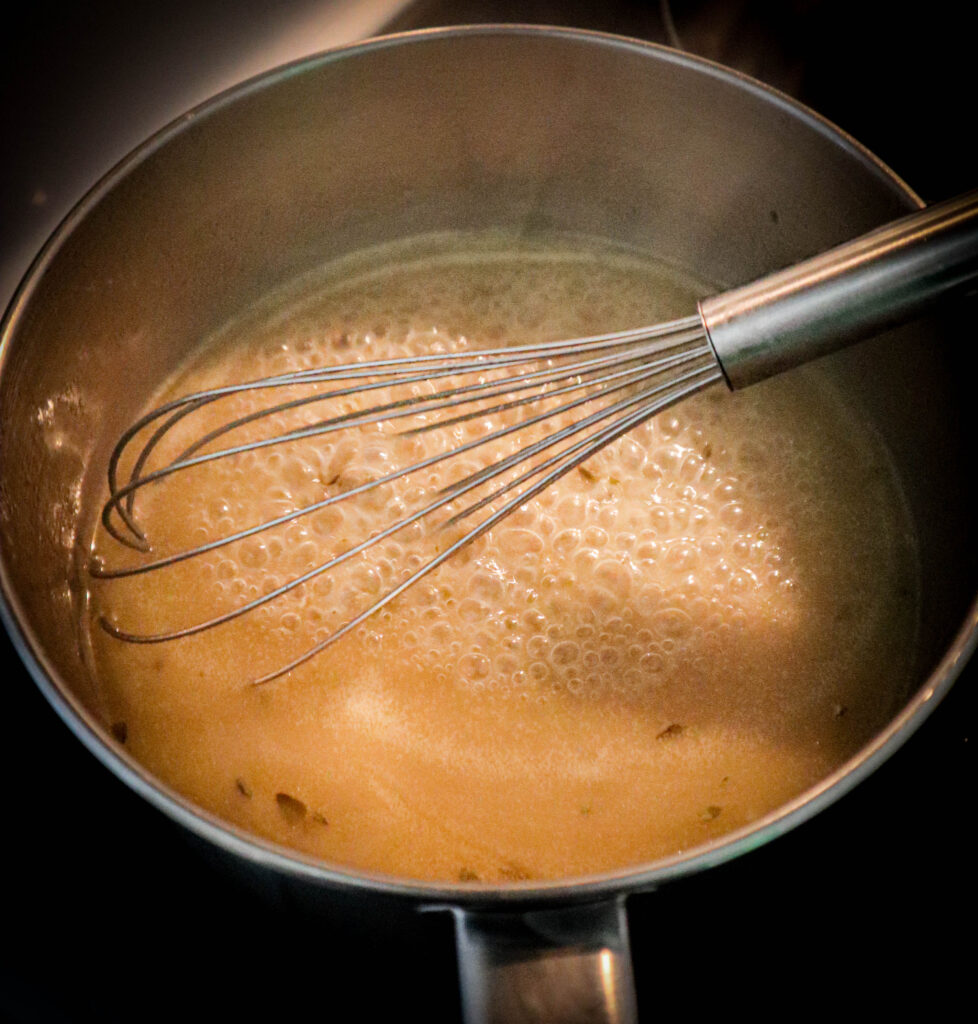
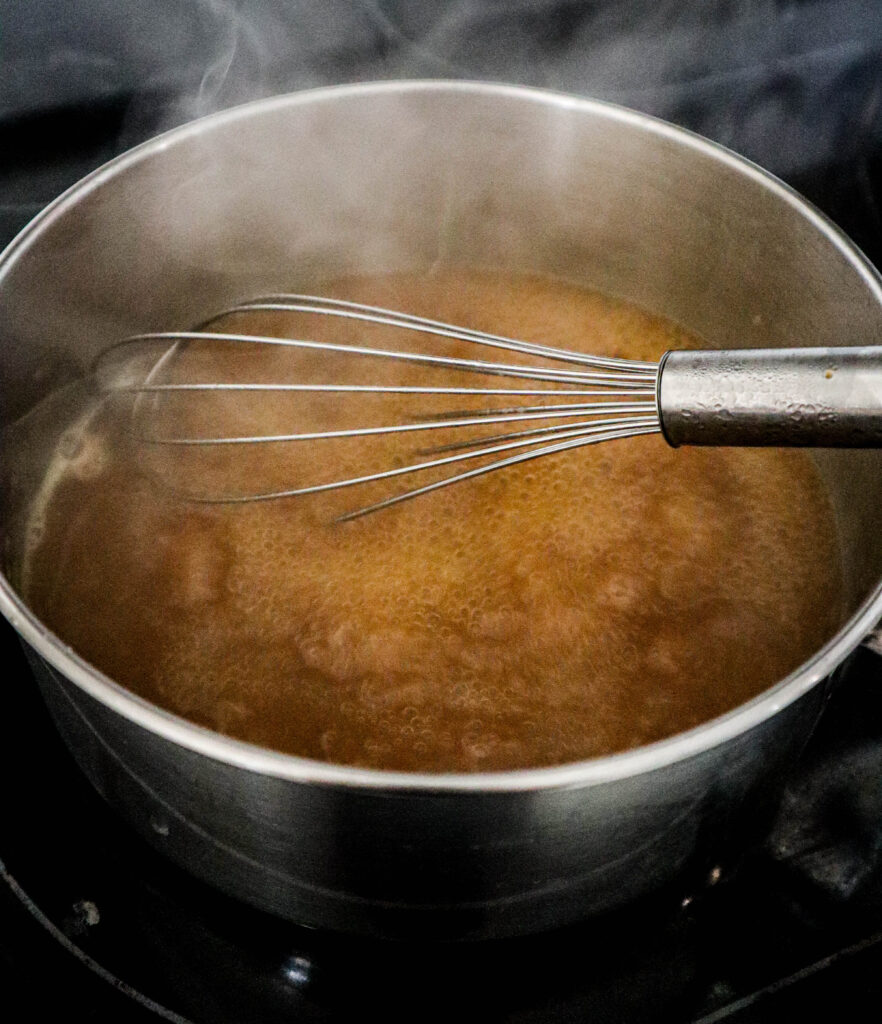
You can see how the drippings now have lighted in color from the flour, and the drippings are no longer translucent. The flour is cooking as it boils and making the gravy thick.
It’s early in the process, but you now have gravy!
Leave your saucepan uncovered during cooking. Evaporation will help thicken your gravy.
Once the flour is fully incorporated continue to boil the gravy for another 3 to 4 minutes. Then turn the heat down and simmer.
Bring heat down to simmer
Have extra liquid at the stove to add to the gravy if it gets too thick.
Simmer for at least 15 minutes. It will continue to thicken as it simmers. You don’t need to whisk continuously during the time it is simmering, but you do need to stir it frequently.
Add salt to taste and any other seasoning you like such as pepper, garlic powder, onion powder or herbs.
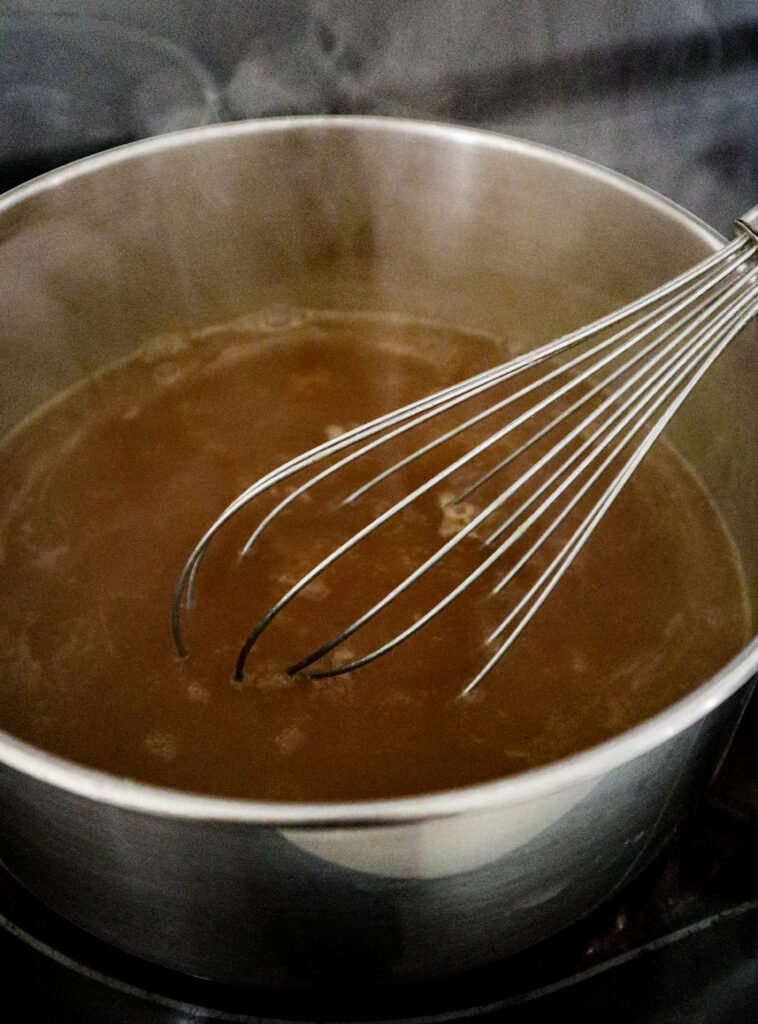
Our dark gravy simmering on the stove uncovered. When making a gravy, plan on staying close to the stove. Even during the time it is simmering the flour can settle in on the bottom of the saucepan. It needs to be stirred often.
Add seasoning to the gravy as it simmers.
If your gravy is getting too thick, slowly add some liquid to thin it out.
If your gravy is too thin … DO NOT ADD flour to it. If you absolutely need to thicken it more, you need to make another slurry. Usually, you will only need to simmer the gravy longer to thicken it as the liquid evaporates.
The spoon test
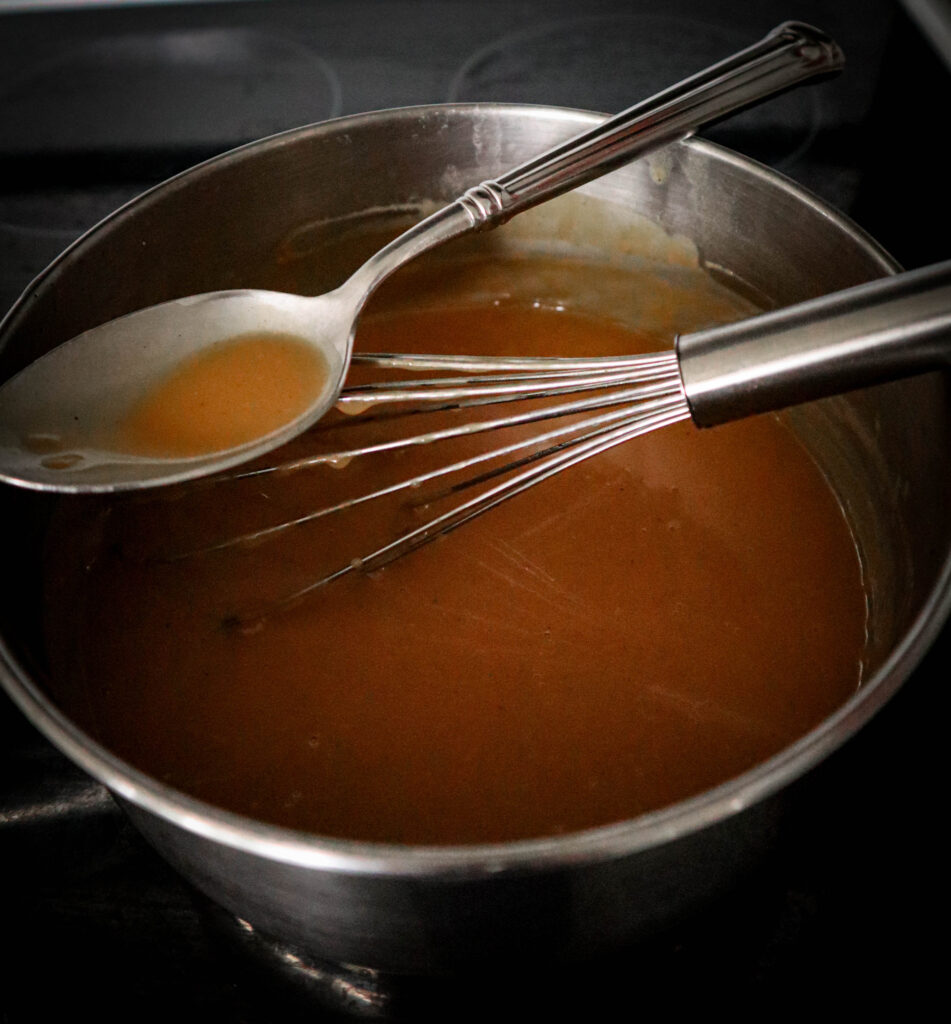
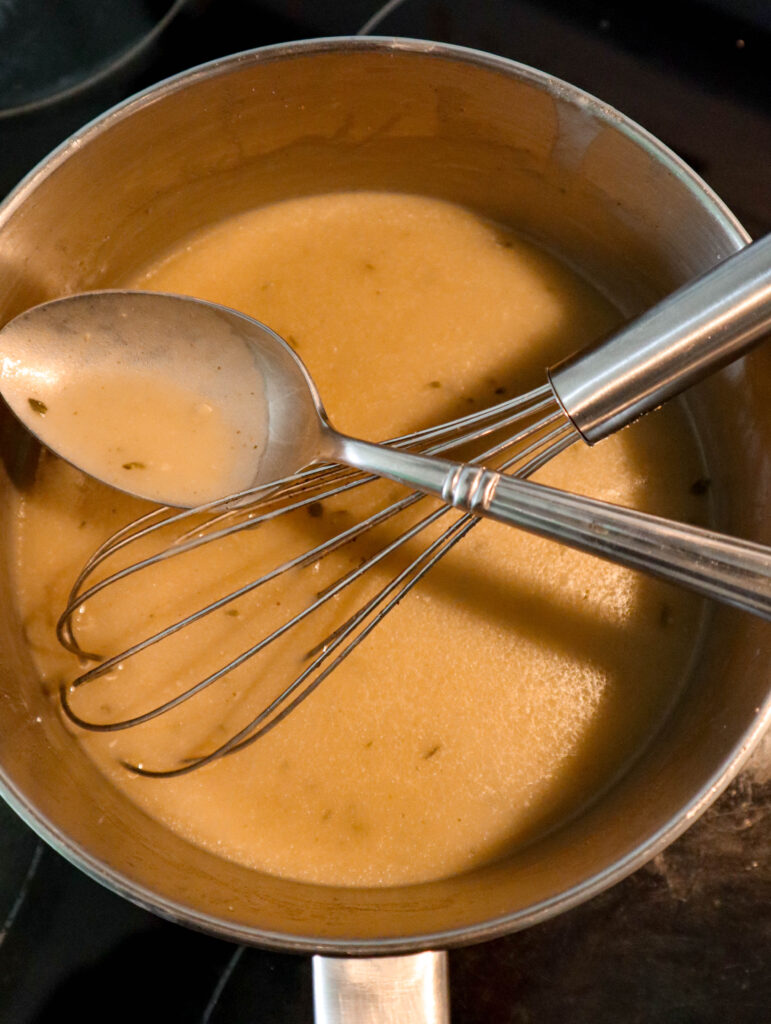
Putting a spoon into the gravy is a good way to see how thick it is. The thicker the gravy the more it will coat the spoon. Just think of what a spoon would look like after you dipped it into a glass of lemonade. There wouldn’t be any visible coating of lemonade on the spoon, because it is so “thin” in consistency. That thinness or thickness in consistency is called the viscosity. In the pictures below the gravy is coating our spoon. Just looking at it you can see it is pretty thick.
You already know more than you think
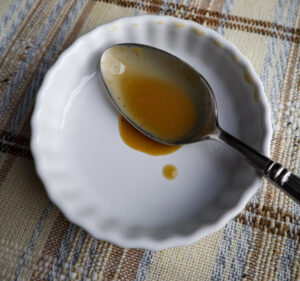
Here’s a better look at the darker chicken gravy on the spoon. I bet you can “read” it’s viscosity (how thick it is) just by the way it looks, can’t you? Notice that the puddle of gravy from the bottom of the spoon and the drip in the dish is pooling not running. A thinner sauce would be heading for the sides of the dish.
The spoon test works for anything you are thickening. Sometimes you may want something thicker than gravy, like puddings! 😋 At other times you can use your spoon to make sure something isn’t getting thicker than you want it.
Keeping it warm
When you are done cooking your gravy. if you need to keep it warm until the meal is ready, that’s the time to use your cover.
Once your gravy is fully cooked, cover there saucepan and use the lowest temperature setting to keep it warm. Give it a stir now and again to make sure you don’t get settling at the bottom of the pan.
If a skin develops on top of the gravy while sitting on the stove after it is fully cooked (which it shouldn’t if you have it covered), just whisk it in to incorporate those ingredients again. It’s a lot of gravy wasted if you peel it off and throw it away. You may need to warm it up if it has fully cooled. If it has become too thick after you have mixed in the skin, whisk in some more liquid.
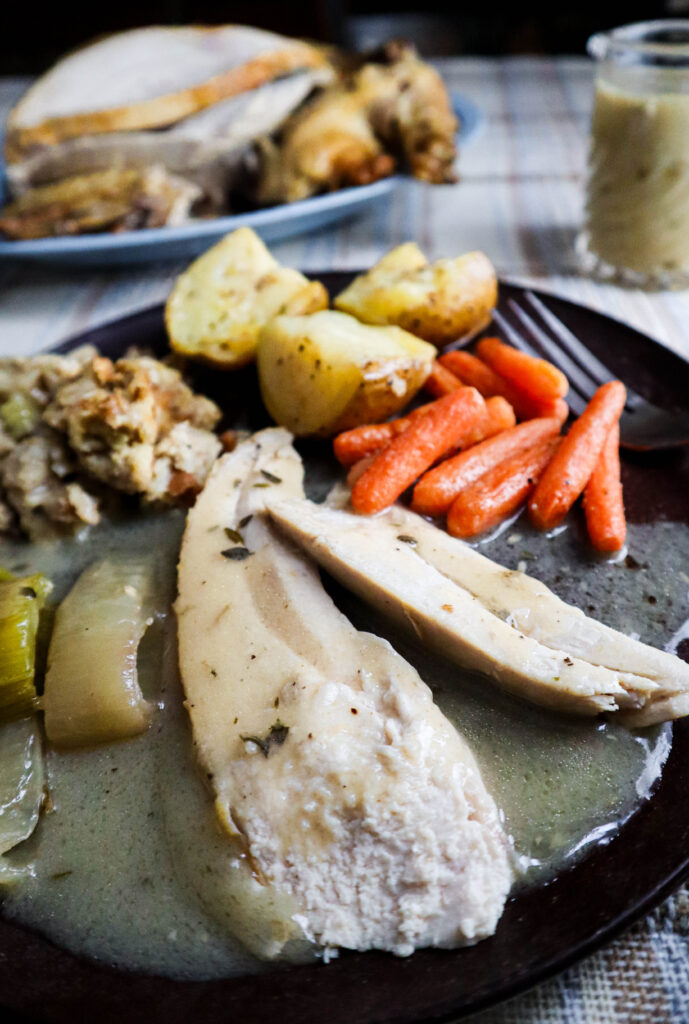
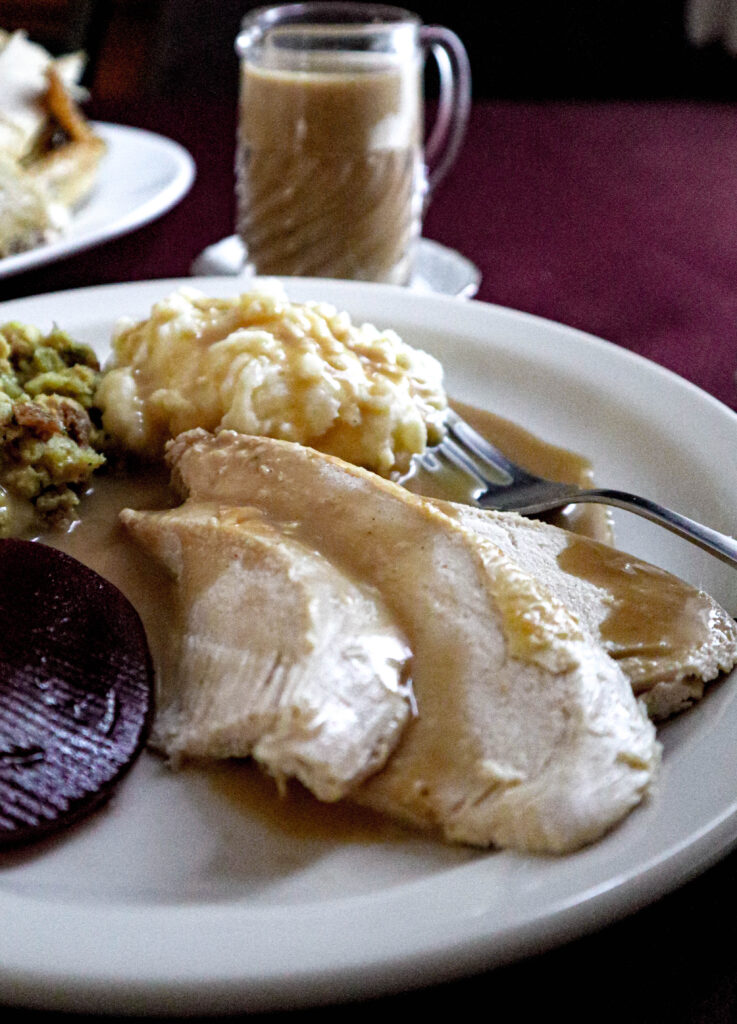
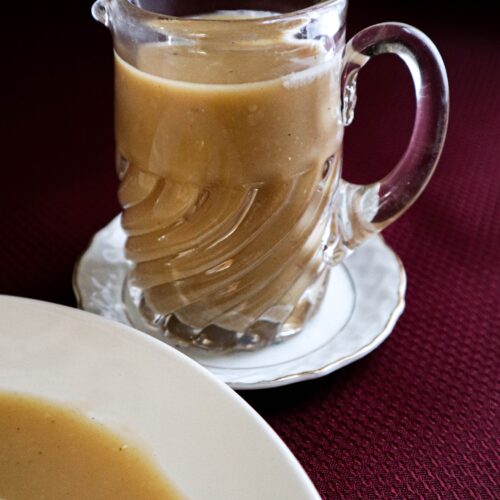
Time to serve
Drum roll please
No lumps 🙂
Making your own Gravy
Ingredients
- 3/4 cup roasted meat or poultry drippings
- 1 tablespoon all purpose flour add 1 tablespoon flour for each additional cup of drippings or liquid.
- 3/4 cup broth, stock or water
- salt and pepper to taste
Instructions
- Deglaze drippings from the roasting pan. Use broth, stock or water if you don't have a good amount of liquid drippings.
- Strain drippings if there are solids
- Bring drippings to a boil in saucepan
- Make a slurry in a jar with a tight fitting lid this slurry with thicken your gravy. Combine COLD broth, stock or water with flour and shake it up to emulsify it. The liquid can be room temperature but not warm. Warm liquid will clump instead of emulsify.
- Slowly add the slurry to the boiling drippings, stirring constantly. When slurry is fully incorporated boil for another 3-4 minutes.
- Bring the gravy to a simmer to thicken and meld the ingredients for at least 15 minutes. Leave the gravy uncovered. The evaporation will help to thicken it.
- While simmering add salt to taste and any other seasoning of your choice, such as pepper, garlic powder or onion powder.
- Cover the saucepan when the gravy is done and keep warm on the lowest temperature until you are ready to serve it.

