Making stock at home
Did you grow up in a household where the bones of a well savored meal would be used to make a stew, soup or gravy? I certainly did not. My mother wasn’t all that crazy about cooking. She made sure we had three healthy meals a day, but I wasn’t coming home to soup simmering on the stovetop. In my world, soup came from a can.
Ricky did grow up in a simmering soup kind of household. His mother, Tess was an old school, waste not, want not, cook. And when she had a meat or poultry bone left from a meal, she saw it as another meal or two. But before making those extra meals came making stock. Her kitchen was my introduction to using left over bones. She was a great cook, and thankfully, she didn’t mind me hanging in the kitchen to learn how all those great meals were made. I would have been sunk if she hadn’t taken me under wing and taught me how to cook. And making stock was one of my lessons.
Once we show you how to make stock, we will show you how to use some to make a vegetable noodle soup. Stay tuned. 🙂
Why make stock at home?
Make your food dollar stretch
So, why would anyone want to make stock when they can get it in a waxed box at the grocery store? And who’s making something using stock anyway? Well, the “waste not, want not” theory is a practical reason.
Do you get sticker shock when the cashier at the grocery store tells you what your total is? Think of this. What if your store ran a promotion, offering to give you one free meal, if you bought one that you were going to buy anyway? My guess is, there would be a lot of people standing in line to take them up on the offer. If you buy meat with a bone in it, you are getting a free meal. Or darned close to it! There was a reason why the family cook made soup or stew in the “old days”. They had to make every penny count. There is a minor fortune to be saved by cooking at home, and even more if you mimic the cooks of old.
Value beyond the buck
Getting back to tried and true basics, like making stock from your meat and poultry bones, has value beyond the buck. There is something subliminally pleasing about walking into a house and smelling food simmering on the stove; it’s warm and welcoming. And making your own soup or stew with stock made from scratch is pretty neat. I find it very satisfying, not just eating it, but cooking it. You feel like you really know your way around a kitchen when you are simmering bones to make stock, and then go on to make a soup or stew with it. Depending on the size of your family, a pot of stock is likely to leave plenty to freeze for use later, even after using enough for that second free meal.
And last, but definitely not least, when your loved ones are at the dinner table eating your meal made from scratch, you know exactly what is in it. Lots of people say they are concerned about the price of food these days, but I don’t often hear people expressing concern over the junk that’s on an average ingredients list. A lot of the additives in prepared foods are chemical, or altered from a natural state. Sugars and salts are added to most prepared foods to tempt your taste buds to eat more. When it comes to your food, the old saying of “what you don’t know, won’t hurt you”, does not apply. Make it at home and you can make it real. In the long run, isn’t it the nutritional value of the food that really counts? Are we filling our bellies, or feeding our bodies?
Do you want to try making stock before you throw those bones away?
Have I tempted you to consider throwing those bones in a pot instead of the rubbish? If so, you will be glad to know that I have saved the best for last. It is easy! We have gotten so accustomed to thinking that something, like making stock, is too much trouble, when there is really nothing easier.
Read on. We are going to show you just how easy it is. We are going to use turkey bones to make a stock.
Note: We are demonstrating with a Thanksgiving turkey. The methods used to make stock from turkey bones is the same no matter what meat bones you use.
Thanksgiving dinner has come and gone. All that is left of our turkey is this pile of bones.
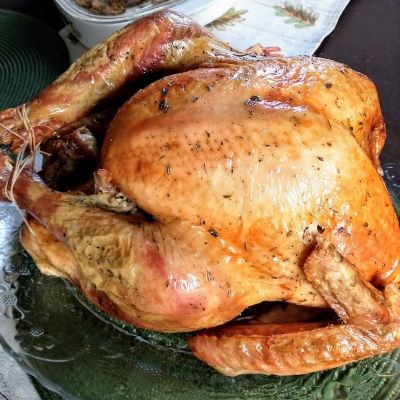
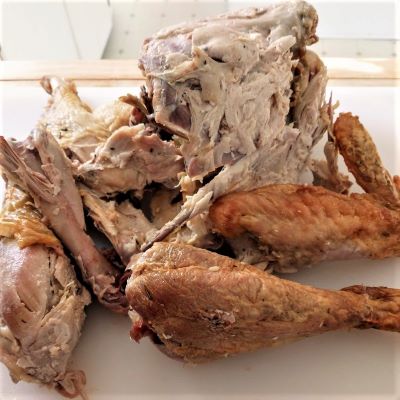
Making stock starts with the pile of bones
You don’t need much meat on the bones you are using for stock. Take any useable meat off the bones and save it for later.
The bones of the body of the turkey is called the carcass. If you aren’t going to make your stock the day of the meal, put the carcass and leg bones in the refrigerator. I use large zip storage bags to stuff the leg bones in and wrap the carcass in foil. You don’t need to use the wings. Skin has a lot of fat, and wings have a lot of skin. Since this was a 20 pound bird, I had plenty of bones to work with; more than enough to make a BIG pot of stock, without the wings. Use the biggest pot you have.
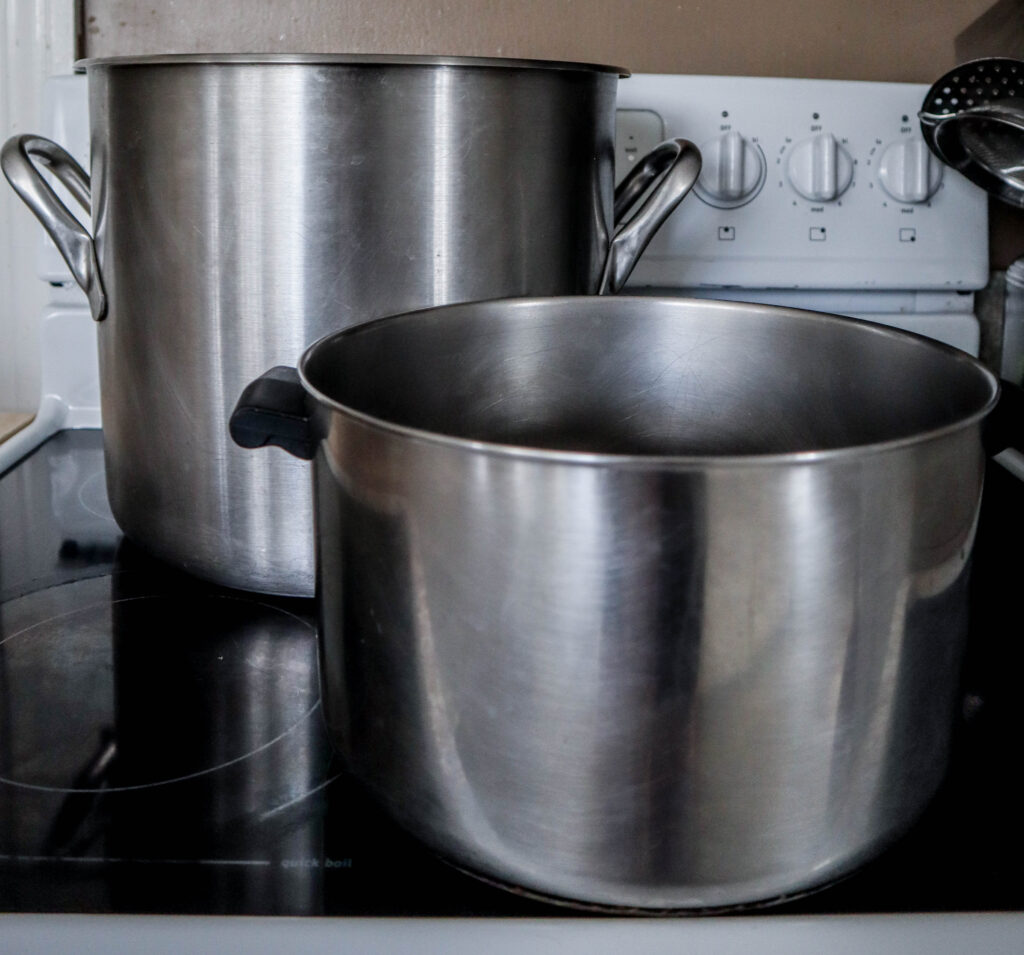
The pot in front is a standard large pot. Most saucepan sets have a large pot such as this. It is a 8 quart pot. Large pots such as this are often referred to as stockpots or dutch ovens. I have put it in the picture to show you how huge the stockpot is, that I am using to make my turkey stock.
When you are ready to start your stock, which is going to be simmering for a number of hours, fill the pot about 3/4 full of water and submerge the bones into the water. You can’t have too much water. Bones can transform a lot of water into a stock. Just leave enough room so there isn’t an overflow when you add the bones and other ingredients. Stock freezes well. It’s perfect for soups and stews. You can also make a thick and rich gravy or sauce, or add a real flavor boost to a rice or pasta side dish. Later in the post we will talk a little more about freezing.
Stock is not made with bones alone
Stock is not broth, it’s a lot heartier and has more flavor. Stock is made with meat bones, broth is not. Some of the full bodied richness of stock, comes from added ingredients. Most cooks I have known, use the same vegetables to make stock; celery, onion and carrots, a classic combination and the basis of many great recipes. We are also adding a few bay leaves and salt.
For Thanksgiving, I used celery in my stuffing. Before I started chopping the stalks, I cut off the base of the celery and put the whole bulb back in the refrigerator to use in my turkey stock. The celery bulb that you usually throw away, becomes part of your almost free meal. I also chopped off the green leafy tops.
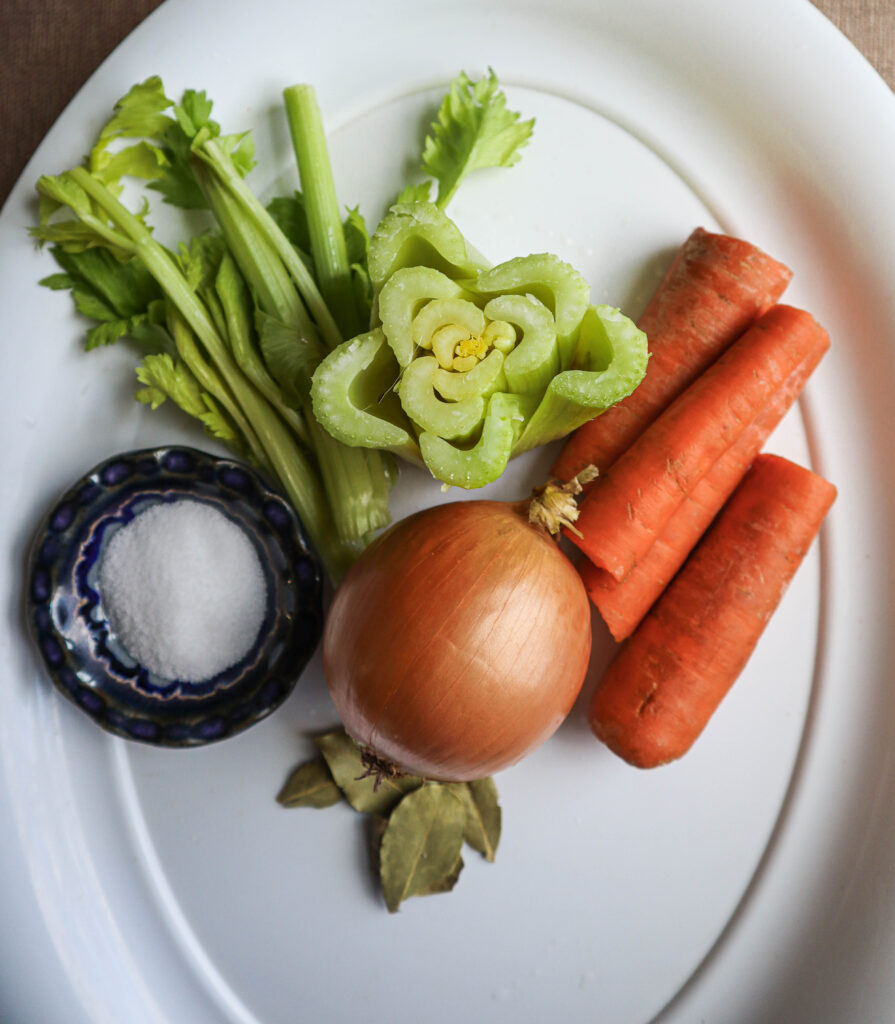
These ingredients are going to be strained out and thrown away when the stock is done, so there is no vegetable preparation. There is no need to measure, cut, or peel. Just rinse them off, and put them in the pot with the water and bones. Everything is going in, just as you see them here.
No fuss .. just put it all in the pot with the water and bones
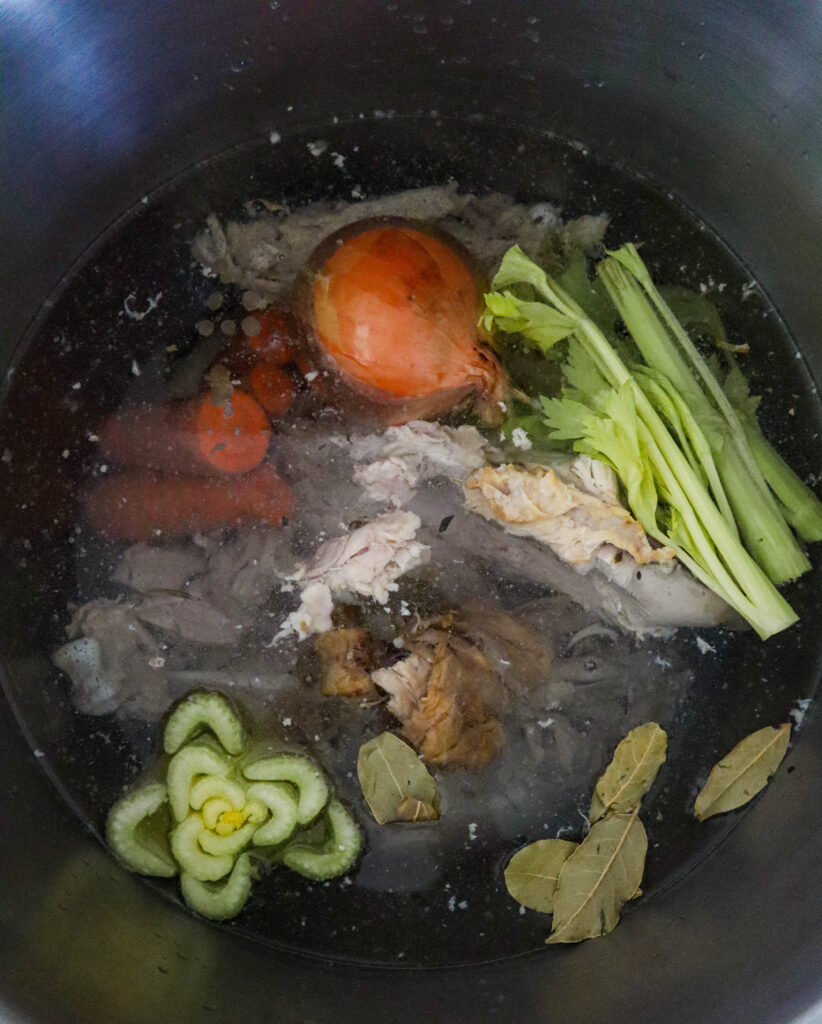
And here is the stockpot with the water, turkey bones and all the other ingredients. We are ready to bring the water to a full boil. Once boiling, turn down the heat to medium low and keep cooking at a slow boil.
The stock should stay at a slow boil for 3 to 4 hours. I leave mine uncovered, I love the smell throughout the house, but it can be covered. The temperature you set your stove at will be higher if uncovered, because you have heat escaping. We have a brief description of what a slow boil is on our TERMS AND TIPS page. Most everyone knows what boil means, but there is a difference between a slow boil, a full boil and a rolling boil, not to mention a simmer.
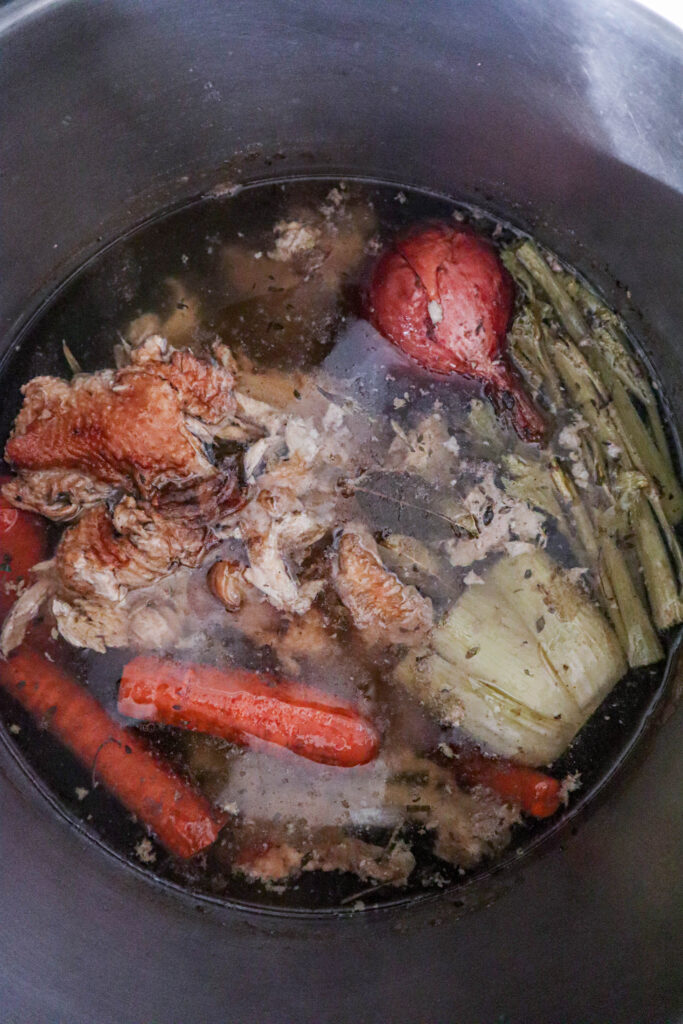
It’s been about 3 and 1/2 hours. The water is looking cloudy. The celery and carrots are limp and losing color. The onion is wrinkled up and mushy. That’s all good news. The vegetables and bones have given up all the goodness they have, so we will get a great stock. It looks pretty gross, but it smells great. The herbs floating on top were in the cavity of the turkey while I was roasting. Just more flavor for the stock.
This is a huge pot. It has a lot of water so I planned on 3 and 1/2 to 4 hours of cooking time. If I were using a smaller pot, 3 hours would be enough. I would not cut cooking time to anything less than 3 hours, whatever the size of the pot. On the other hand, there is no harm in having your stock simmering well into 3 or 4 hours. This isn’t like other recipes that require a specific time to produce the desired result. Within reason, the longer the better. The bones provide substance to the stock, when cooked low and slow. That’s what makes a thick stock with good flavor. You can’t hurry stock. But, you don’t have to do anything to it while it is cooking, except enjoy the aroma. So what’s the rush?
The stock is done, now what?
When the stock comes off the heat, pull all the big stuff out with a large slotted spoon and/or tongs.
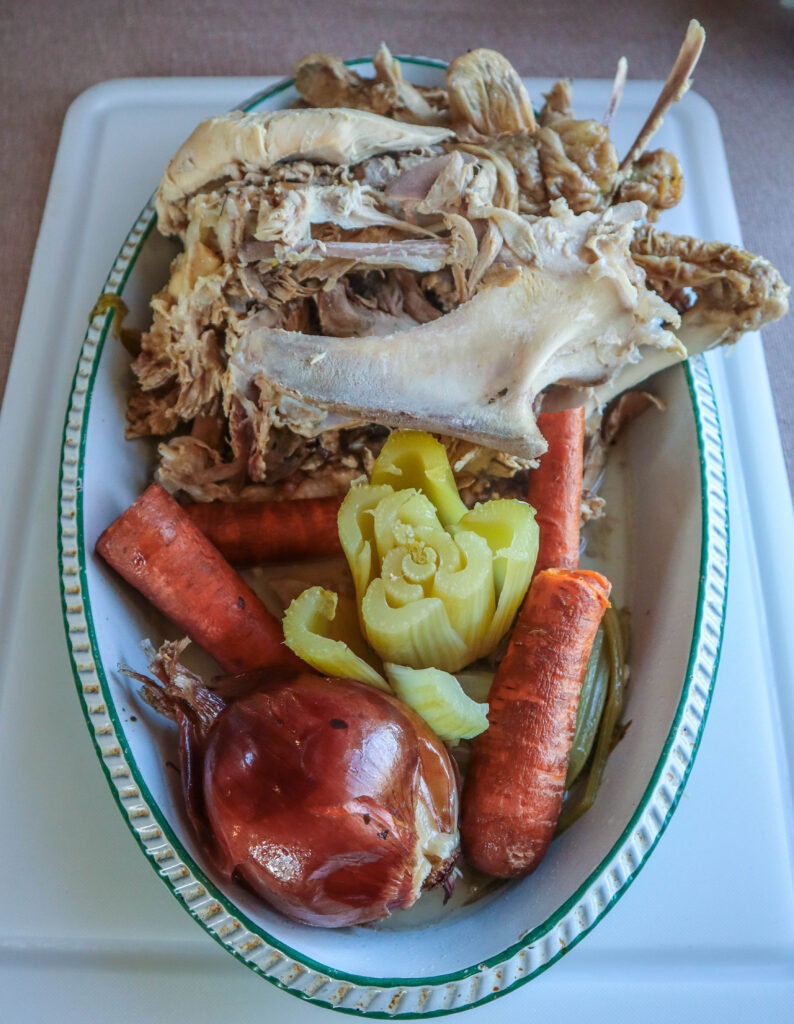
I have pulled the bones, vegetables and bay leaves out of the pot. These ingredients have done all they can do for us.
Next, strain out any smaller stuff that is left in the pot. Here is how I do it. I put a colander inside a large pot. The largest of a usual set of pots and pans, is sometimes referred to as a Dutch oven. It has two handles, not one long handle like saucepans.
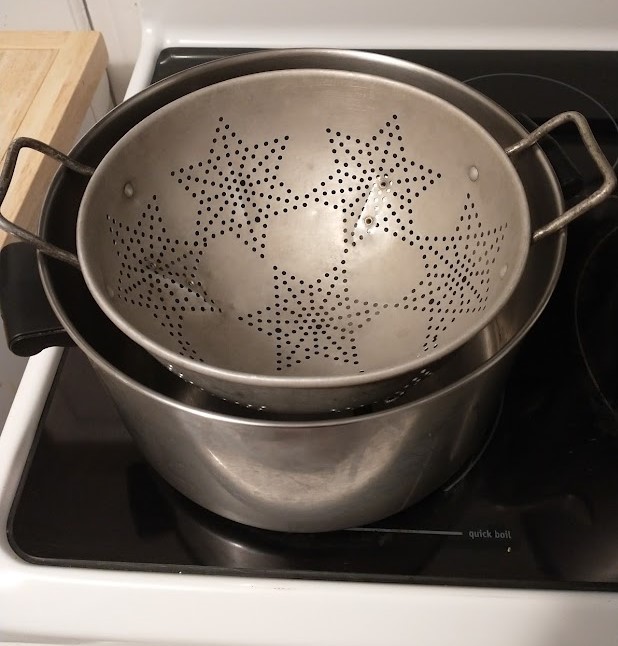
I have put my colander inside my large 8 quart pot.
Dump the stock into the colander. Pour slowly so there isn’t a lot of messy splashing. As you pour the stock in, it will probably come up higher in the pot than the bottom of the colander. That’s fine. The colander can be fully submerged. When you pull it out, the stuff left in the stock will be in the colander.
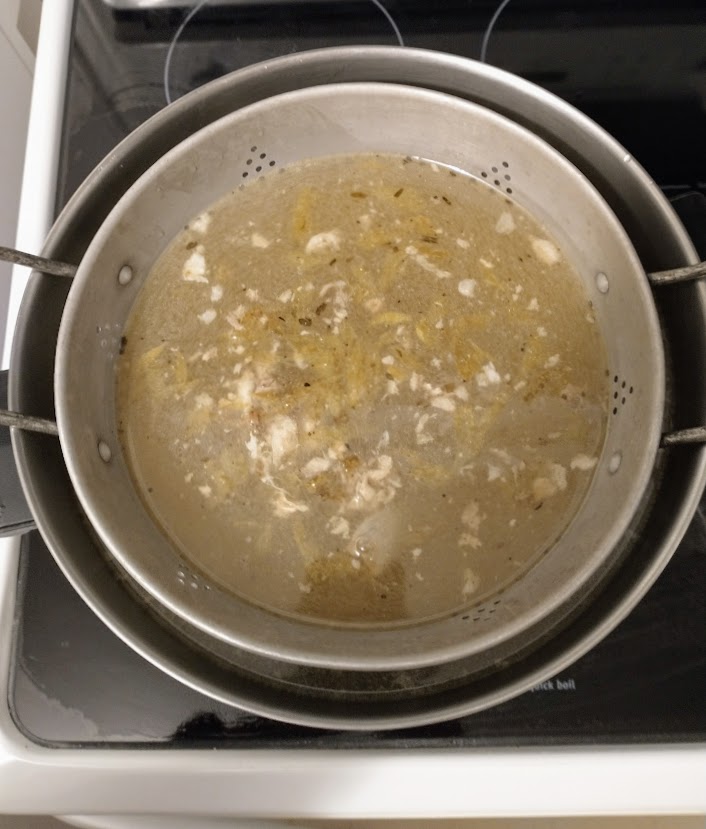
As you can see, the level of the stock is higher than the bottom of the colander, but that isn’t a problem. It is going to be lifted out, leaving strained stock in the Dutch oven.
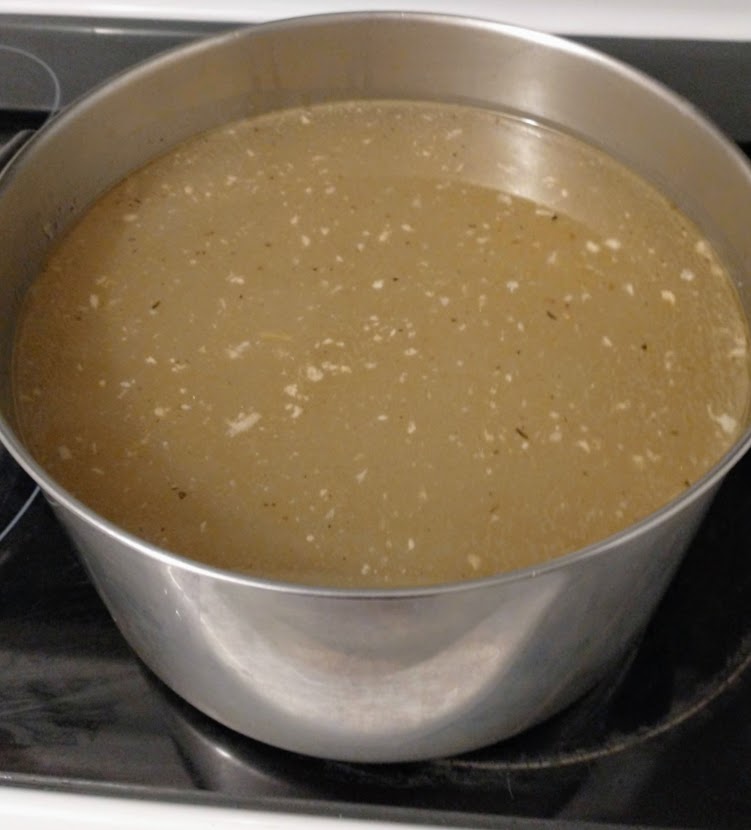
This is the strained stock. Most of what is floating on the top, is spots of fat. But there is an easy way to get the fat out.
Once the strained stock is cool, cover it and put it in the refrigerator. Any fat remaining will solidify when it gets cold, and you just skim it off. You can leave the stock in the refrigerator for 2 or 3 days before freezing, or making soup or stew with it. We will show you how we do both.
I have put some stock, cold from the refrigerator, in a bowl to show you how nice and clear it is now. Not a cloudy mess, like it was when it was just coming off the heat. What the picture doesn’t show is the consistency of the stock. It is a soft gelatin. In fact, this is where gelatin comes from. Simmered bones. Gelatin is the major difference between broth and stock. Once the stock is warmed, it all becomes a liquid again, but it is a much heartier base for cooking than a broth would be.
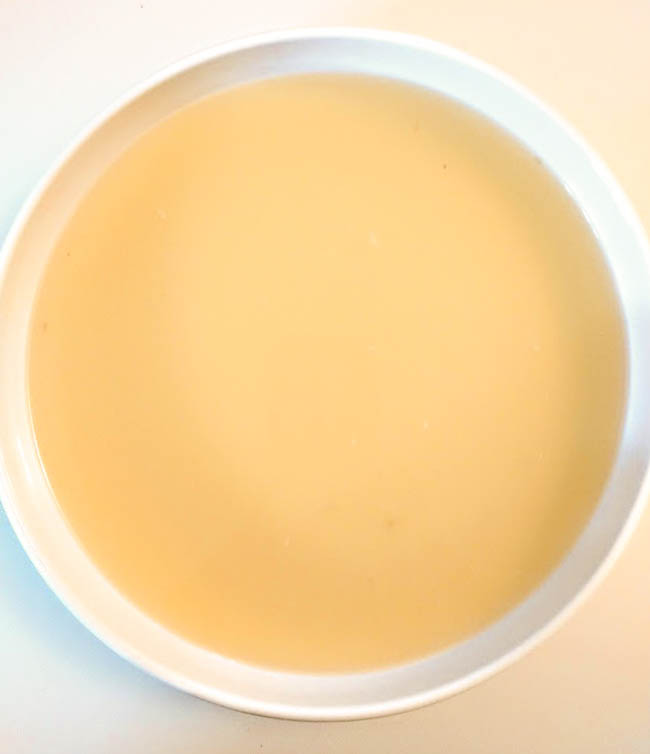
This is my stock. I took it from the refrigerator and skimmed any excess fat from the top. Look how clear it is. I didn’t do anything to change that cloudy mess that was simmering on the stove, into this beautiful stock. It happened all on its own.
No fussing over ingredients, no stirring. Just plop the vegetables and bones in the stockpot and in 3 or 4 hours, you have stock.
Let’s make soup with our stock
I am going to make soup with some of my stock, and freeze the rest. It’s easy to make soup from stock and doesn’t take long at all.
I am making a vegetable noodle soup using the same flavor profile as I used in the stock, adding carrots and celery. I am also putting in some fresh parsley. There isn’t going to be any turkey meat in my the soup. If you want to add turkey meat, chop up some of your left over turkey meat and add that. Don’t add the meat that was left on the boiled bones, the flavor is gone and it’s pretty mushy.
Prepare the ingredients
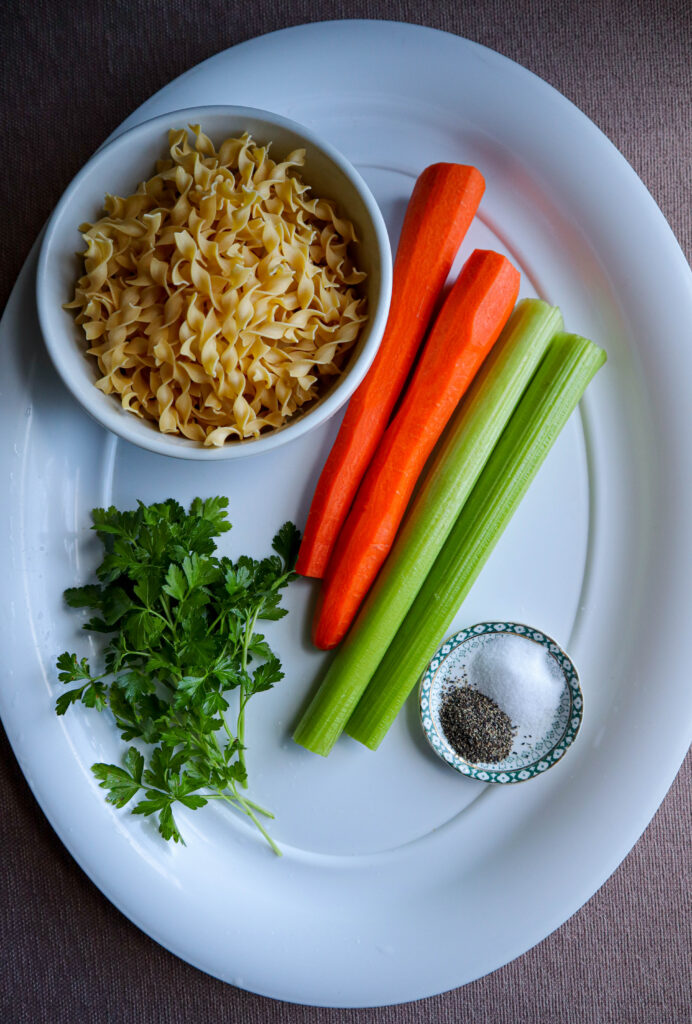
| 2 carrots washed and sliced |
| 2 celery stalks washed and sliced |
| a few sprigs of fresh parsley chopped |
| 1 teaspoon salt and 1/2 teaspoon pepper |
| a half bag of egg noodles |
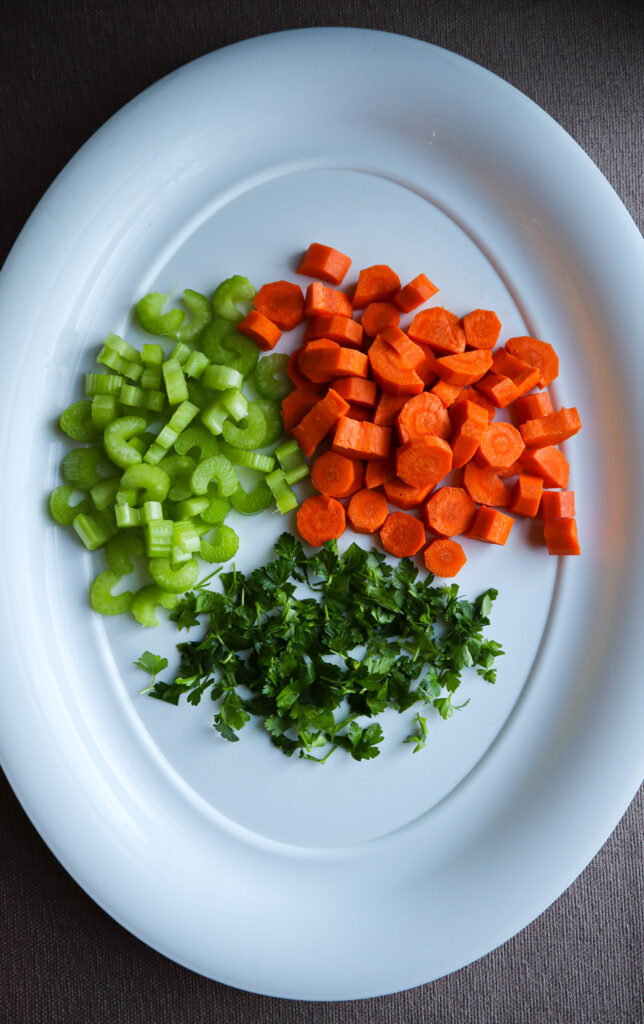
Put your stock in a large pot and bring it to a boil on medium heat. Slice the carrots and celery, chop up the parsley, and add them to the stock along with salt and pepper. Don’t add the noodles at this point. As the vegetables are cooking, cook the noodles separately in another pot, for the minimum suggested time on the package directions. The noodles will finish cooking in the soup. When the vegetables are as tender as you want them, add the cooked noodles and let it all cook for another few minutes, 3-5 minutes will do it. My soup took 30 minutes from start to finish.

I have plenty of stock left after making my soup. There is enough to make another batch of soup, and I will pack up a smaller amount to make a gravy, and an even smaller container that I will use when I make one of Ricky’s great stir fry recipes like CHICKEN STIR FRY, BEEF WITH VEGETABLES STIR FRY. That’s going to save me from having to buy broth or stock for those meals.
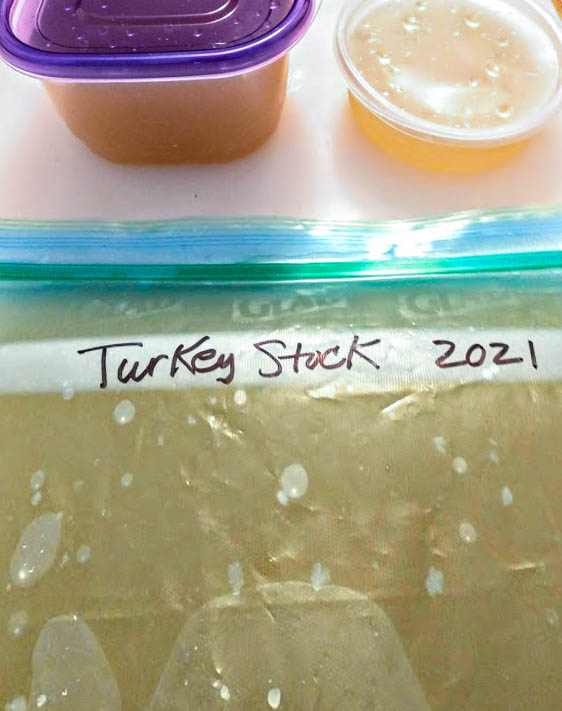
I am using a freezer bag for the stock that I will be using for soup. It takes up less freezer space. To fill, I open the bag and ladle the stock into it. Zip it closed. To get it to lay flat and get most of the air out, hold the bag upright by the zip end and slowly rest it down, from bottom up, on a flat surface, leaving the zip top curled up. When the stock is flat enough to meet the zip top, open the zip just a little to let any air out, then zip it shut again. Now it is flat, and as long as you lay it on something flat in the freezer, it will stay that way. Once frozen it will hold the flat shape on its own. It’s easier than it sounds.
Good luck!

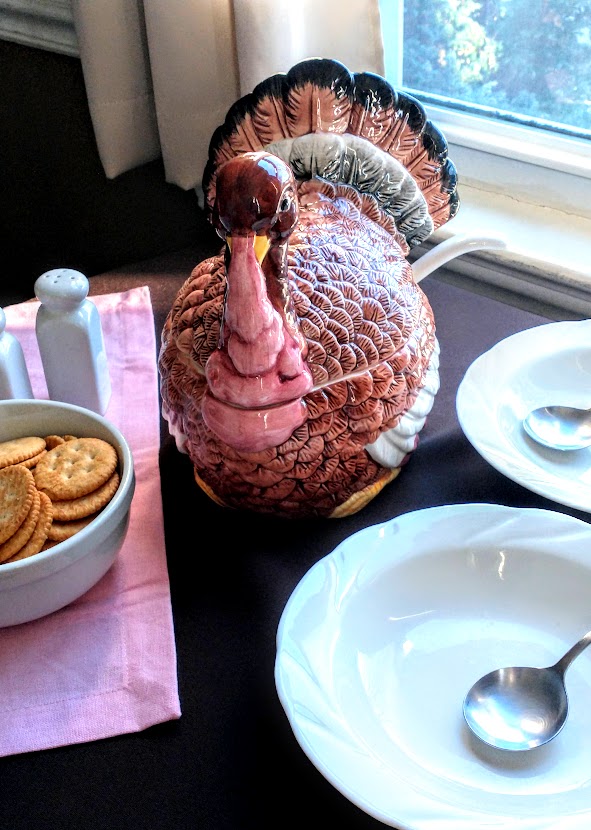
Well well well …..there is my Birthday drum stick right there in that after picture !!!! Keep up the great work Momz !! Hope everyone enjoys the yummy advice you’re sharing with the world 🌎 ❤️ Love you !! #yourlovingson
Thanks so much my precious son. You know I can’t be trusted with a stray drumstick. Birthday or not. In the pot it goes 🙂 XXOO
Well that looks so easy & delicious. I want to make some stock/soup. So good on a cold winters day!
Thank you my oldest bestie. You are my staunchest supporter. Try it…you’ll like it. I will give you a private tutoring session for a cup of tea and your out of this world chocolate chip cookies. See you soon.