For Meat and Vegetables
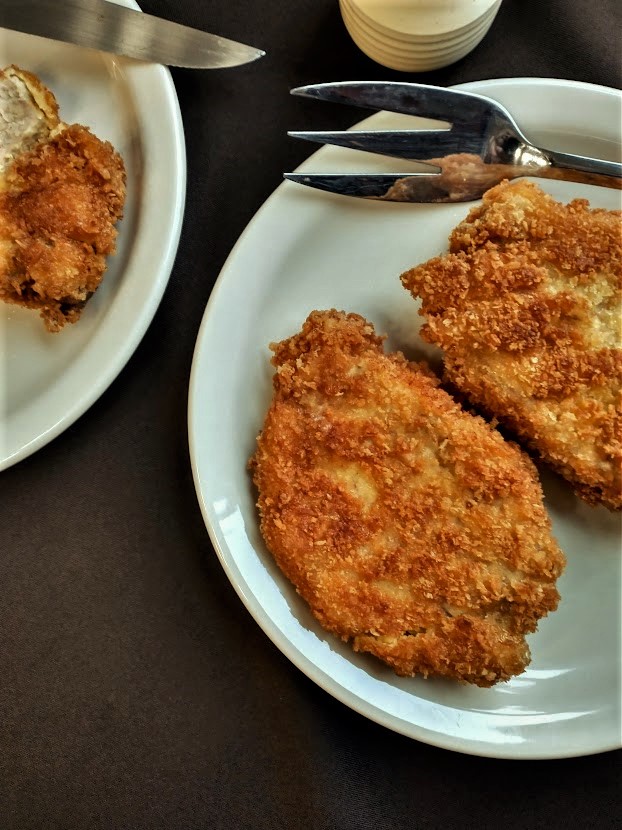
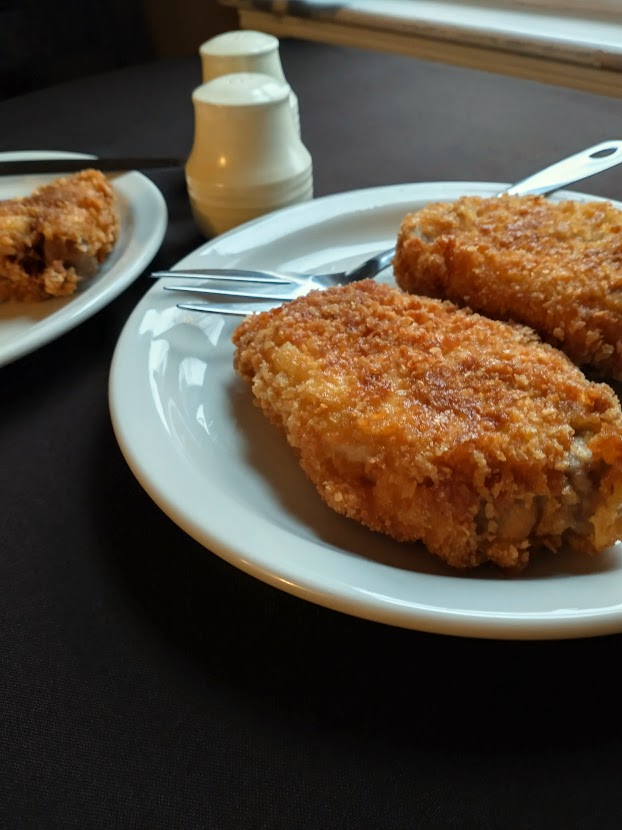
I don’t know anyone who doesn’t have at least one favorite food that is coated in a crispy, crunchy crust. Chicken is a classic in the category of “crunchy on the outside” foods we love. I have to admit, I have never been really good at getting that crunchy coating on something made at home. I am okay with basic light flour coating and a light breadcrumb breading, but the kind of coating that crunches and stays on the food even when cut, eludes me. But not Ricky. He has it down pat. The coating sticks to the meat or vegetable even when you cut into it! Where I fail is my hesitancy to get the oil really, really, really hot and keep it at that temperature. I don’t often have deep fried foods, so I have not perfected the art. And why should I, I can ask Ricky to make something deep fried for one of our cooking sessions, if I am craving it. 😋 One of his regular crispy coated dinners is a recipe he calls Panko Pork, and it is delicious. We are going to post that recipe in our dinner recipe gallery.
The technique to coating meats and vegetables is pretty standard. You can swap out what coatings you are going to use such as breadcrumbs, panko crumbs, cornmeal or just flour, but it’s all the same method. It’s easy, but can be messy. If you try to keep the mess to a minimum, it usually makes a bigger mess. There is no way around it, your hands are your best tools for this task. So roll your sleeves up and get dipping.
A basic light, but crispy coating is a 3 step process. Actually it is a 3 dip process. When you want to have the thickest, crispy, crunchy coating, the 3 dips become 5.
Here is where you start.
Whether you are doing a basic 3 dip breading or going for the big crunch, you start with 3 bowls. You can use pie plates or dinner plates if you don’t have 3 shallow bowls. Before doing any dipping, beat the eggs with a fork. We have a picture showing what they will look like in the dipping pictures.
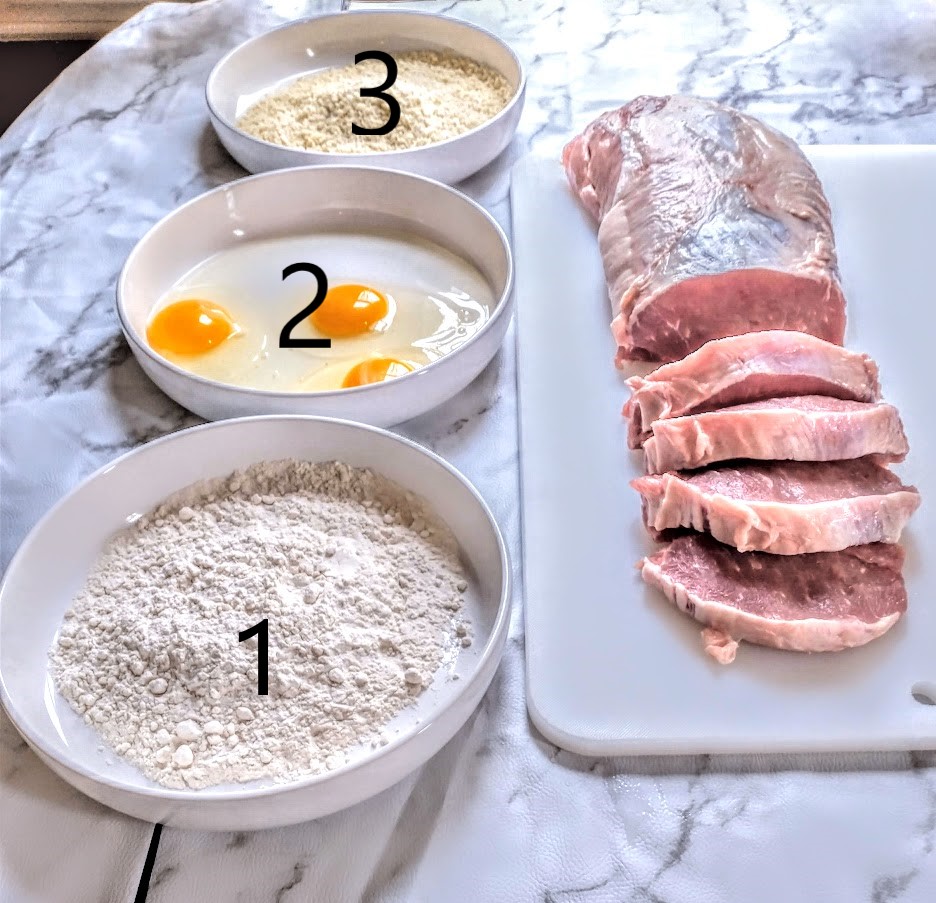
The first bowl is flour. The second bowl is egg. The third bowl is where you change it up. In this picture the third bowl has unseasoned panko crumbs. It could be breadcrumbs. In either case they can be seasoned crumbs or unseasoned. It’s all about what you like most. When I make a recipe using Italian seasoned crumbs, I mix a batch up myself. I will post a quick “do them yourself” recipe in CLAUDIA’S COOKING TIPS GALLERY.
For a light flour or crumb coating, it’s as easy as 2 dips ; egg first then crumbs or flour. In some cases, such as in Ricky’s CHICKEN CACCIATORE you just pat dry and dredge in flour. We have a discussion on trimming fat off meat and dredging in flour. If you are interested, Trimming The Fat. If you are following a recipe, it should detail for you what breading best suits that dish.
Next: The basic 3 dip coating.
The basic three dip coating gives you a nice crust.
We are going to demonstrate using the cutlets that were cut from the whole pork loin shown above. You can buy boneless cutlets, but buying the pork loin whole, on sale, and using it for 2 or more meals is a great way to save some money. In this case, we are going to make Ricky’s stuffed pork roast recipe, with the other half of the loin, and post it for you.
With a clean paper towel, pat dry the pieces of meat or vegetable you are coating.
Roll up your sleeves and wash your hands. You can try to use a fork, or tongs, or another implement to move the meat or vegetable from one breading dish to another, but chances are, you are going to end up using your hands. Find out for yourself if you must. 😉 The purpose of this process is to get a thick coating to stick on what you are getting ready to cook. It stands to reason that he dipping tool is going to get sticky too. In our experience, if you use a kitchen tool, it is just too time consuming to continue to clean it off. Your hands can still do the job when they are covered in flour, egg and breadcrumbs, and they are easy to clean!
Take each piece of what you are coating, and dip, one by one, into each of the dishes. When you are done dipping, lay the piece on a wire rack. If you put them in a plate at this point, the bottom side will start getting soggy, defeating the purpose. As you finish each dip, hold the piece being breaded over the dish, and shake off or let drip any excess before going on to the next step. You do NOT want to drag the flour into the egg, or excess egg into the panko. I am sure you can assume what happens. You end up with a pasty mess in each of the dishes, which is not going to bring the end result of a crispy, crunchy crust. If all this sounds a bit time consuming, it is. But, the end result is amazing.
Here we go! Let’s dip!
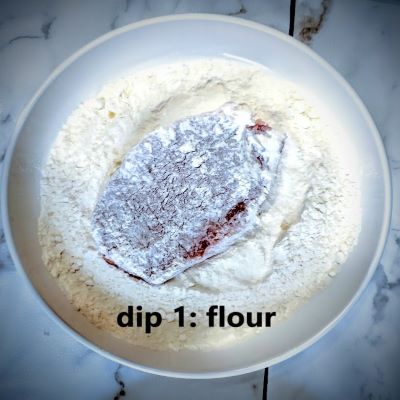
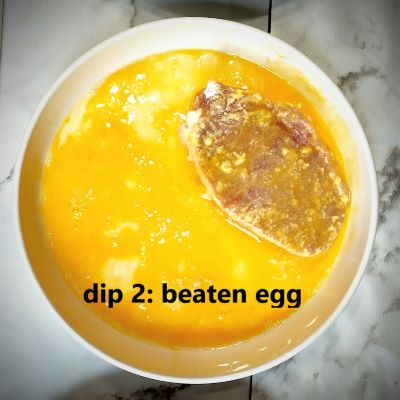
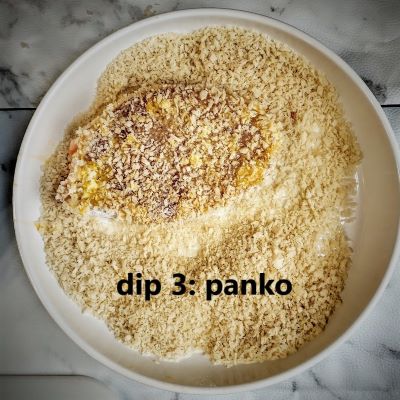
If you are stopping here at 3 dips, which I do often enough, go on to frying, If you are going for the really crunchy, really crusty, super duper coating, go on to step 4 and 5.
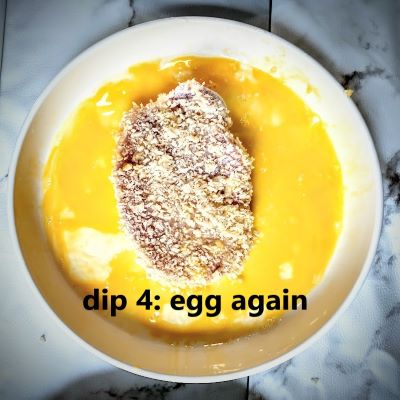
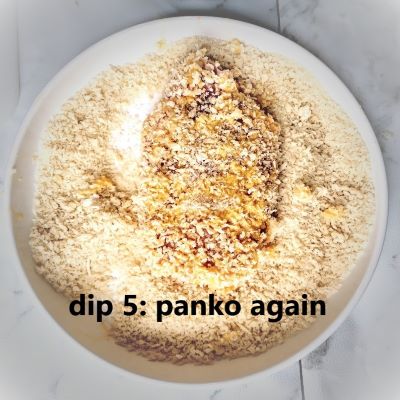
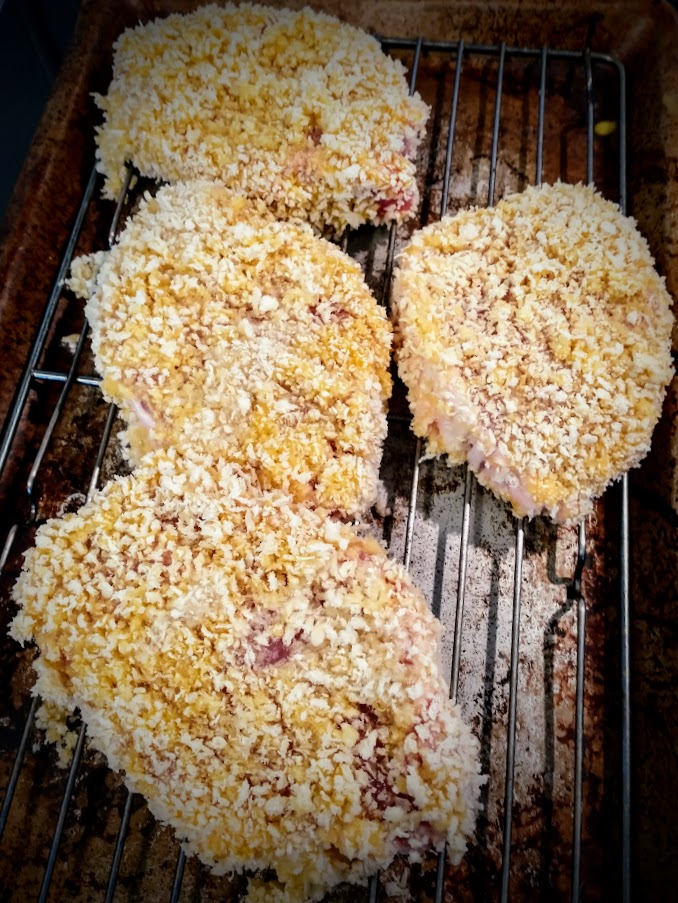
Here, on my grandmother’s roasting pan with rack (it’s really old), are 4 boneless pork cutlets which have been coated with the 5 dip coating. We are ready to fry.
You may have noted that most of Ricky’s dinner recipes are made using olive oil. You cannot do deep frying in olive oil. You need regular VEGETABLE OIL, or another oil that you have verified is stable at high temperatures.
In a large, heavy bottomed skillet, pour in about a half inch of oil. Ricky’s rule of thumb is to put enough oil in the skillet so it is half as deep, as the food is thick, before the food goes in. Since we cut our cutlets 1 inch thick, that is 1/2 inch. Set the burner at medium high heat and let the oil heat up for about 5 minutes.
After heating the oil for 3 minutes, carefully add the breaded pork cutlets, one by one, into the hot oil. Let them fry on one side for 4 minutes, then turn them over with tongs or a long handled fork, and fry the other side for another 4 minutes. I would not use a spatula for this. Getting a spatula under the food and flipping it over, makes it too easy to drop the food and splash the hot oil. In the next pictures you can see how HOT that oil is. Look at those clusters of oil bubbles encasing each of the cutlets.
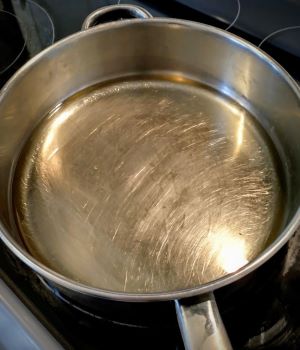
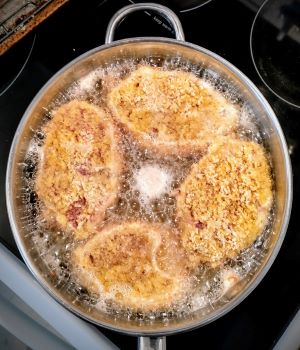
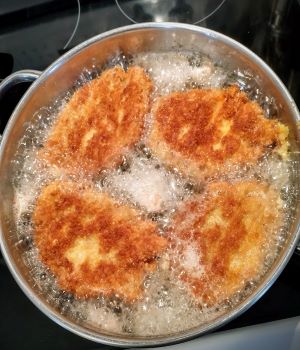
Do you see the spots that look yellow on the golden brown cutlets? That is just egg showing through the breading. There may be a couple of spots where you can see the meat peeking through also. It does not effect the end result. It is difficult to have a perfectly uniform crust without any inconsistencies in the breading.
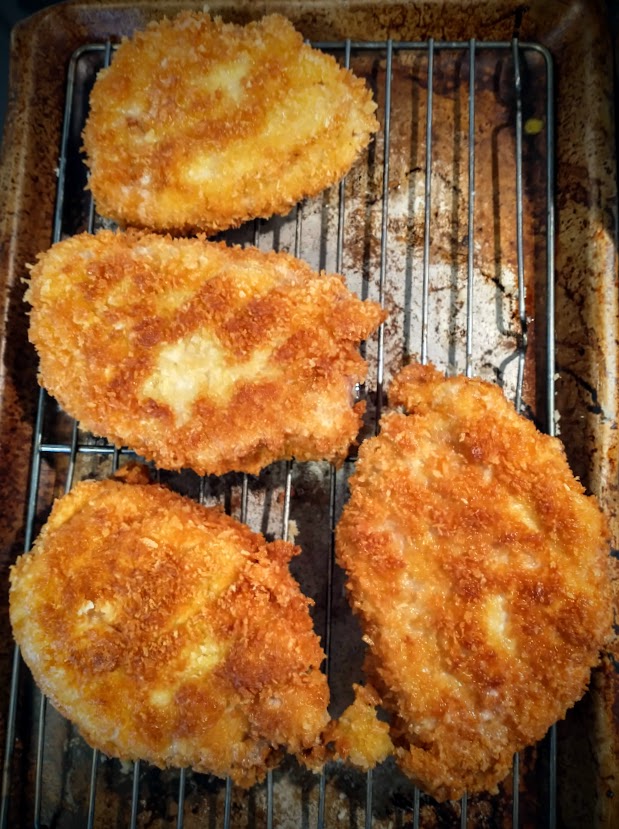
After frying, put the cutlets back on the rack. This will let the oil drip onto the pan. If they are put on a plate and not a rack, as the oil drips out on the plate it gets the breading soggy.
If you have breaded pieces of meat, let them sit for about 5 minutes. The meat will continue to cook. When you are cooking at a high temperature, you are cooking from the outside in. On lower temperatures, cooking is more uniform. In this case, the middle may still be a little pink right after taking it from the skillet. The rest time should take care of that. We don’t suggest cooking much longer, the pork could get dry. That happens quickly with pork and it negatively affects the quality of the finished product. In other words, dry pork isn’t good. Dry chicken isn’t much better. Whether it is pork, chicken or vegetables, you too can have a crunchy crust at home. Give it a try.
